Nude polish alone can feel a little plain after a while. Add one small detail, a line, a stone, a tiny painted shape, and the whole nail changes without needing a bold color at all.
This list covers 17 nude nail art ideas, from a single accent nail to patterns that stretch across the whole hand. Each one comes with a quick tip on how to pull it off or what to watch out for.
How to Pick a Nude Nail Art Design
A few things help narrow down where to start.
- New to nail art: try one accent nail before doing a full set
- Short nails: stick to small details like dots or a thin line
- Want something bold: a swirl or color block design stands out more.
- Want something soft: Thin lines and small dots usually last longer than detailed designs.
The right nude nail color can also change the overall look.
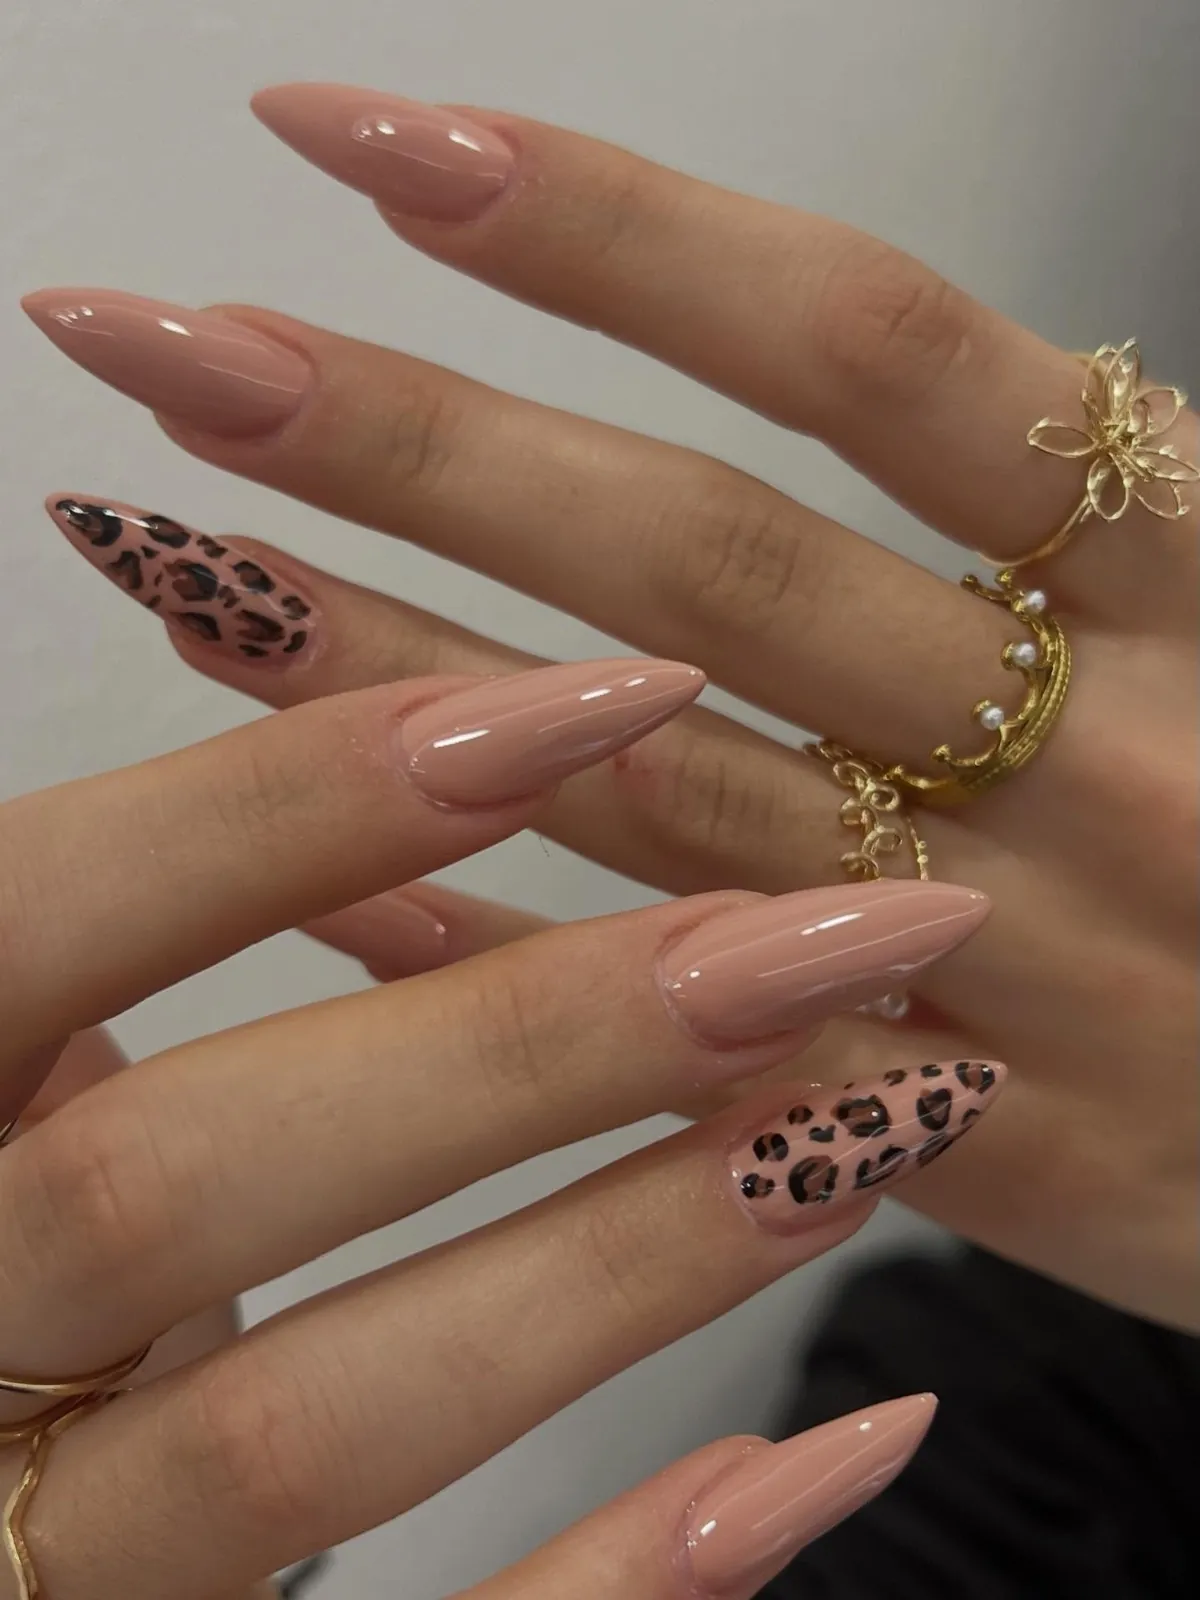
1. Nude Nail Art with Leopard Print Accent Nails
@magic_touch_by_maria
Most nails stay a plain glossy nude. Two nails break the pattern with small leopard spots painted right over the same nude color.
Avoid: Using leopard print on every nail. Keep the pattern on one or two nails and leave the rest simple for a cleaner look.
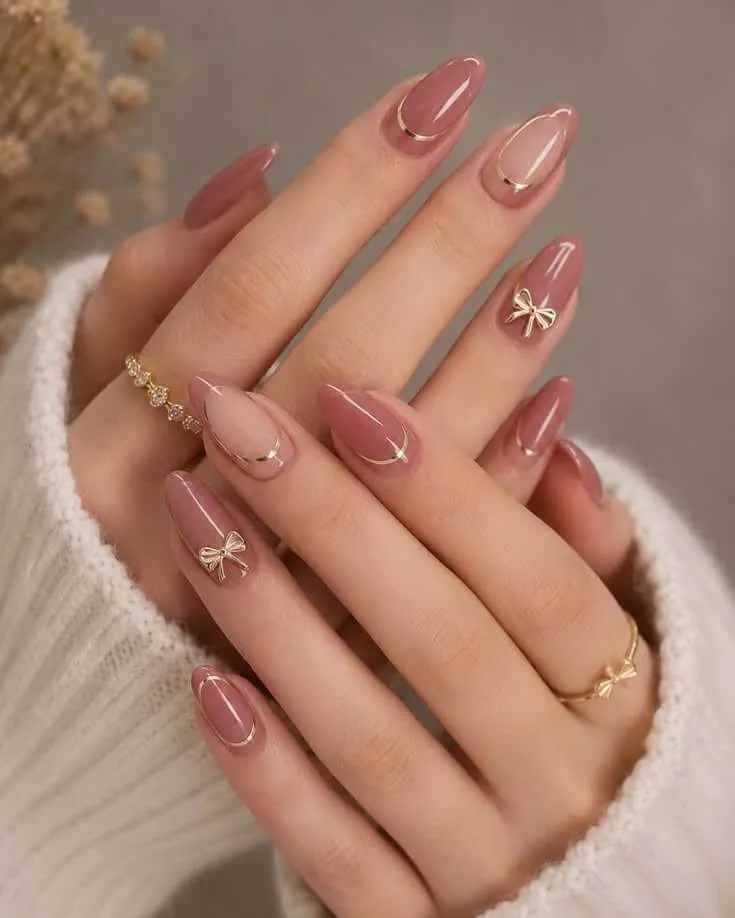
2. Nude Nail Art with Gold Curved Lines and Tiny Bow Charms
@dukpini
A dusty mauve-nude shade covers most of the nails, while a thin gold line curves across the middle. A few nails have a small gold bow near the base for an extra detail.
Quick Tip: Curved lines can be a little tricky. Take your time and keep the shape similar on each nail.
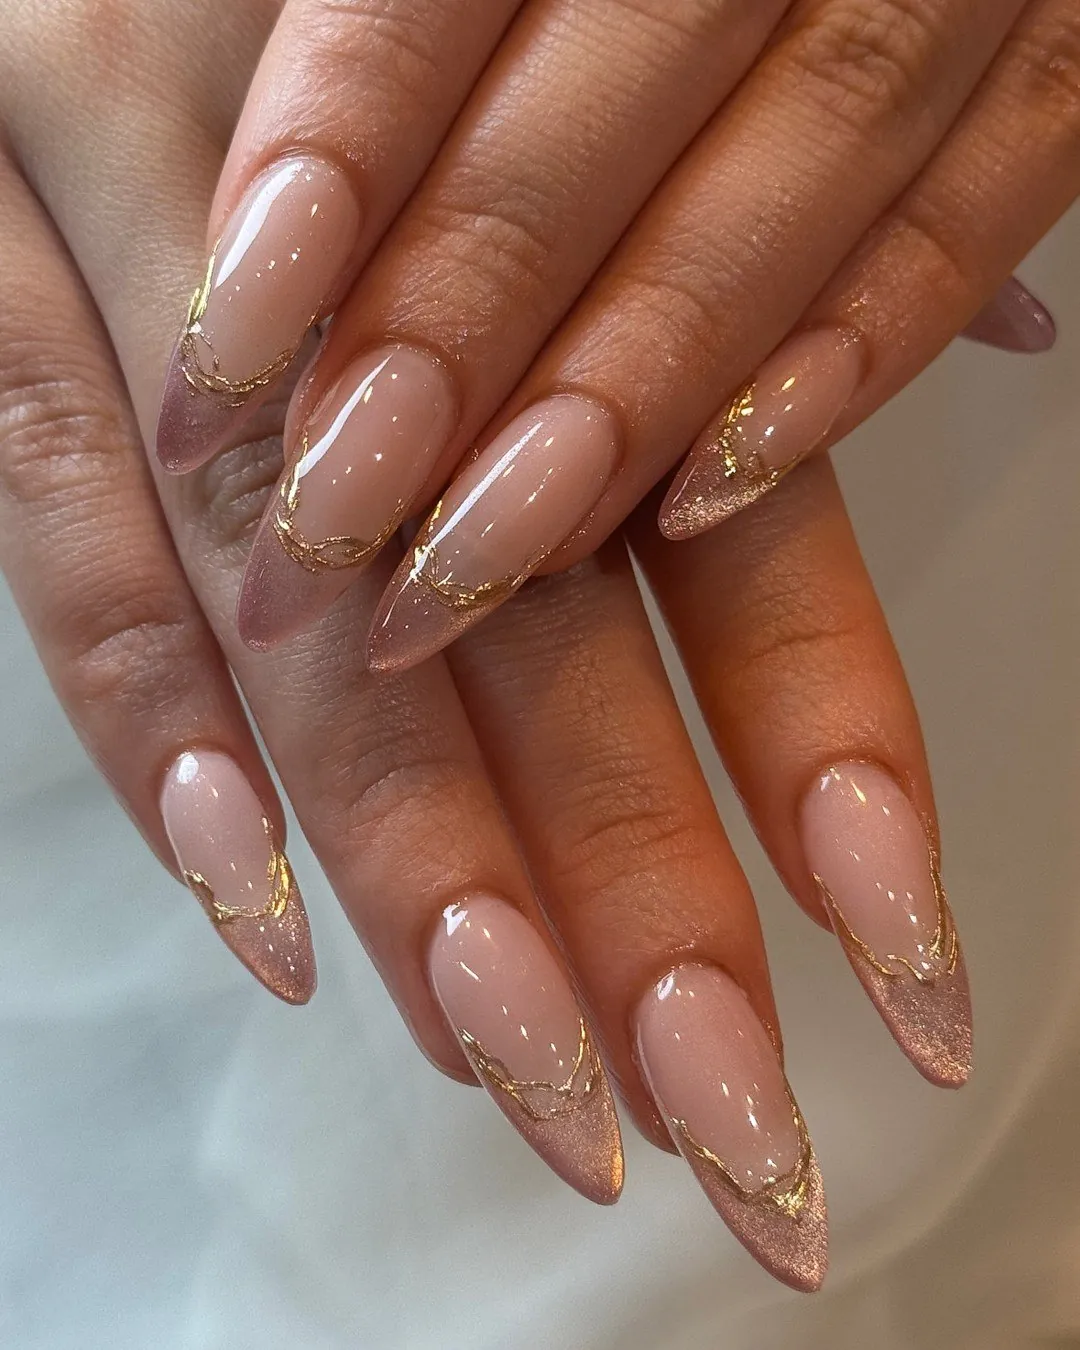
3. Nude Nail Art with a Cracked Gold Foil Design
@dripnails.htx
Gold foil sits near the tip in an uneven, cracked pattern instead of a clean line. It looks more like real texture than something painted on.
Good to know: the cracked look comes from pressing the foil on unevenly. Trying to make it too neat actually works against the design here.
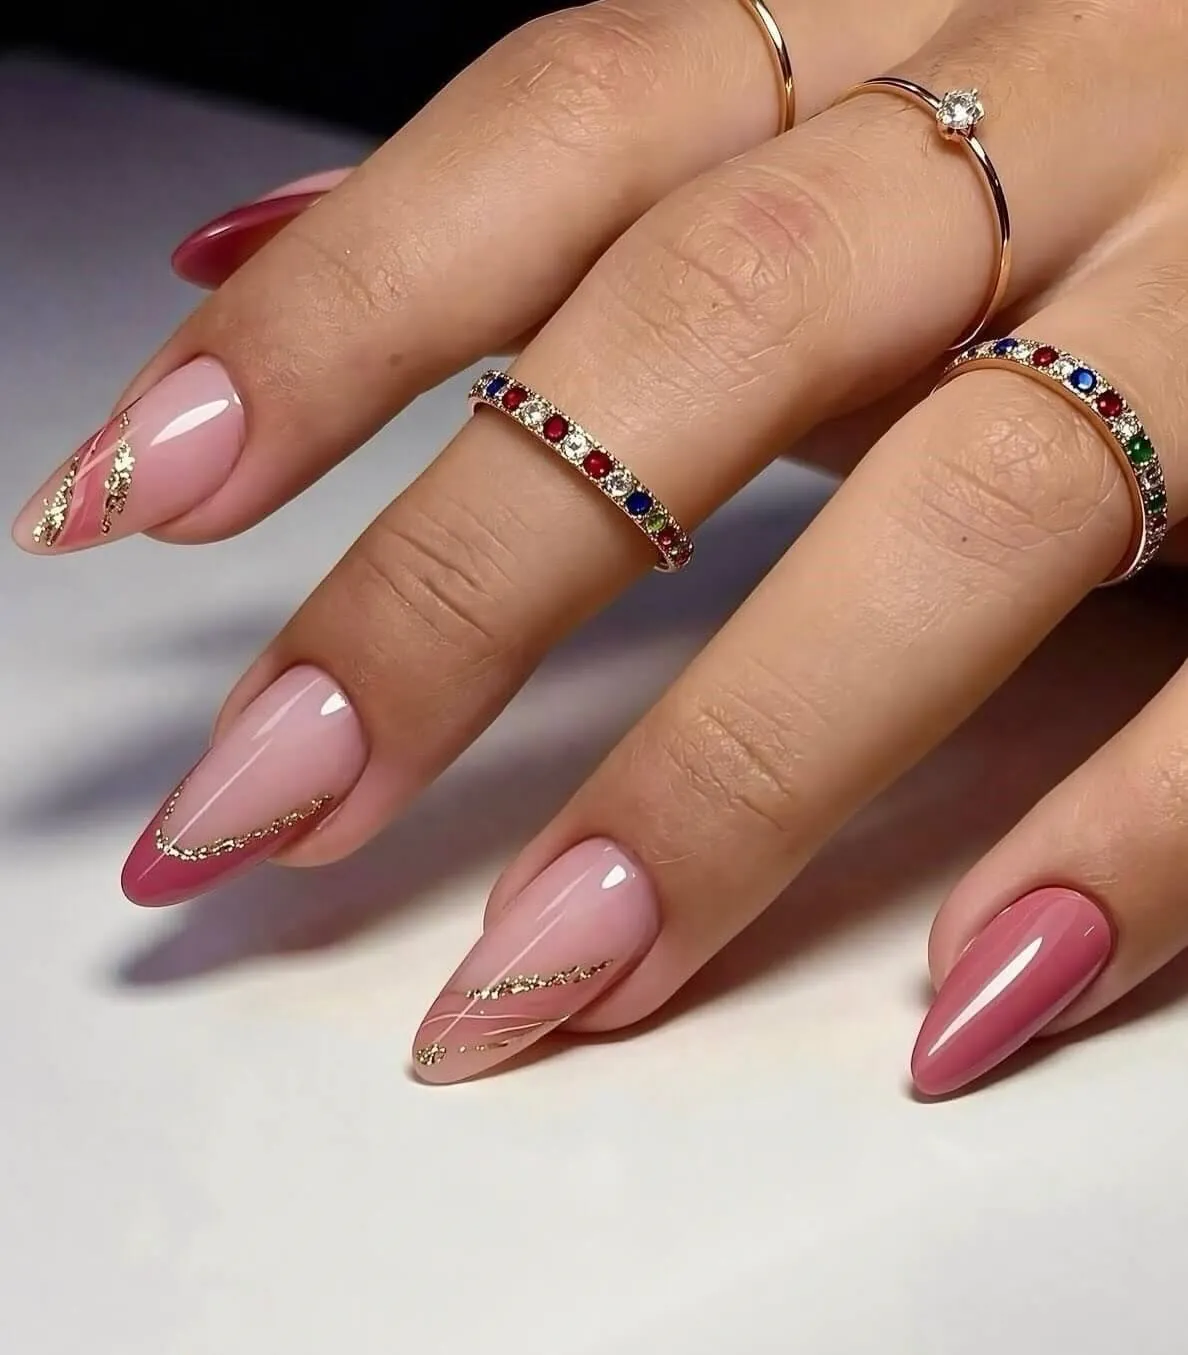
4. Nude Nail Art with Abstract Gold Glitter Lines
@dokhte_lux
Thin gold glitter lines cross over each other at random angles. No two nails share the same pattern, and a dusty rose fills in the rest.
Avoid: overthinking where each line goes. A loose, relaxed hand makes the lines look natural instead of forced.
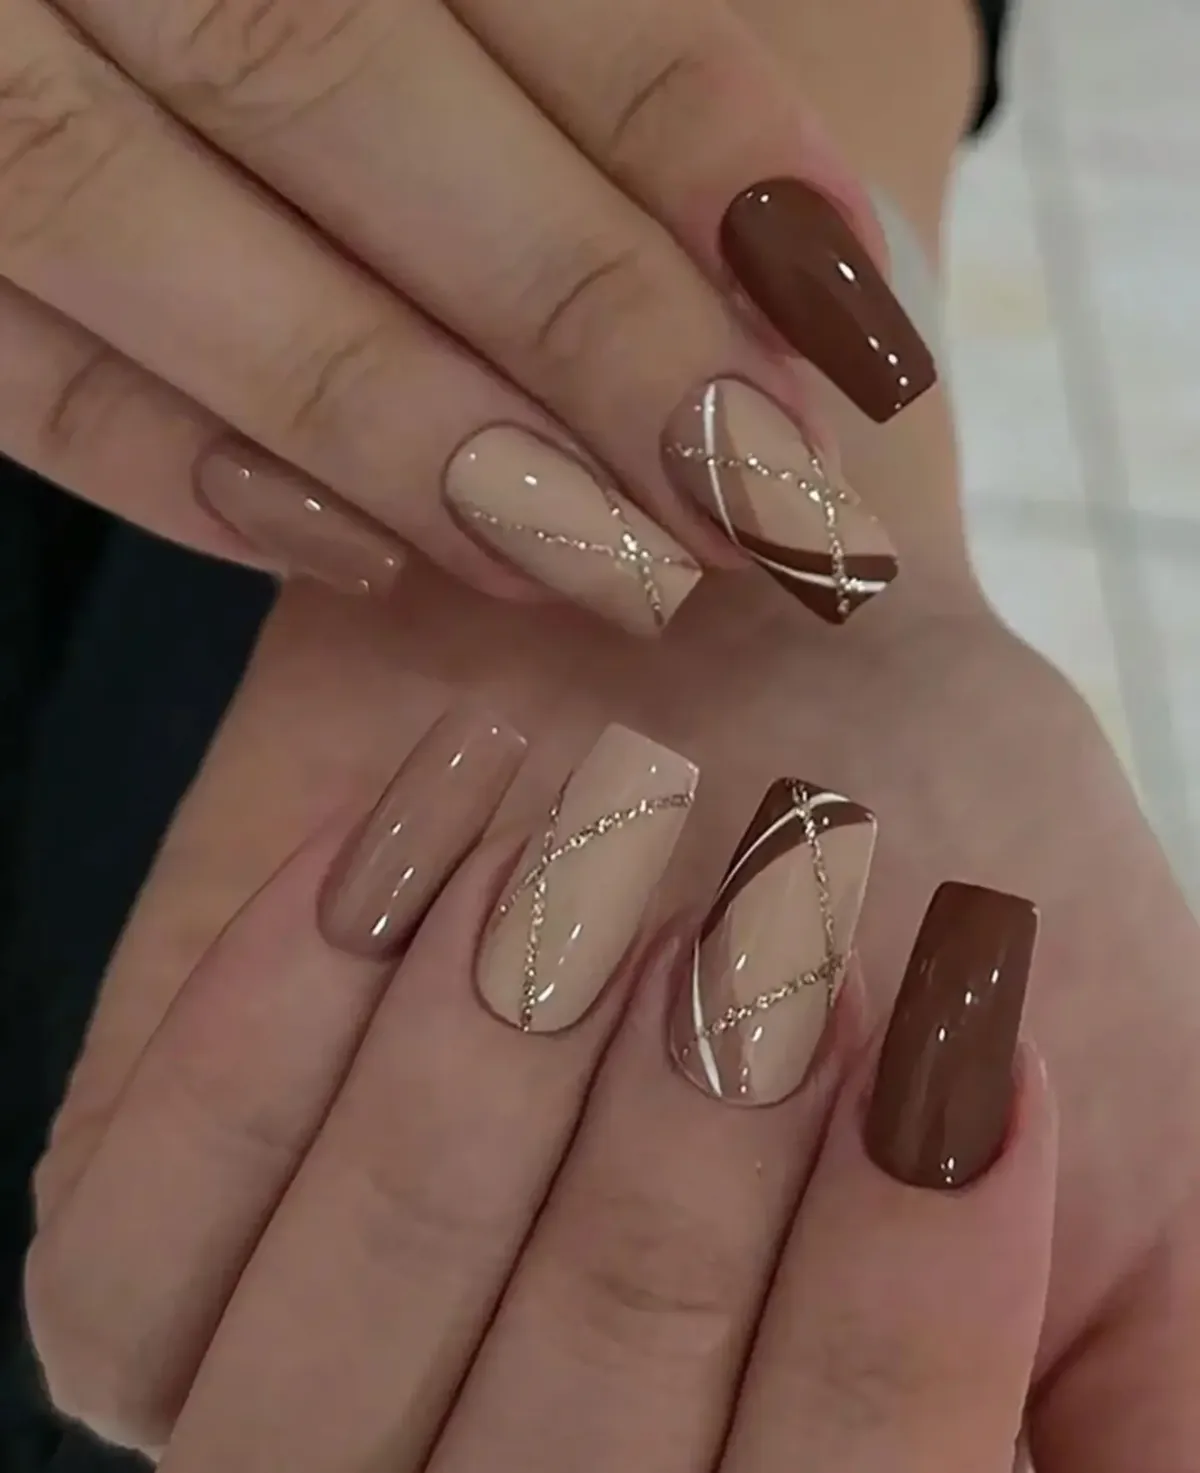
5. Nude Nail Art with Geometric Crisscross Lines
@makeup_canvasbeauty
Some nails go a solid brown, deep and glossy from base to tip. Others stay a lighter nude with thin gold and white lines crossing at sharp angles.
Quick Tip: It’s best to plan how the lines will intersect before beginning. Putting the lines in without planning may look unorganized.
6. Nude Nail Art with a Hand-Painted Butterfly
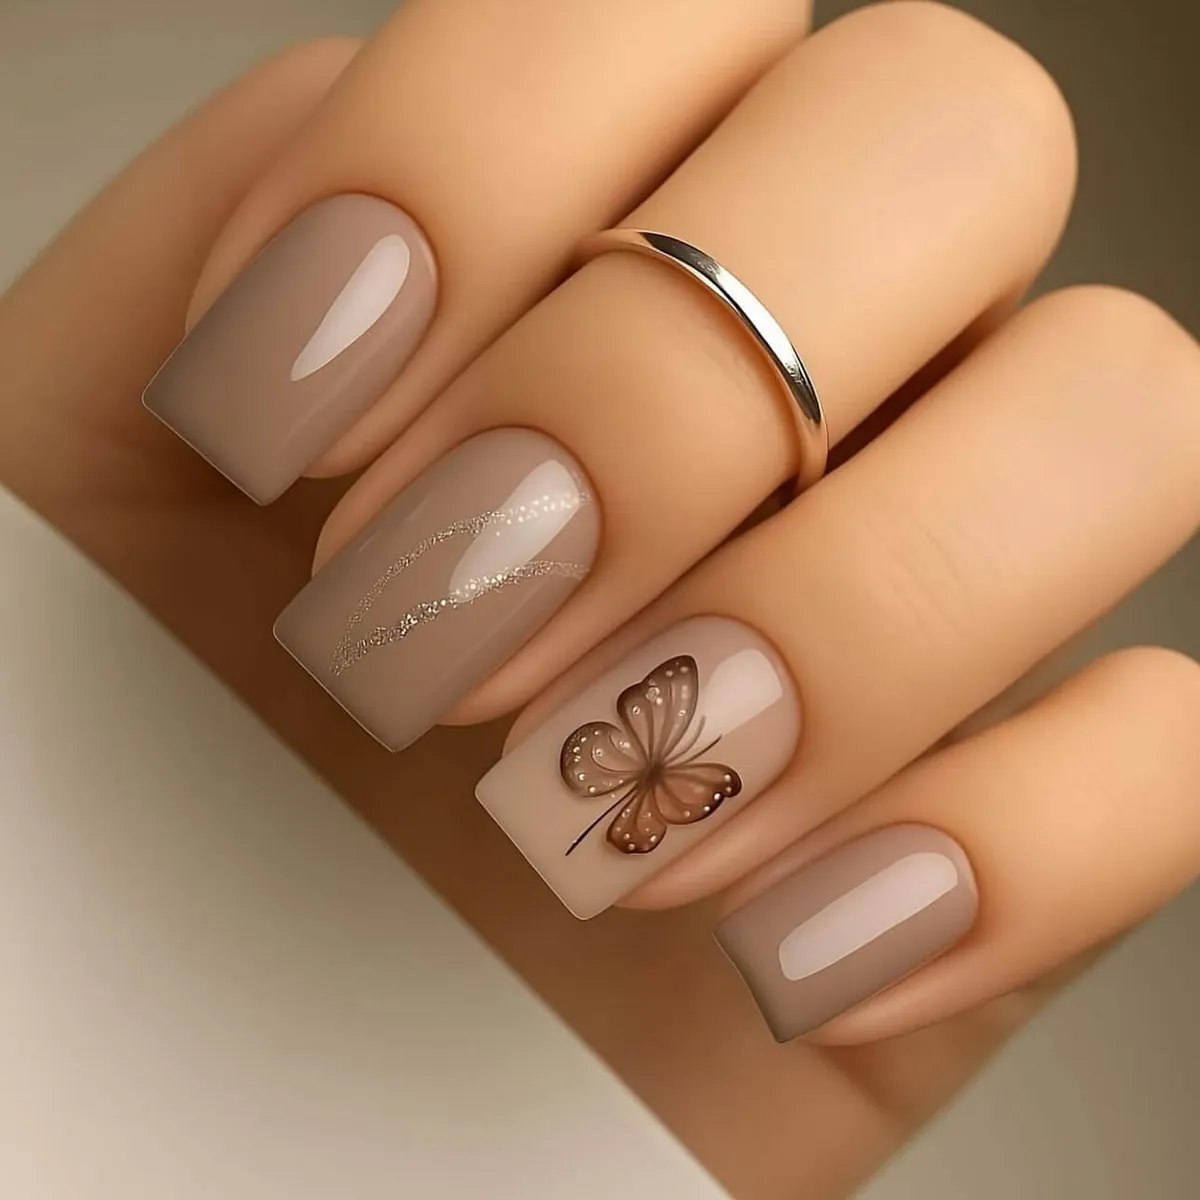
@dokhte_lux
Most nails stay plain and glossy. One nail gets a detailed brown butterfly, its wings shaded with tiny dots for texture and depth.
Avoid: rushing the wing shading. The small dots need time to build up gradually, or the wings will look flat.
7. Nude Nail Art with a Teal Marbled Vein Pattern
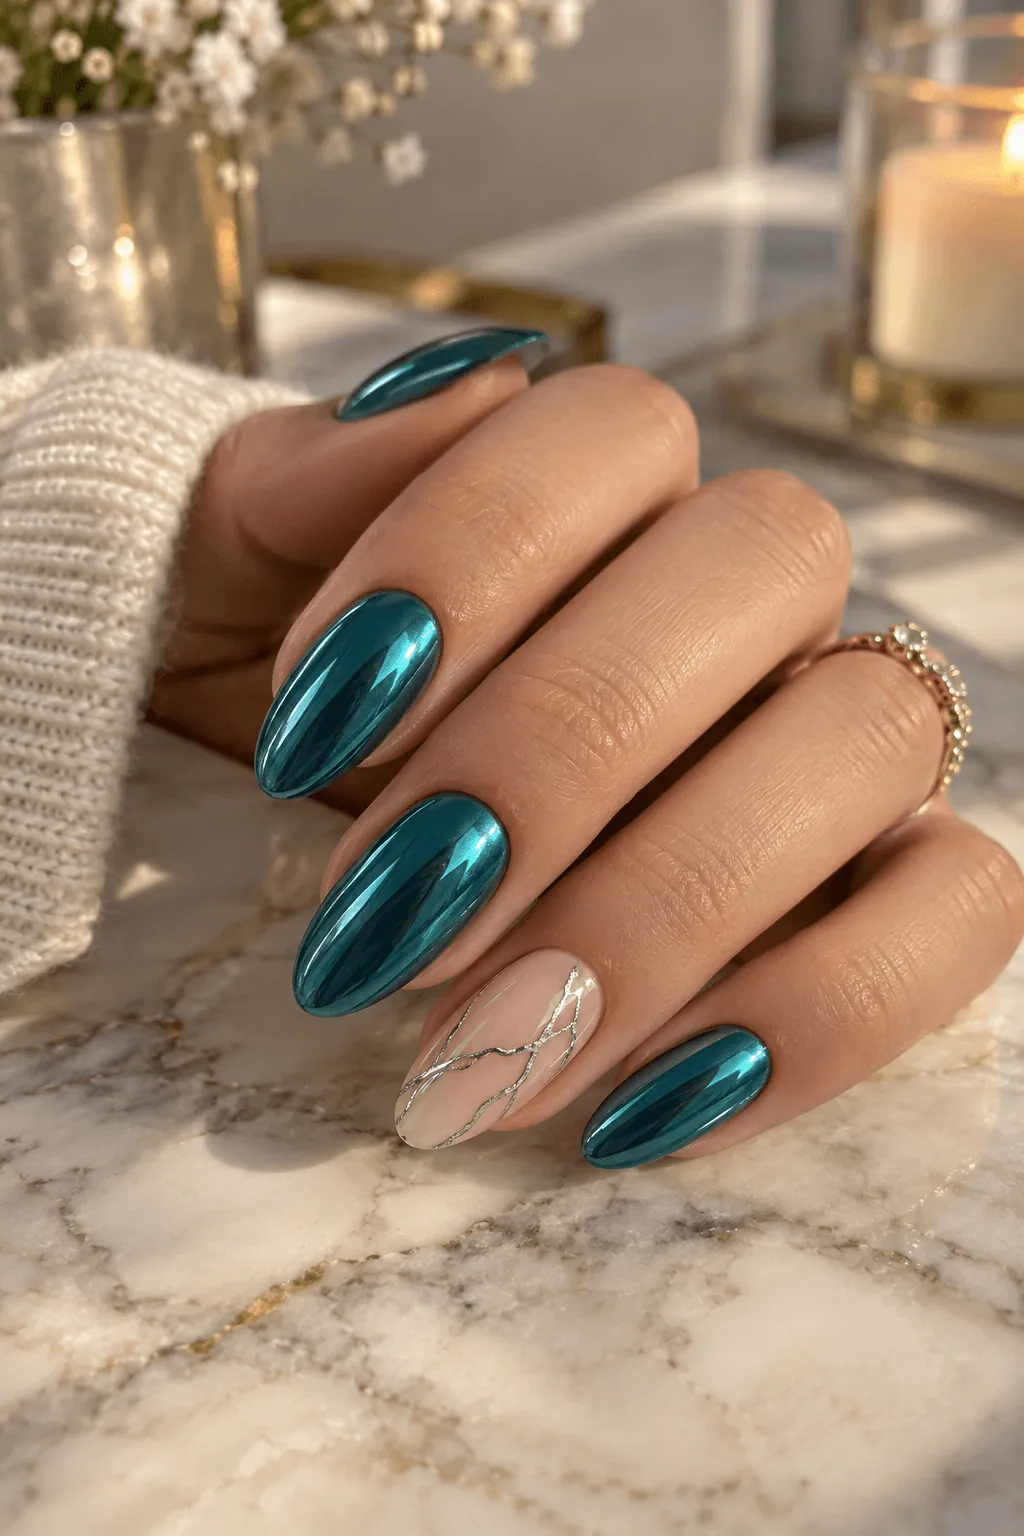
A shiny teal chrome covers most of the nail. A bare, glossy nude section on some nails carries thin silver lines branching out like frost or small tree branches.
Good to know: chrome shows every bump underneath it, so the base coat needs to be smooth before adding the chrome layer.
8. Nude Nail Art with an Abstract Swirl and Gold Studs
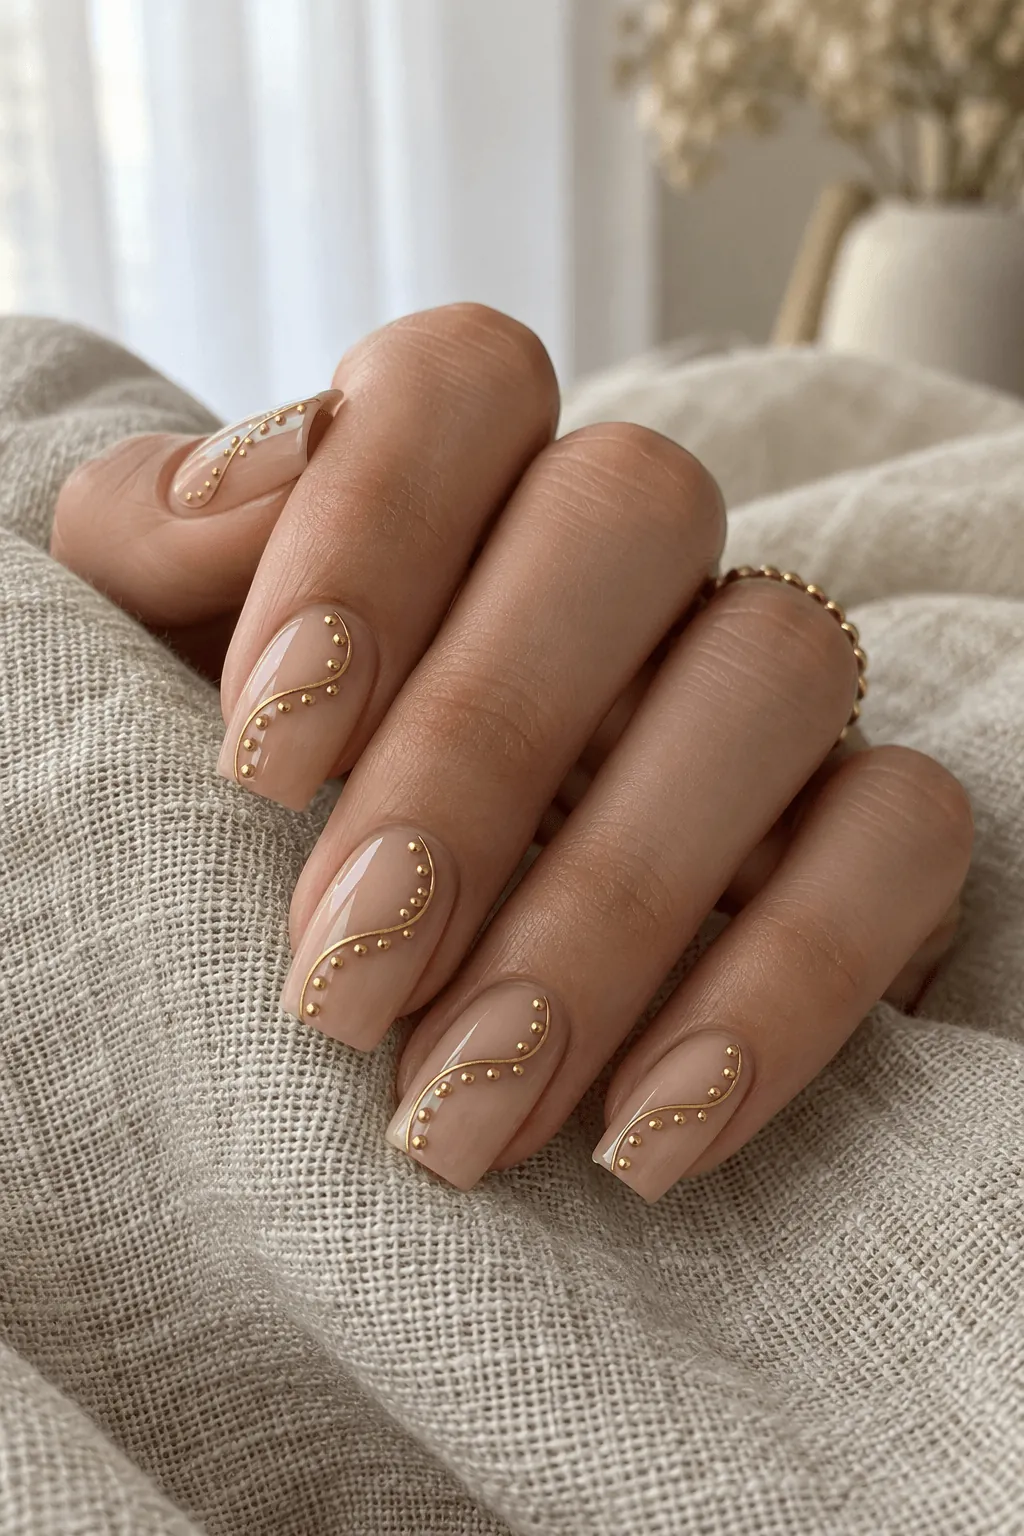
A soft nude base holds a bold curved shape on each nail, traced with a thin gold edge. Small gold studs line the curve close together instead of scattered randomly.
Quick Tip: Try to keep the swirl shape similar on every nail. Small changes are easy to notice when your hands are side by side.
The same design can look different on short, long, almond, or square nails, so choosing the right nail shape can make a difference.
9. Nude Nail Art with a Sage Green Color Block
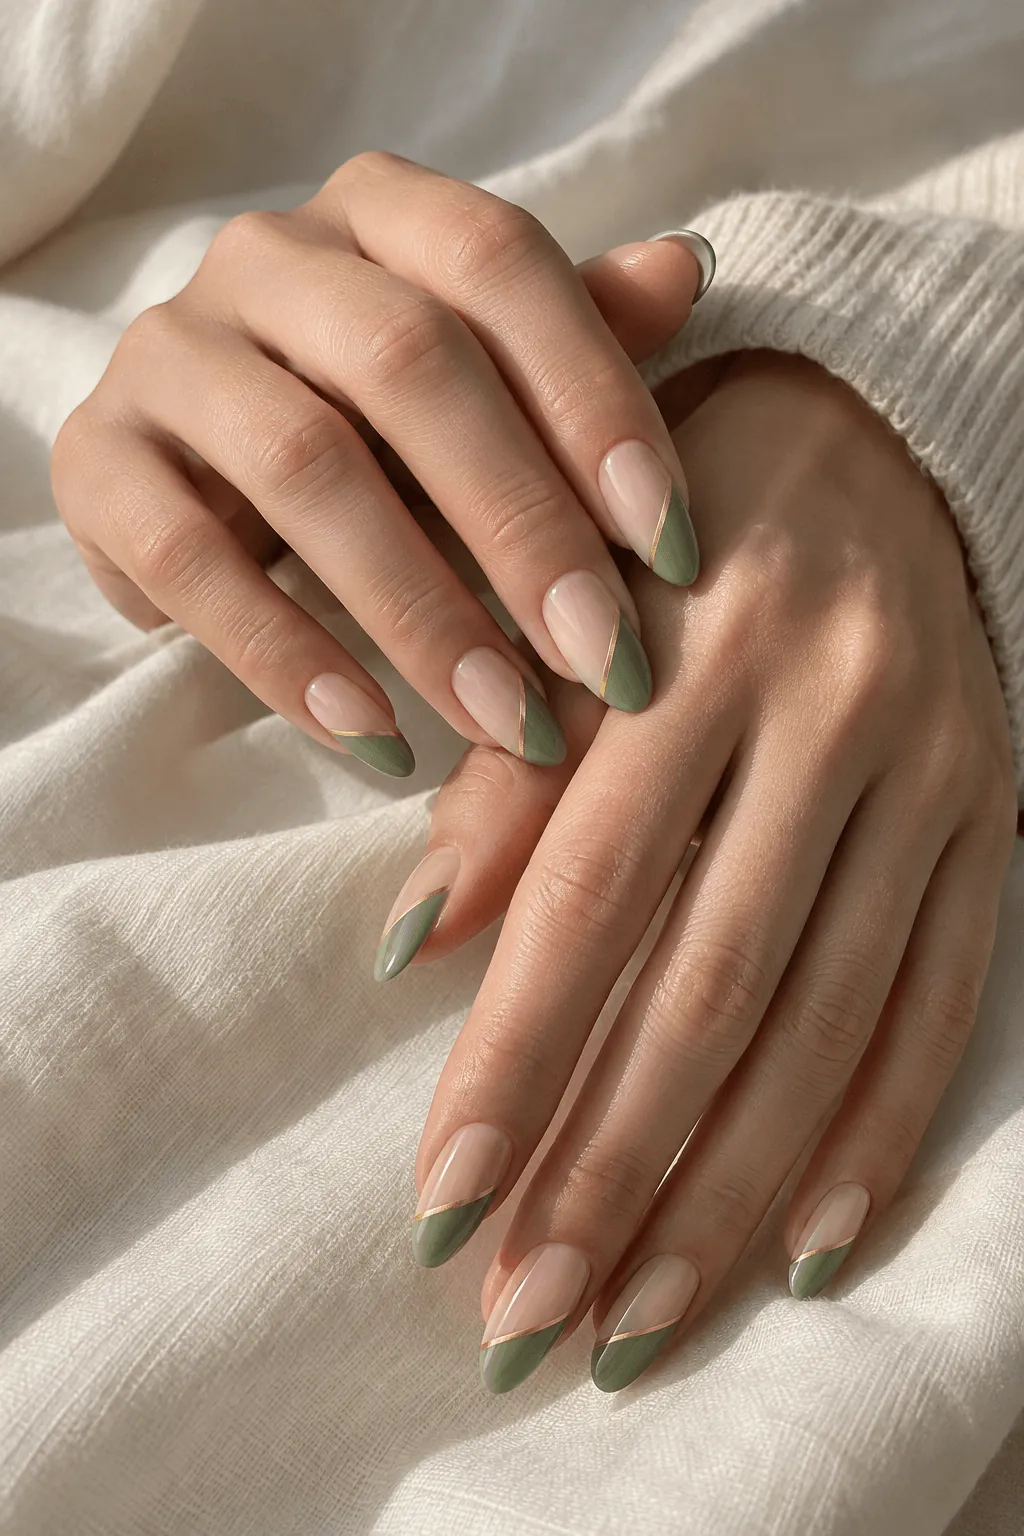
Sage green covers the top part of each nail in a diagonal shape, meeting the plain nude base at a thin gold line instead of blending.
Avoid: letting the gold line wobble. A straight diagonal edge needs a steadier hand than a curved one does.
10. Nude Nail Art with a Soft Marble Effect
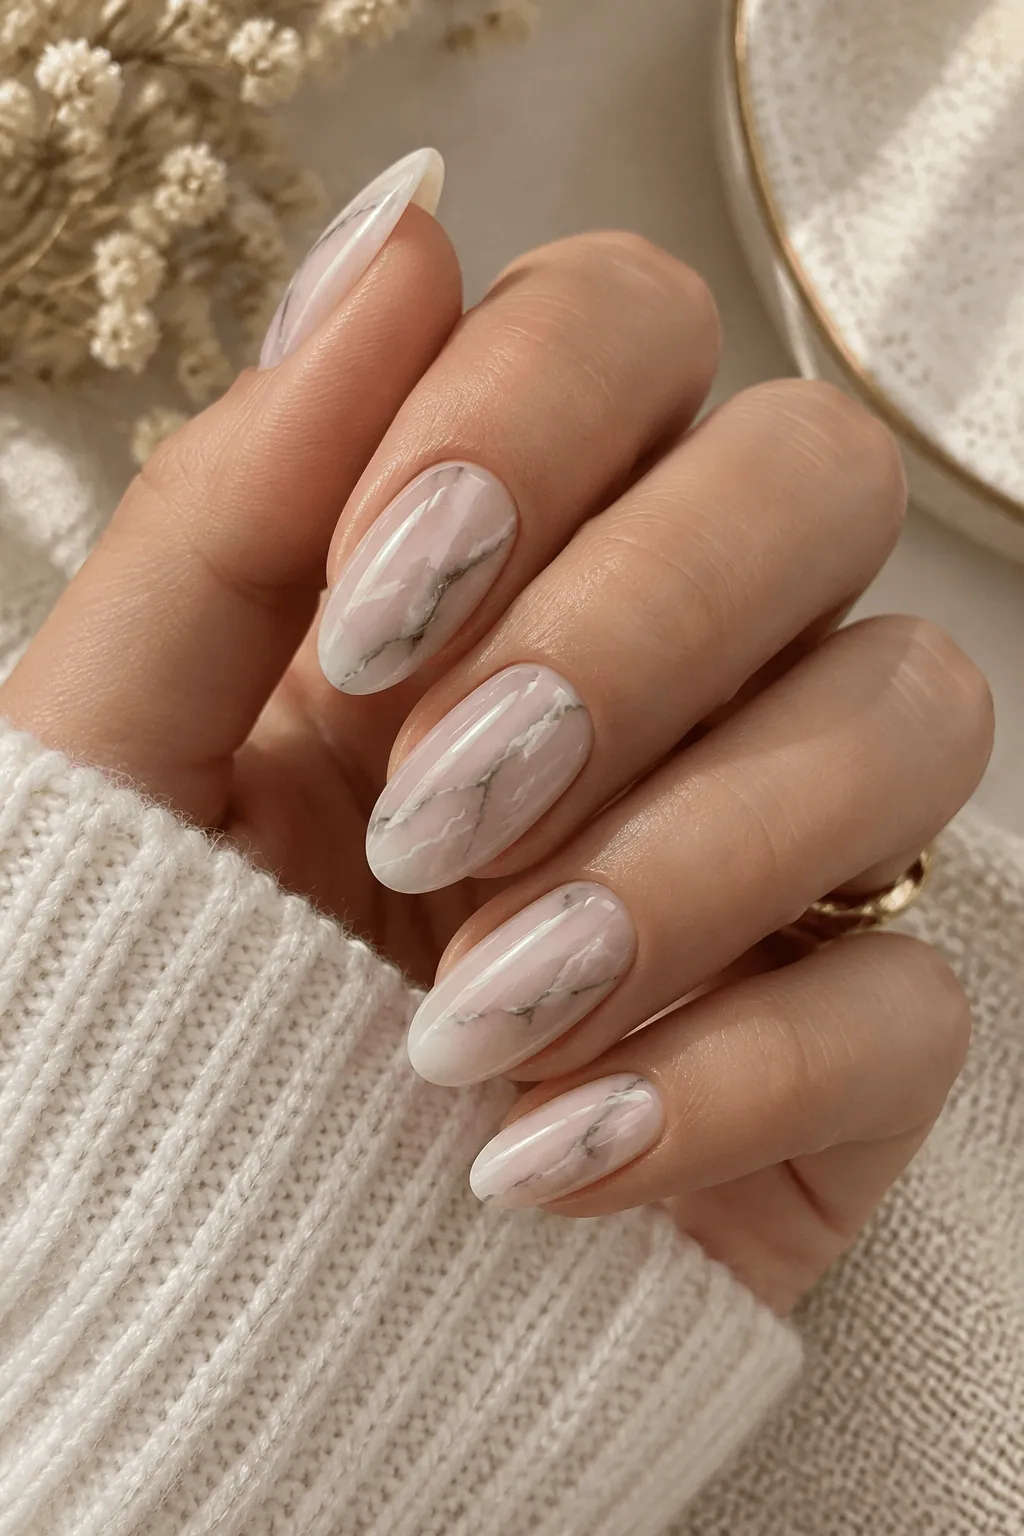
Thin grey and white veins run through a milky nude base, similar to real stone but softer and less defined. The veins stay light, never turning into solid blocks of color.
Quick Tip: Use a thin brush and light touches to make the veins delicate and not thick.
11. Negative Space Nude Nail Art
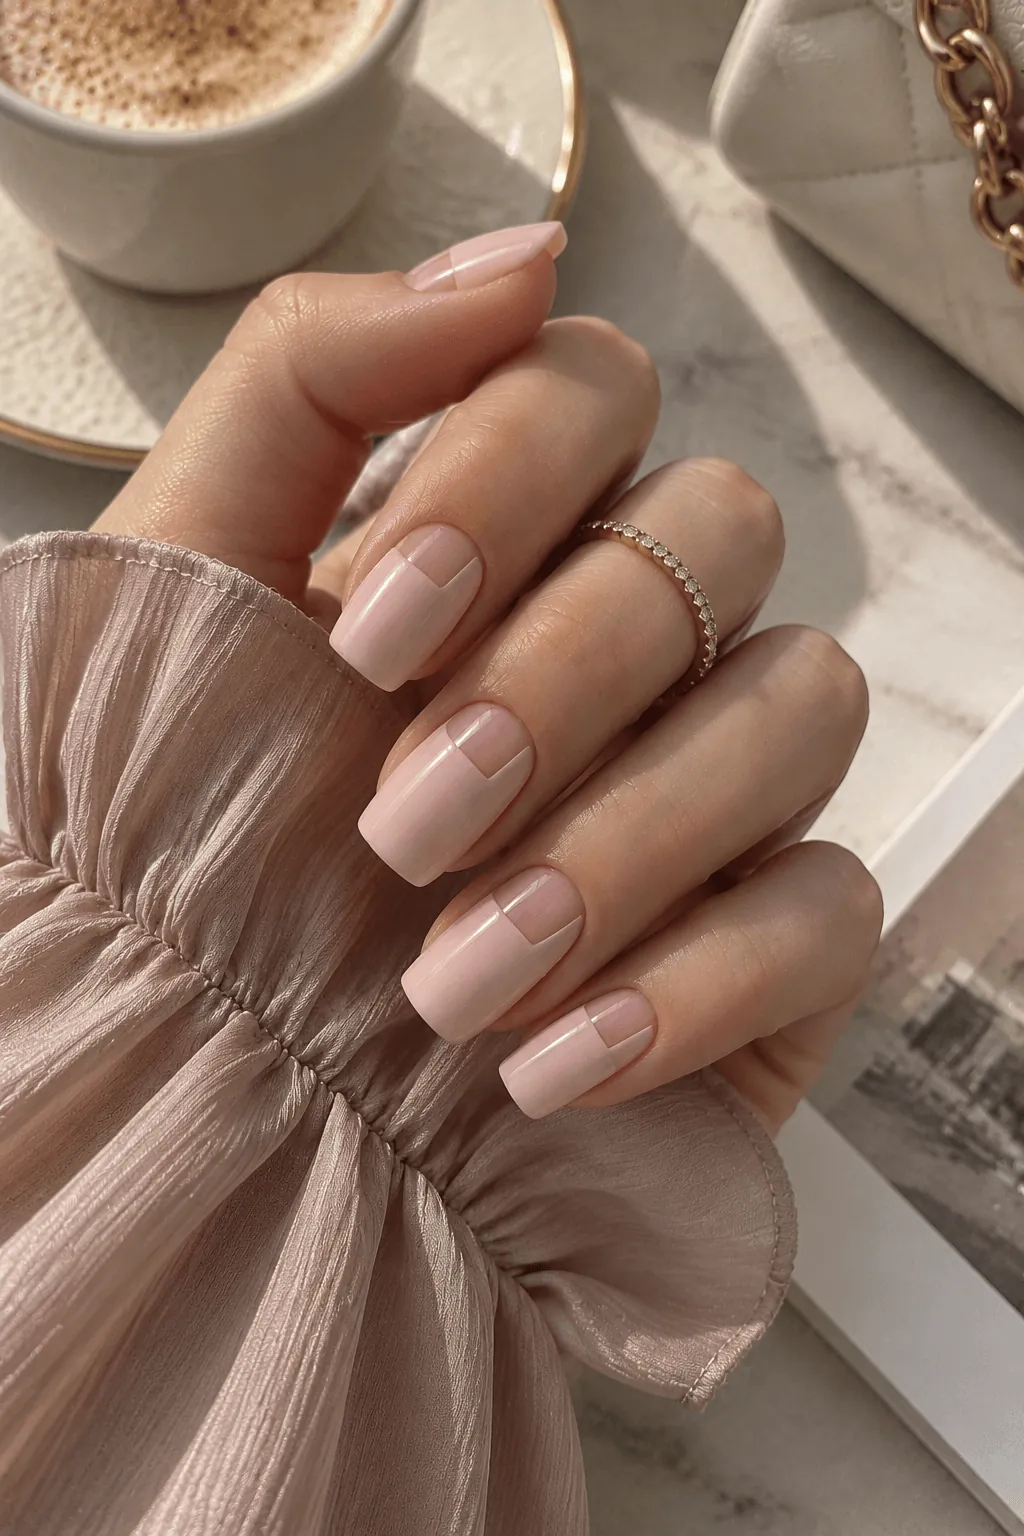
A small section of bare nail is left unpainted on purpose, framed by nude polish. The gap itself becomes part of the design instead of being filled in.
Good to know: The shape of the negative space matters more than the color around it, a clean curve or line reads better than a rough edge.
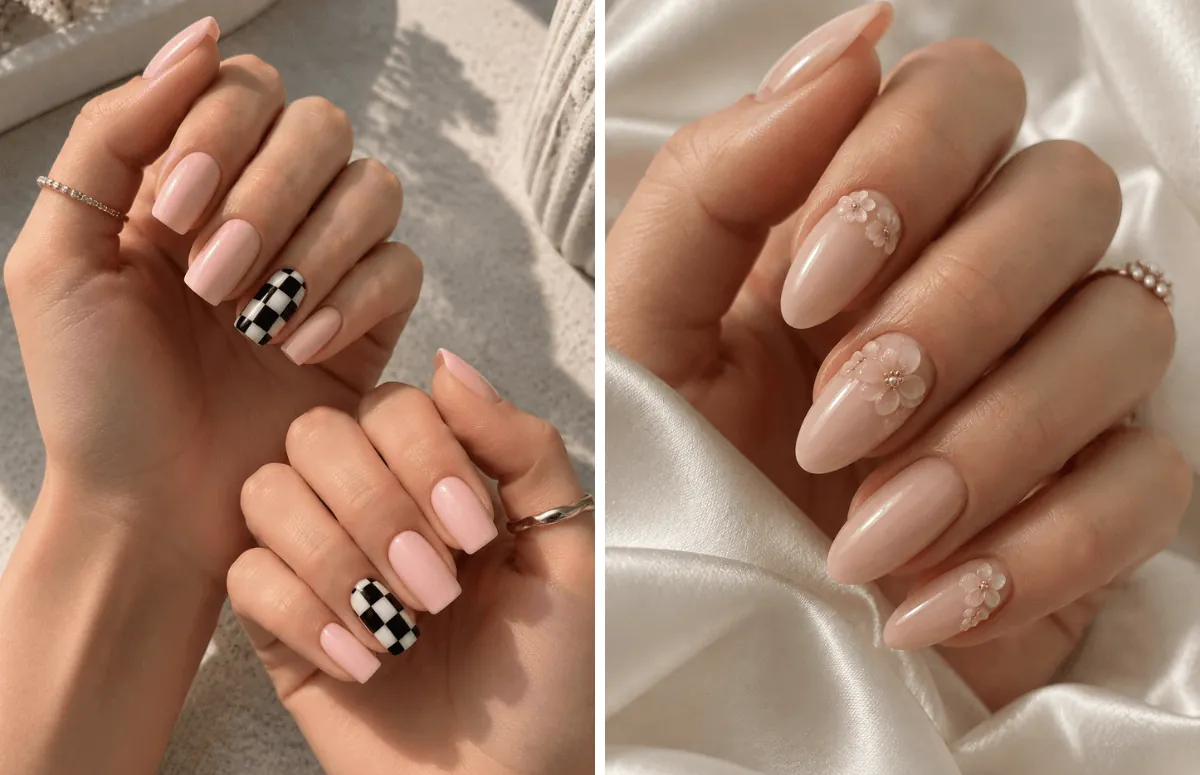
12. Nude Nail Art with Tiny 3D Flowers
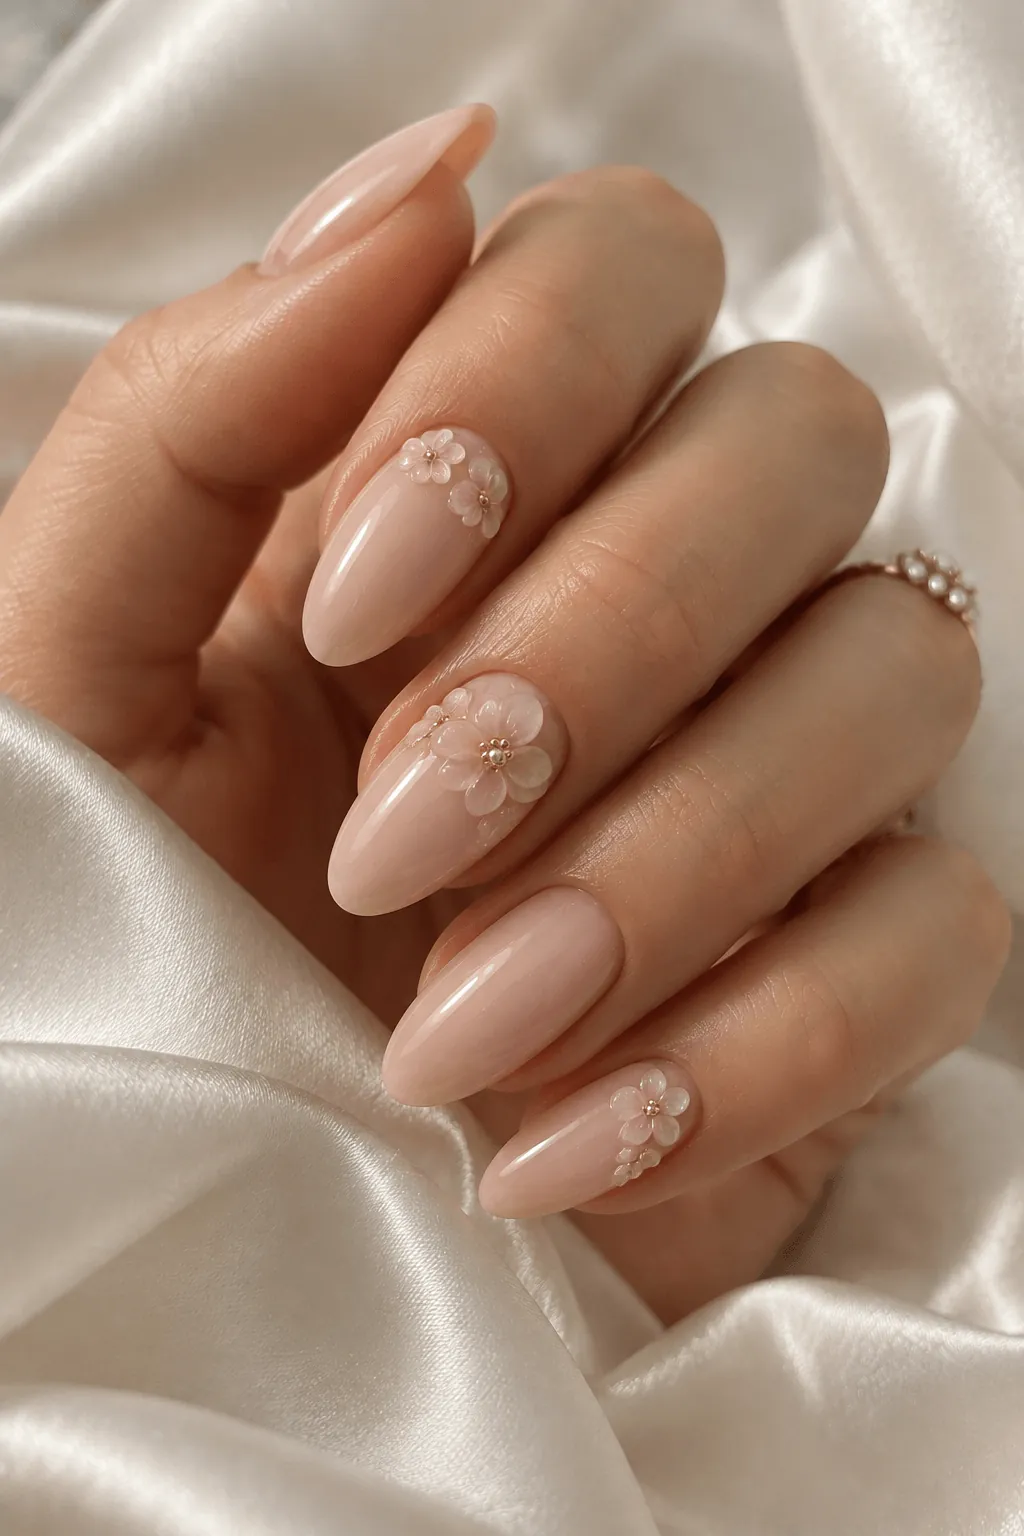
Small raised flowers made from gel sit near the base of a few nails, giving actual texture instead of a flat painted design. The rest of the nail stays a plain glossy nude.
Avoid: placing too many 3D flowers on one hand. Two or three nails with flowers look intentional, a full set can feel heavy.
13. Nude Nail Art with a Checkerboard Accent
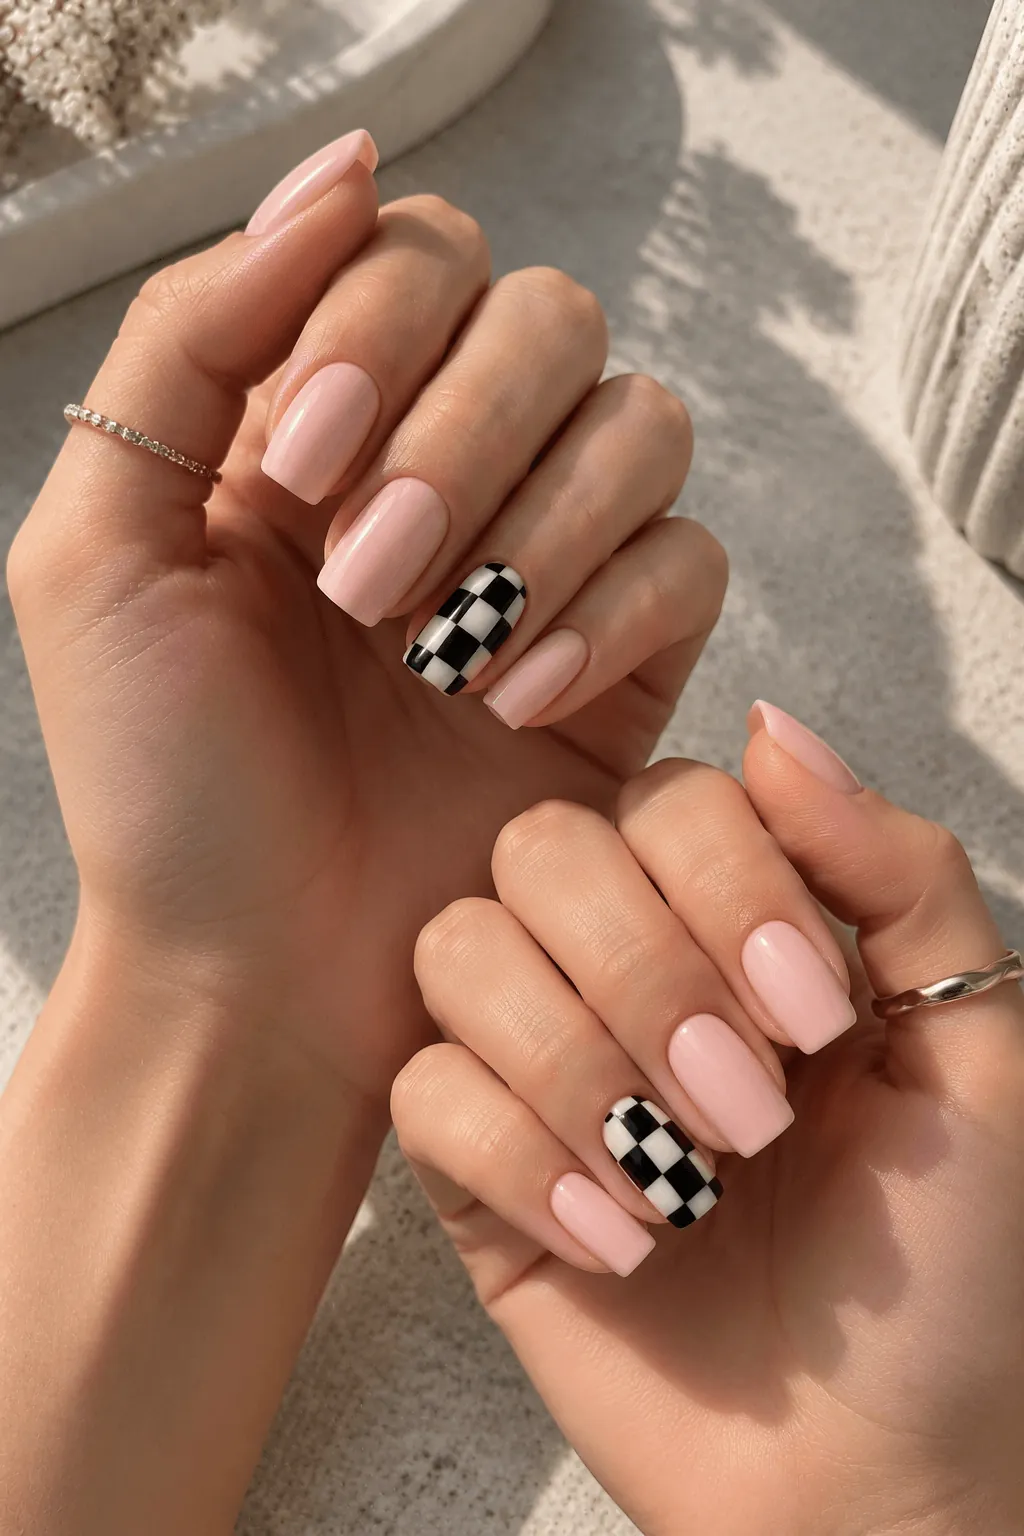
Most nails stay plain nude, and one nail carries a small black and white checkerboard pattern instead. The size of the squares stays small and even.
Quick Tip: a thin striping brush makes the checkerboard lines easier to keep straight than a regular polish brush does.
14. Nude Nail Art with a Tiny Star Design
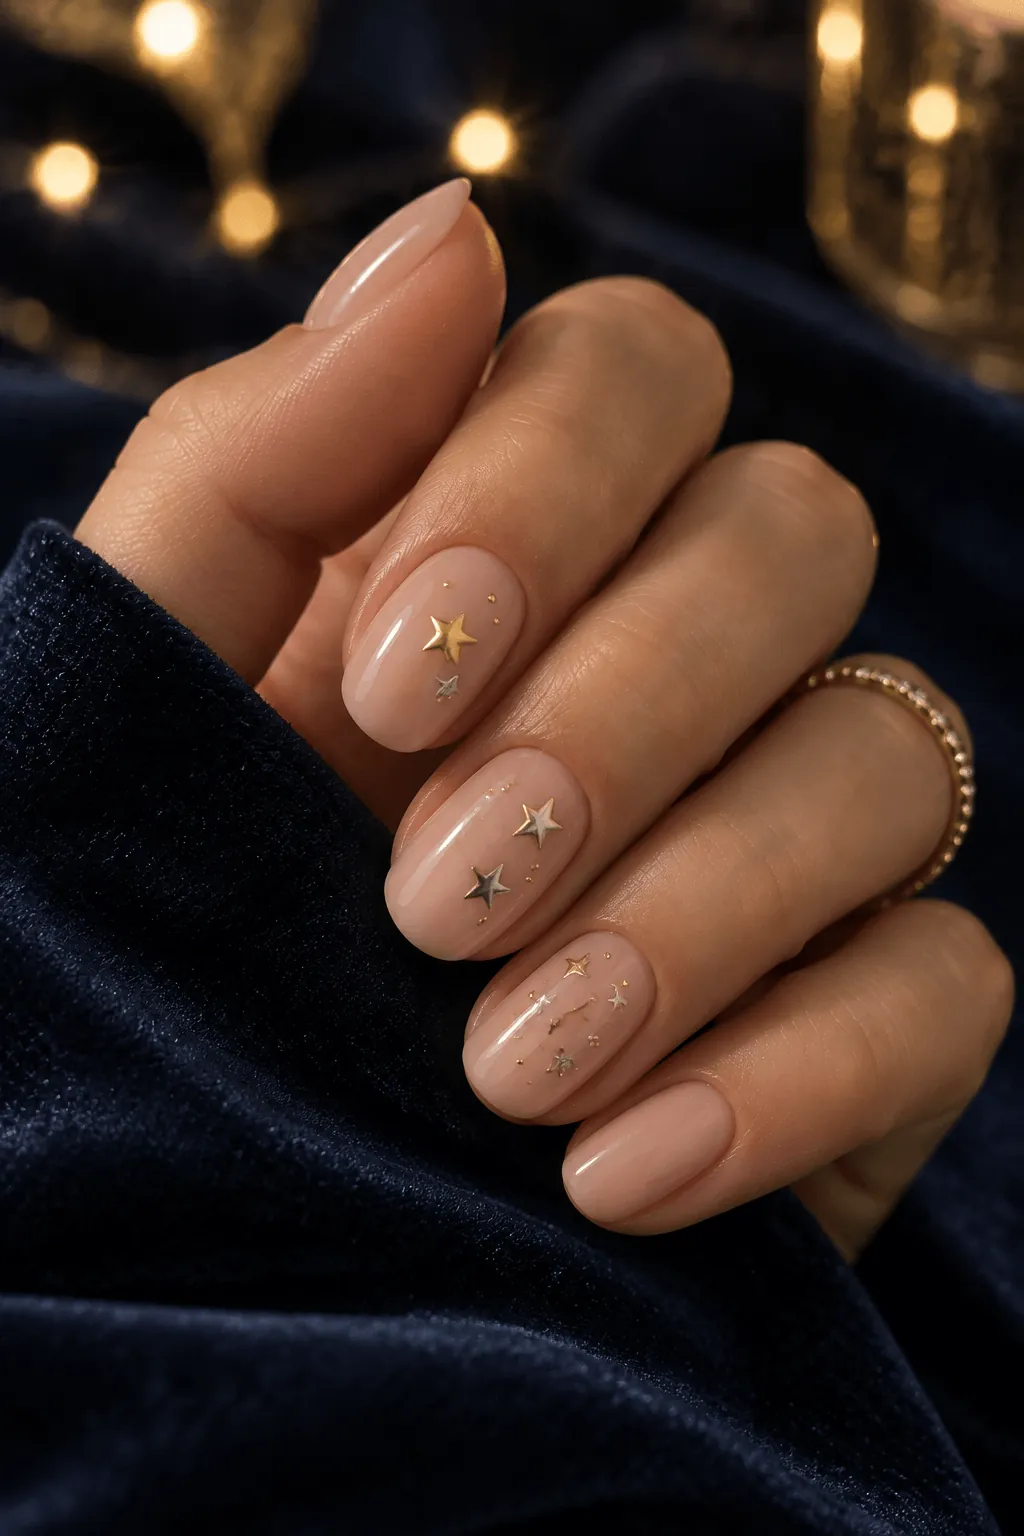
A few small stars in gold or silver scatter across one or two nails, spaced unevenly rather than in a neat row. The rest of the set stays a plain nude.
Good to know: Making sure the stars are different sizes looks more natural than making sure they are all the same size.
15. Nude Nail Art with a Small Heart Accent
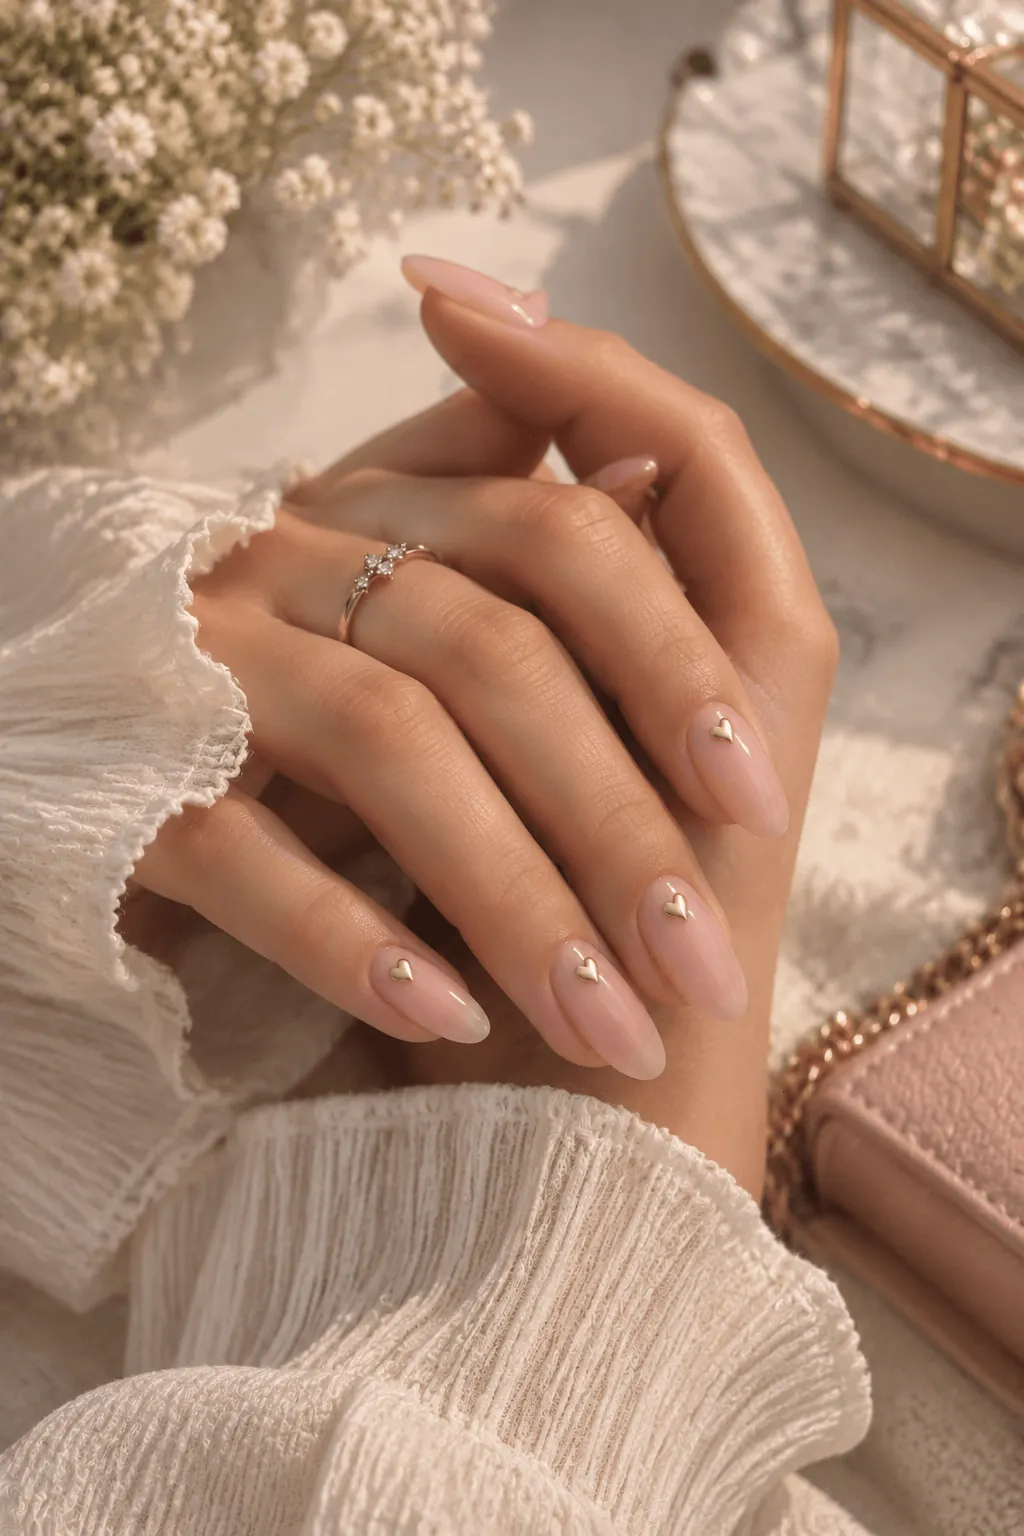
A single small heart sits near the base of one nail, painted in a color that gently contrasts with the nude background. The rest of the nails stay plain and glossy.
Avoid: Making the heart too large. A small, simple shape reads as an accent, a bigger one can start to look like the main design instead.
16. Nude Nail Art with a Watercolor Blend
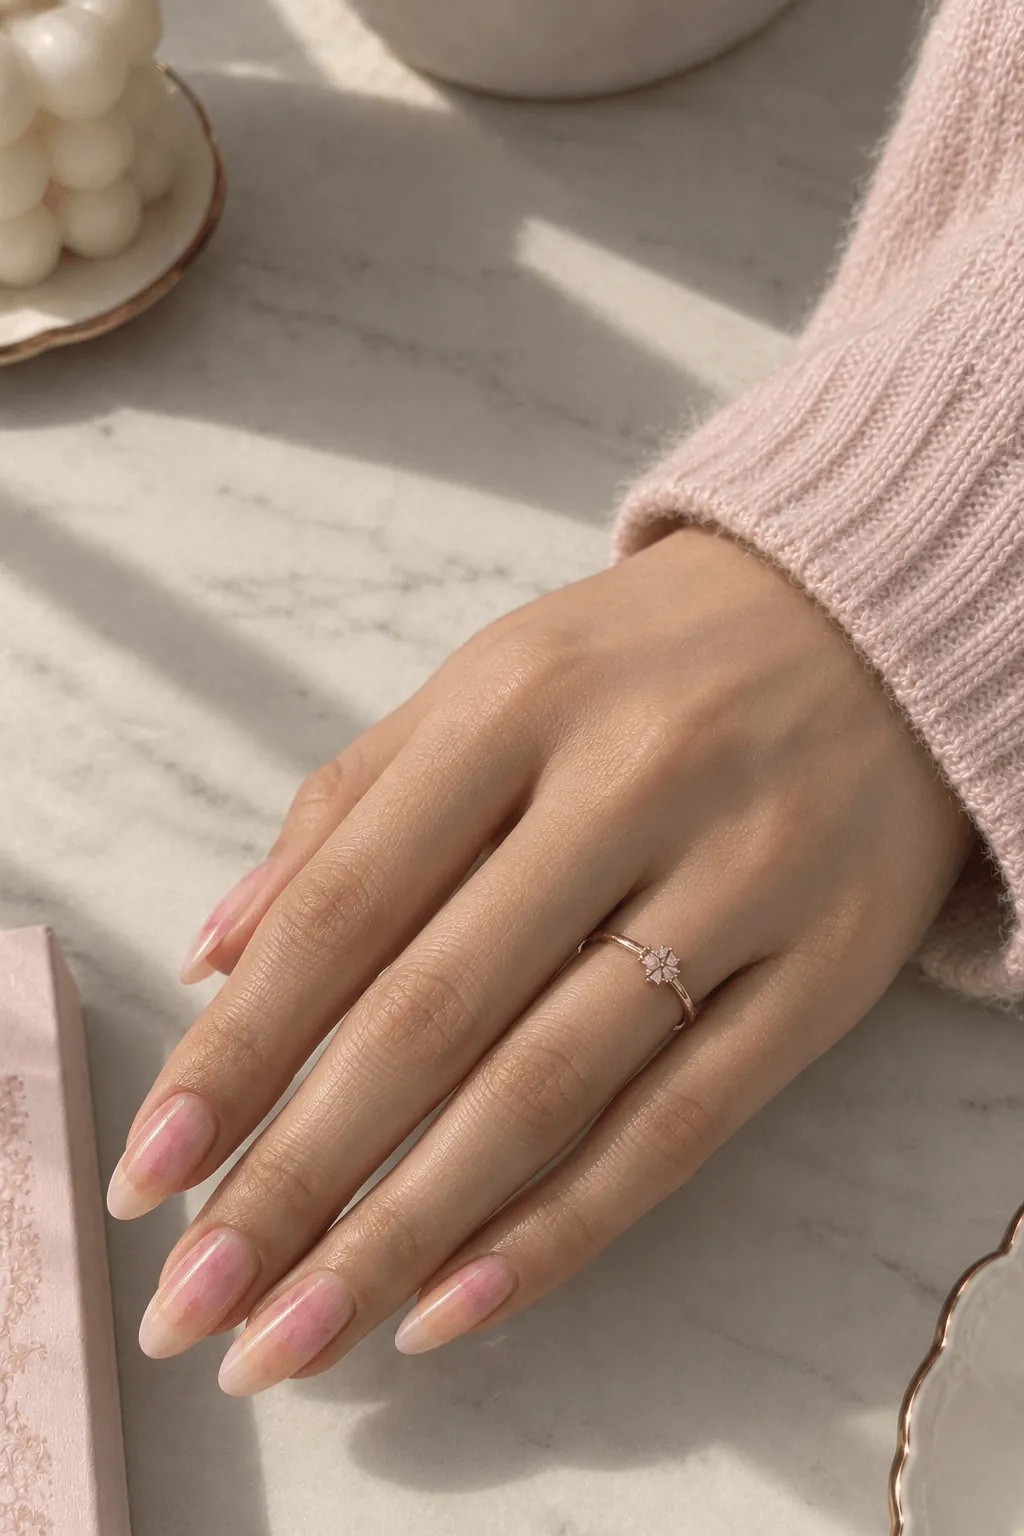
Soft pink and peach tones blend into each other on the nail, with no hard lines separating the colors. It looks more like a wash of color than a solid design.
Quick Tip: The process of working before the base coat dries allows the colors to mix more easily.
17. Nude Nail Art with a Single Fine Line
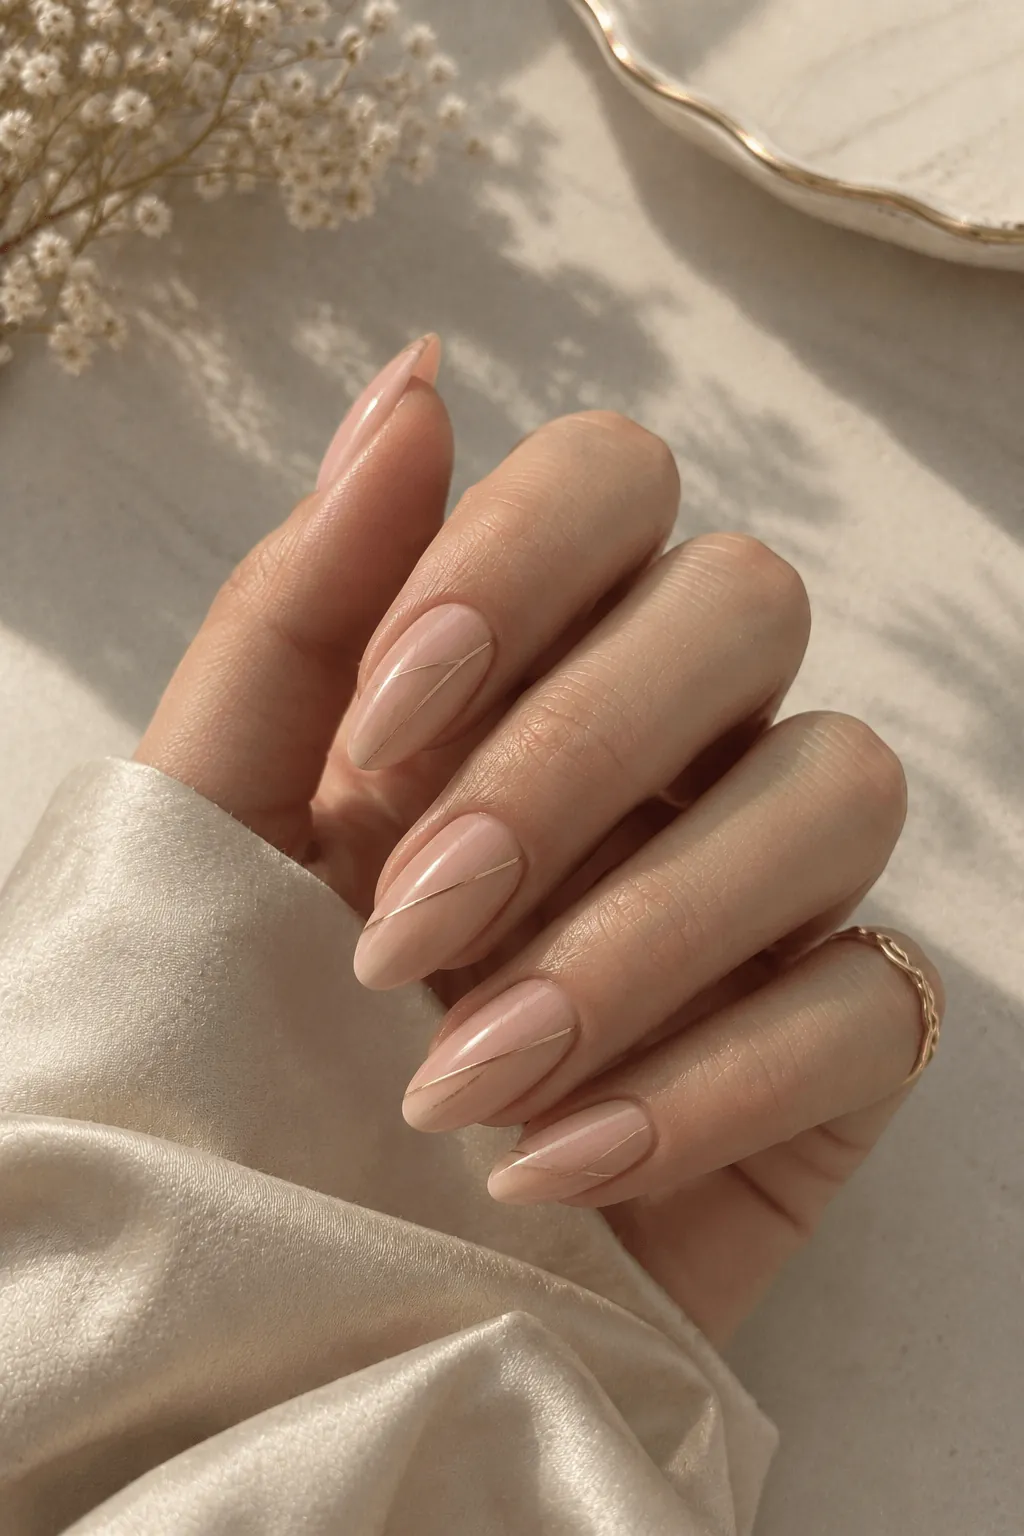
One thin line runs across the nail at an angle, the only detail on an otherwise plain nude set. It’s a small addition that still changes how the whole nail reads. Fine lines can look especially clean on almond nails.
Good to know: a single fine line works best when it’s kept off-center, a line running straight through the middle looks less intentional.
Things to Know Before Trying Nude Nail Art
A few common mistakes and helpful things to keep in mind.
Try to avoid:
- Adding too many small details to one hand, nude backgrounds show clutter more than dark colors do.
- Skipping the top coat on foil, studs, or 3D details, they wear off faster without one.
- Using a thick brush for thin lines makes fine details look sloppy.
- Choosing bright white details on a very pale nude can look too harsh.
Good to know:
- Nude shades can show small mistakes more easily than darker colors, so take your time.
- Gold and metallic details look lovely against nude shades in photos.
- Thin lines and small dots usually last longer than detailed designs.
- A nude color that suits your skin tone can make the nail art look more natural.
Frequently Asked Questions
Final Thoughts
Nude nail art proves a plain base doesn’t have to stay plain. A few gold lines, a small painted detail, or a bold swirl can turn simple nude nails into something worth a second look.
Save whichever design fits your style, and don’t be afraid to mix a plain nail or two in with the detailed ones so the set feels balanced.