You do not need fancy nail tools or perfect painting skills to make your nails look good. These simple nail ideas show how a few lines, two pretty colors, or a tiny detail can make all the difference. They are a great choice when you want something different without spending too much time on a complicated design.
You can create these nail designs with things you may already have at home, such as tape, a makeup sponge, or a thin brush. Some have sharp lines, while others look a little messy in a nice, hand-painted way. Try them on short or long nails, using any colors you like.
Start with clean, dry nails. Apply a base coat and let it dry before you begin painting your design.
1. Diagonal Tape Split
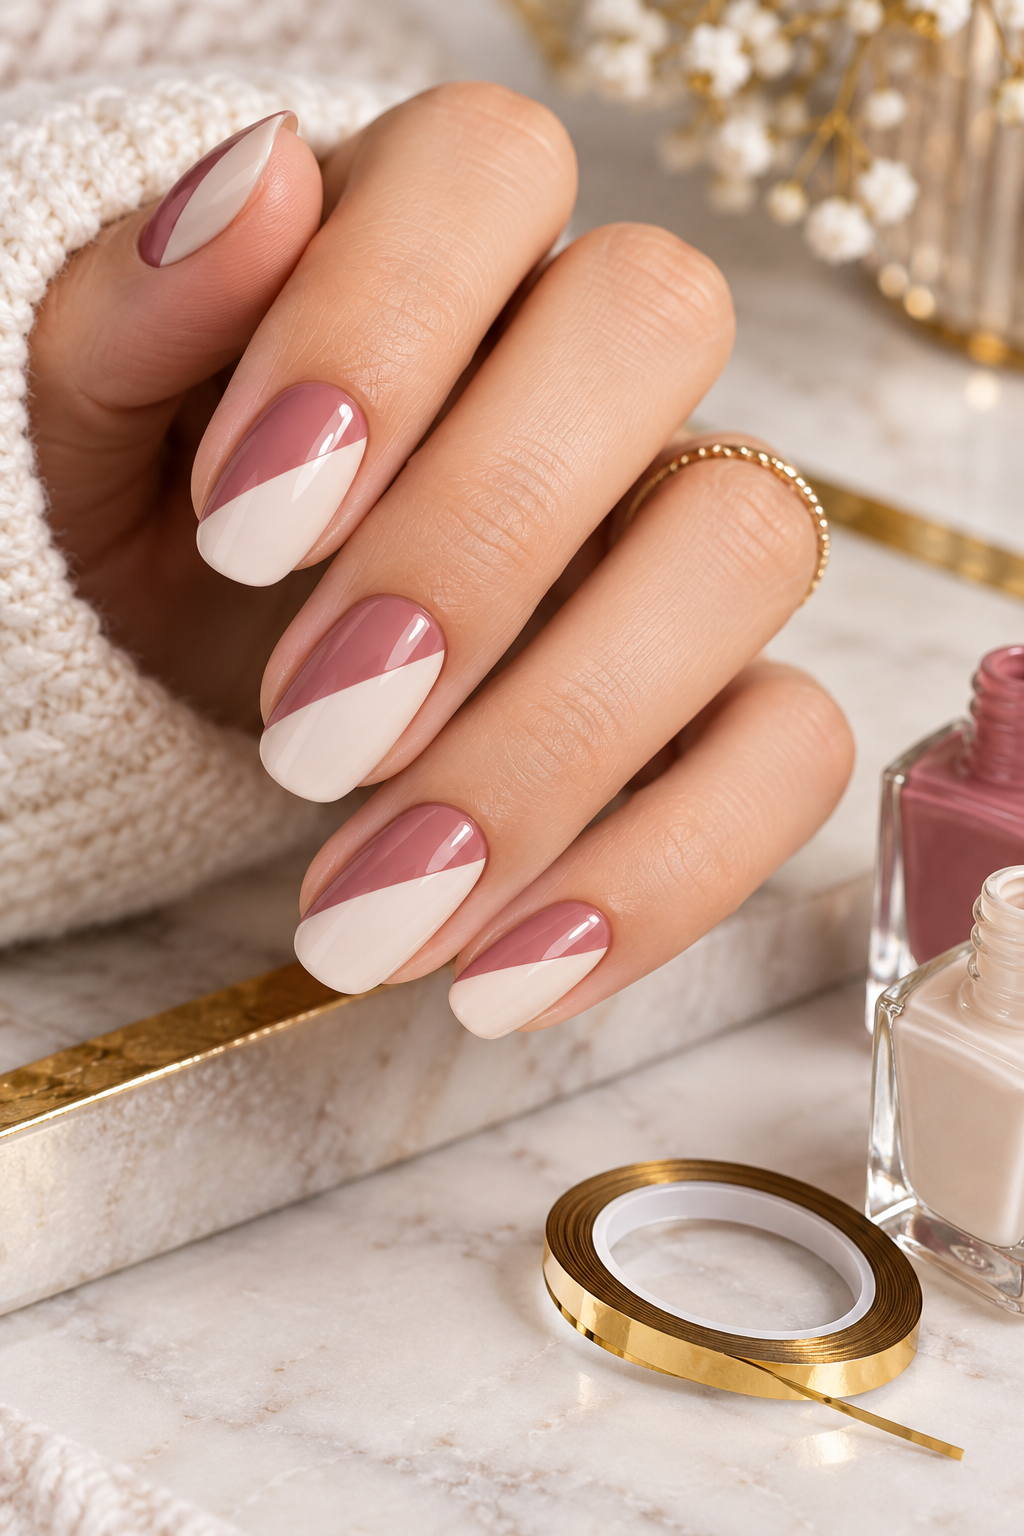
For this look, you only need two nail polish colors and a piece of tape. The idea is to divide the nail into two parts with a slanted line.
Paint your nails in the first color and let it dry. Place the tape diagonally across the nail, then paint one side with your second color. Carefully peel the tape away while the new polish is still a little wet.
Tip: Run your fingernail along the tape to press down the edges. Otherwise, polish may slip underneath and spoil the line.
2. Simple Nail Ideas with Two-Tone Stripes
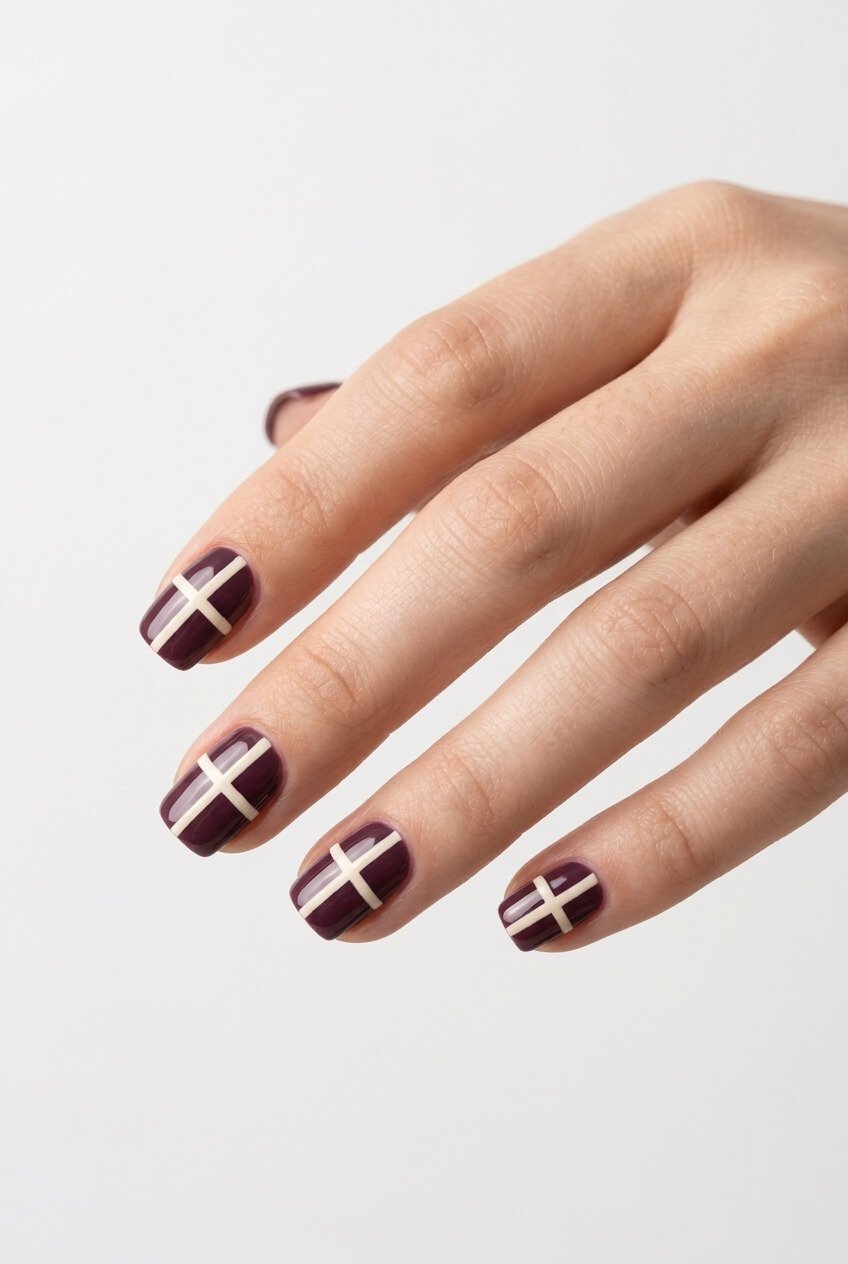
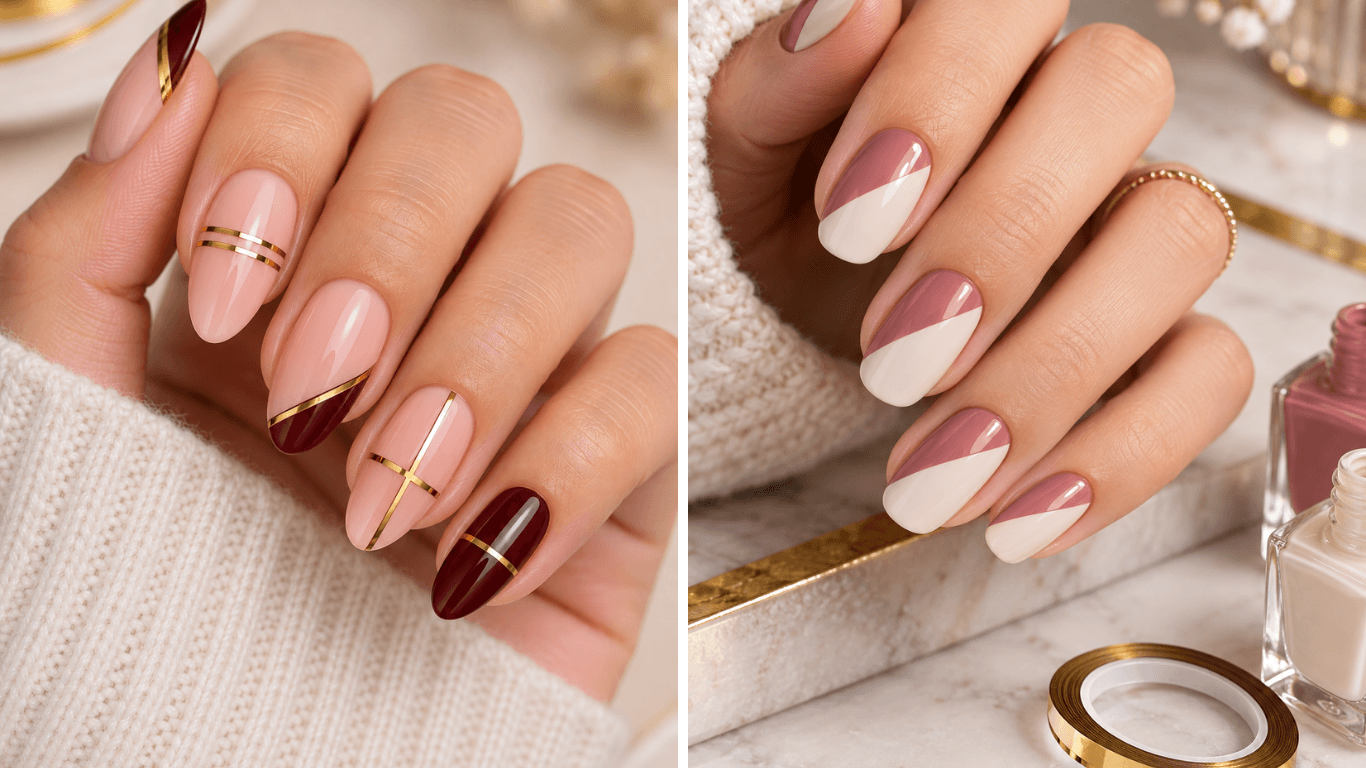
Straight lines can be tricky to paint by hand, so tape comes in handy here. This design leaves a small cross in the original base color, with a darker shade around it.
Paint your nail a light color and wait until it is completely dry. Lay two thin strips of tape across the nail, making sure they cross. Brush a darker polish over the uncovered areas, then remove both strips carefully.
The original base color will show through where the strips were placed. You can use this design on one or two nails and keep the rest a solid color.
Tip: Pull the tape back slowly rather than lifting it straight up. This can help keep the edges clean.
3. Simple Nail Ideas with Two-Tone Stripes
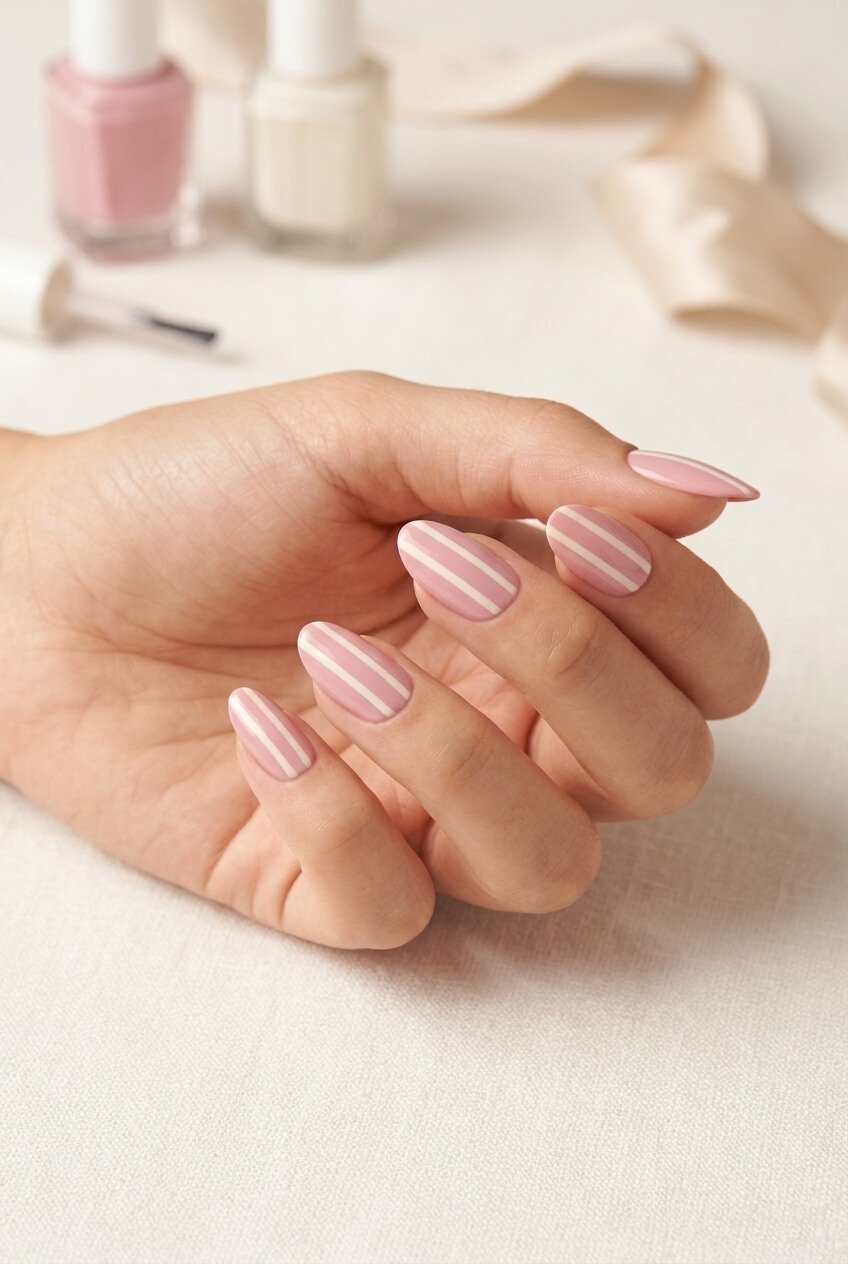
A pair of thin stripes is a simple way to add detail to plain nails. You can use this design with almost any color combination, from soft pink and white to black and beige.
Apply your base color and wait until it is dry. Place two narrow strips of tape next to each other, leaving a small gap between them. Paint over the nail with another shade, then lift the tape to reveal the stripes.
The design looks especially neat when the lines have similar widths. Try it on a single accent nail if you prefer a more understated manicure.
Tip: Keep the space between the tape strips even. Uneven gaps can make the finished design look less balanced.
4. Single Swipe of Color
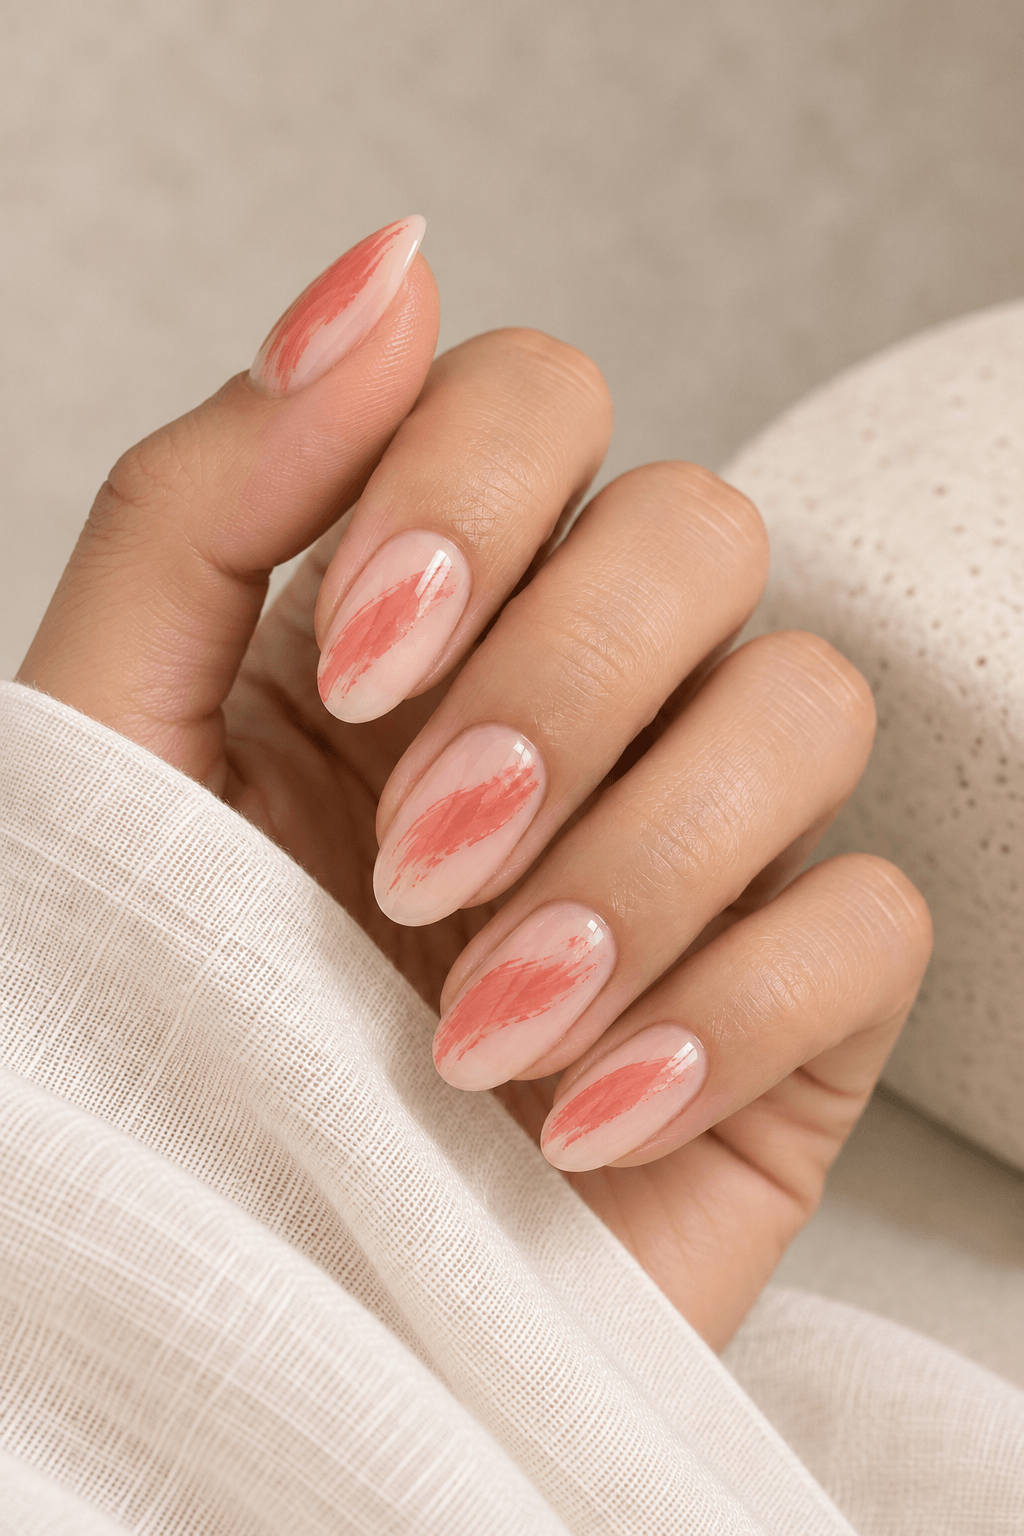
A single brush stroke can look lovely on a plain, sheer base. You don’t have to make it perfectly straight. The slightly rough edges give the nail a painted look.
Apply a nude or milky polish and let it dry. Wipe most of the polish off a flat brush, then sweep it across the nail in one go. Try not to brush over the same spot again, or the color may turn into a thick patch.
You can use a bright color for a bold look or choose a soft shade for something more subtle.
Tip: Use only a little polish on the brush. Too much can leave a thick mark instead of the soft finish you want.
5. Comma Strokes
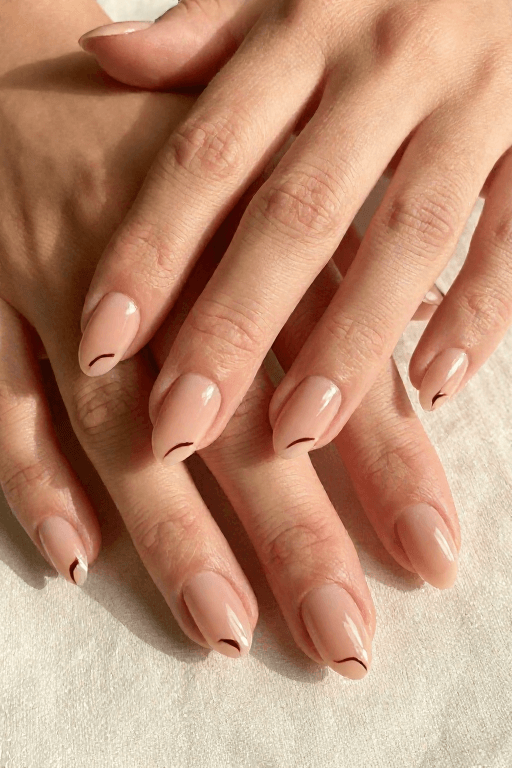
Small curved strokes are an easy way to give a plain manicure a playful finish. They look like tiny commas and do not need to be identical.
Use a thin brush to paint three or four curved marks down the center of a nail. You can also place them near the tips or scatter a few across the surface. A neutral base helps the strokes stand out, while a colorful base gives the design a fun look.
Do not worry if each curve looks slightly different. That is part of the appeal of hand-painted nail art.
Tip: Press the brush lightly against the nail, pull it into a short curve, and lift. Practice on paper first if you are not used to using a thin brush.
6. V Notch
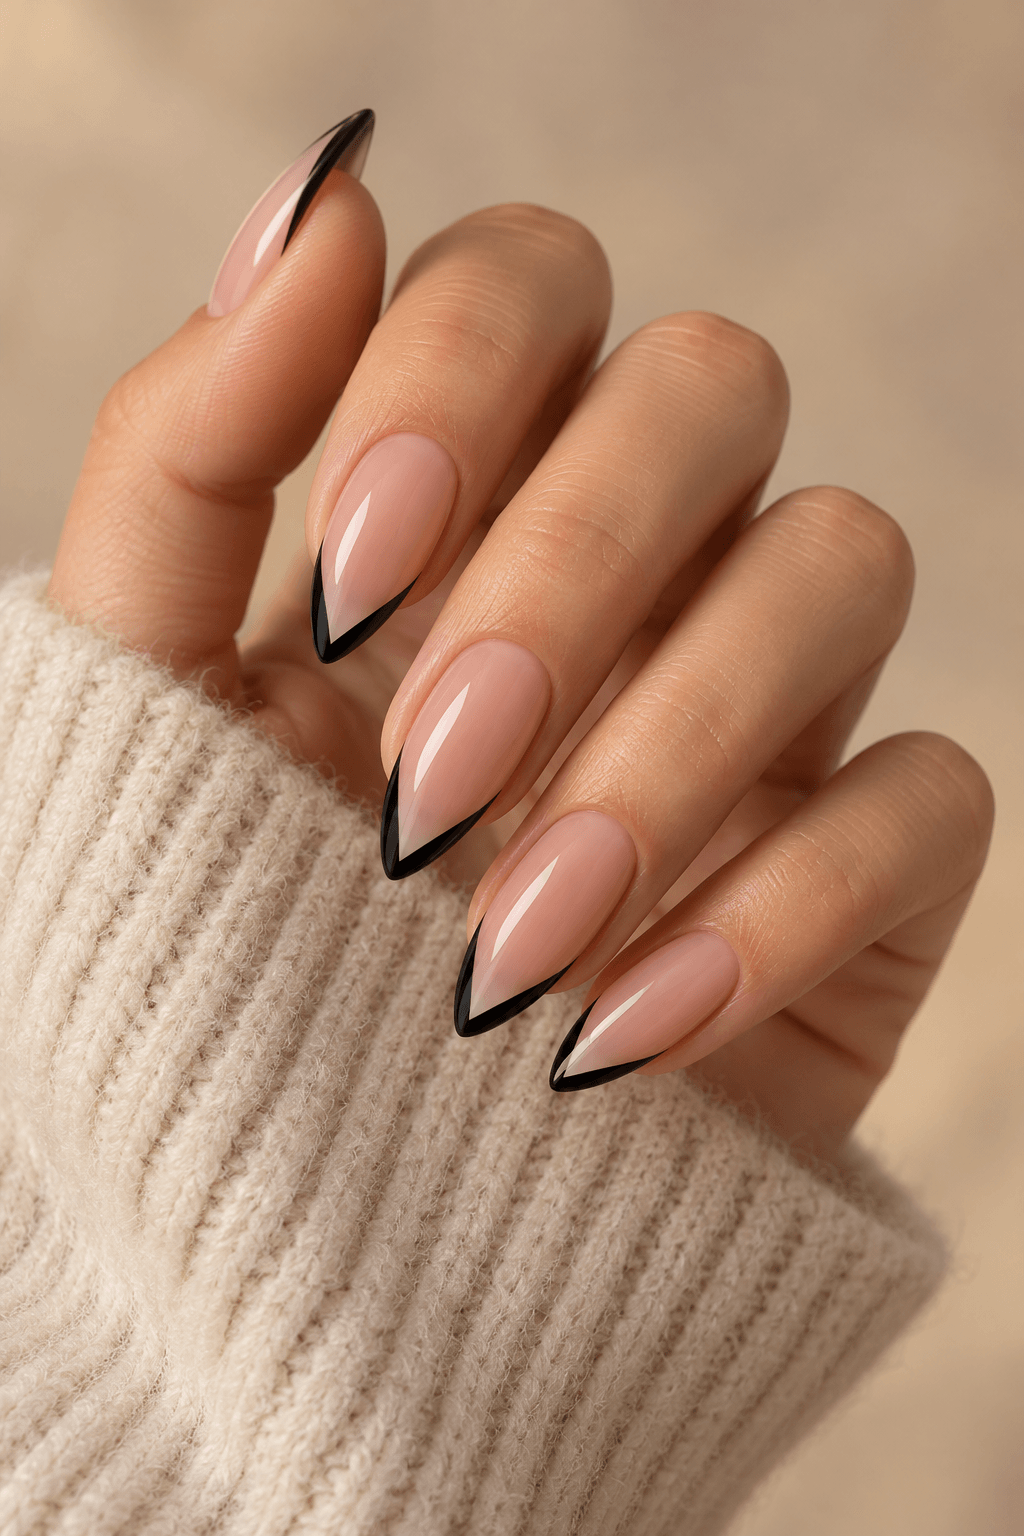
Give your nail tips a different look with a small V instead of the usual straight line. It looks especially nice on a nude base, since the pointed shape adds detail without covering much of the nail.
Use a thin brush to draw two lines that meet near the tip, then fill the space between them with your chosen color. Black and white make the shape pop, while pink and burgundy give a softer look. Adjust the width of the V to fit the size of your nail.
Tip: Place your hand flat on a table while painting. Start with light strokes so you can adjust the shape before filling it in.
7. Sponge Dab
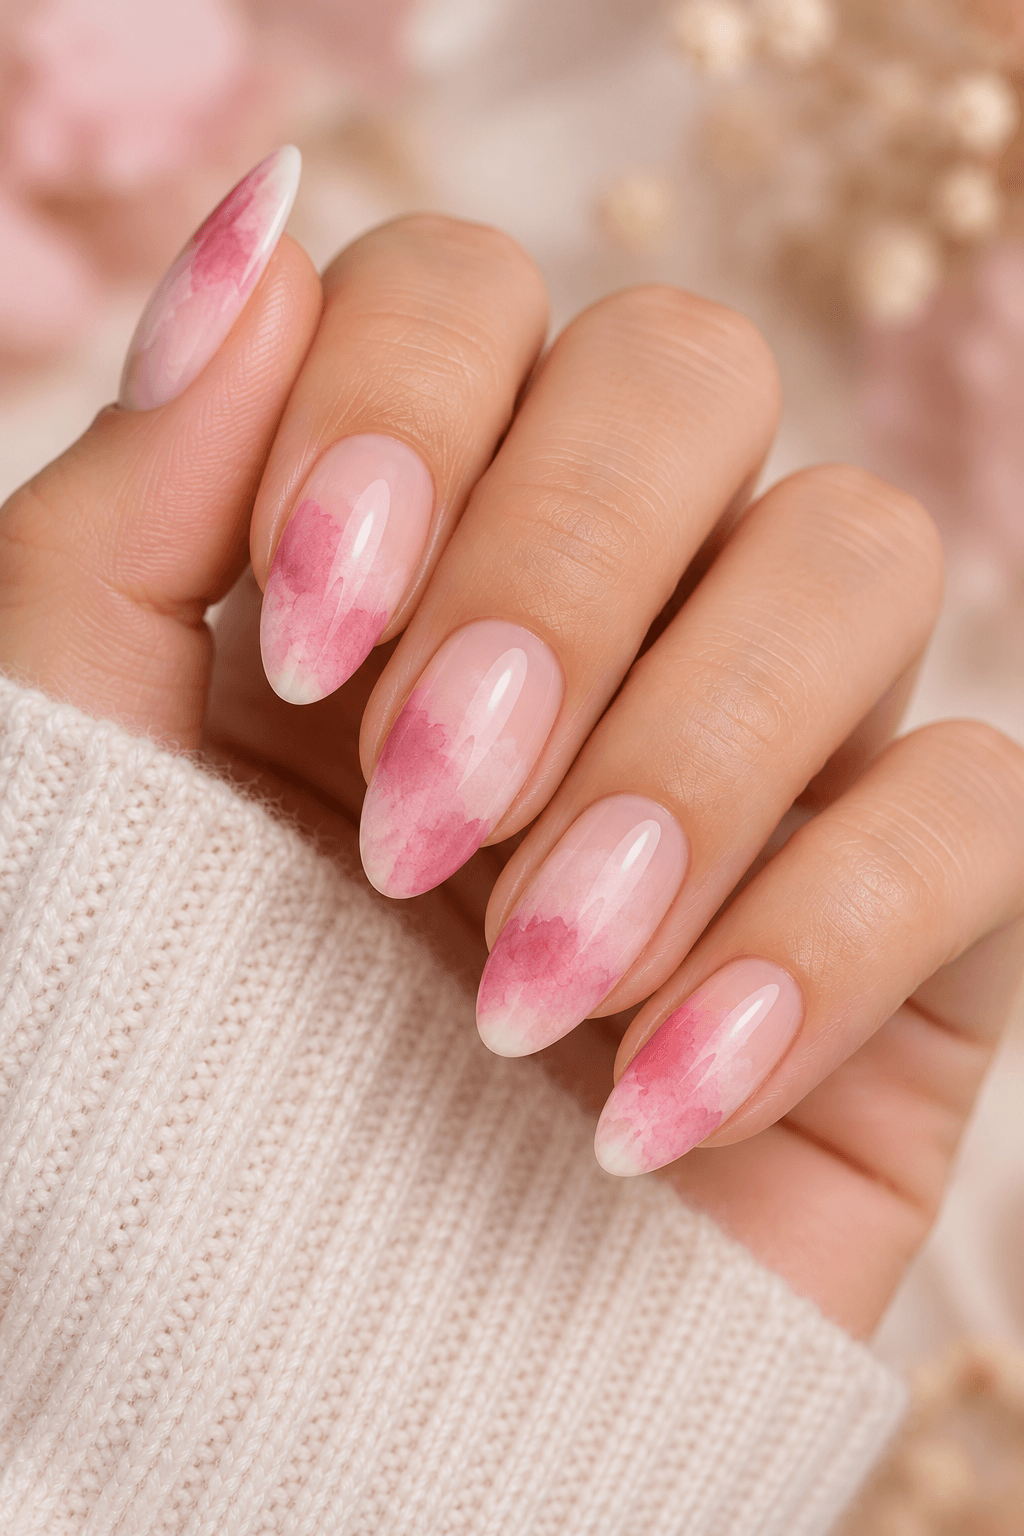
The soft colors in this nail art create a cloud-like, watercolor appearance. This nail polish look is achieved by using a makeup sponge rather than paintbrushes.
Paint your nails with a base shade and let it dry. Add a little polish in a second color to the sponge, then gently tap it onto the nail. Build up the color with light taps, leaving some of the base visible. Pink over nude and blue over white are pretty combinations to try.
Tip: Check the sponge with a paper towel. If there is a ball of polish remaining, remove excess polish before applying to your nails.
8. Plastic Wrap Texture
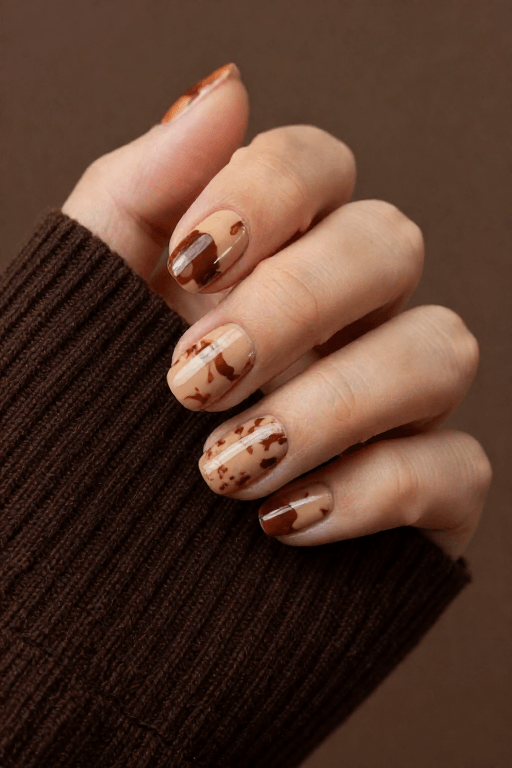
Crumpled plastic wrap can leave marks that make your nails look like they have a marble pattern. Pick two colors from the same group or try contrasting shades.
Paint on the base shade and wait until it is dry. Add a thin coat of another color, then lightly press a small piece of crinkled plastic wrap over it. Lift the wrap to reveal the pattern.
Cream and brown create a soft, natural look, while black over a light base gives stronger contrast. Since the texture changes with every press, no two nails need to look exactly alike.
Tip: Work on one nail at a time. The top layer needs to remain wet when you press the wrap onto it.
9. Thin Foil Flake
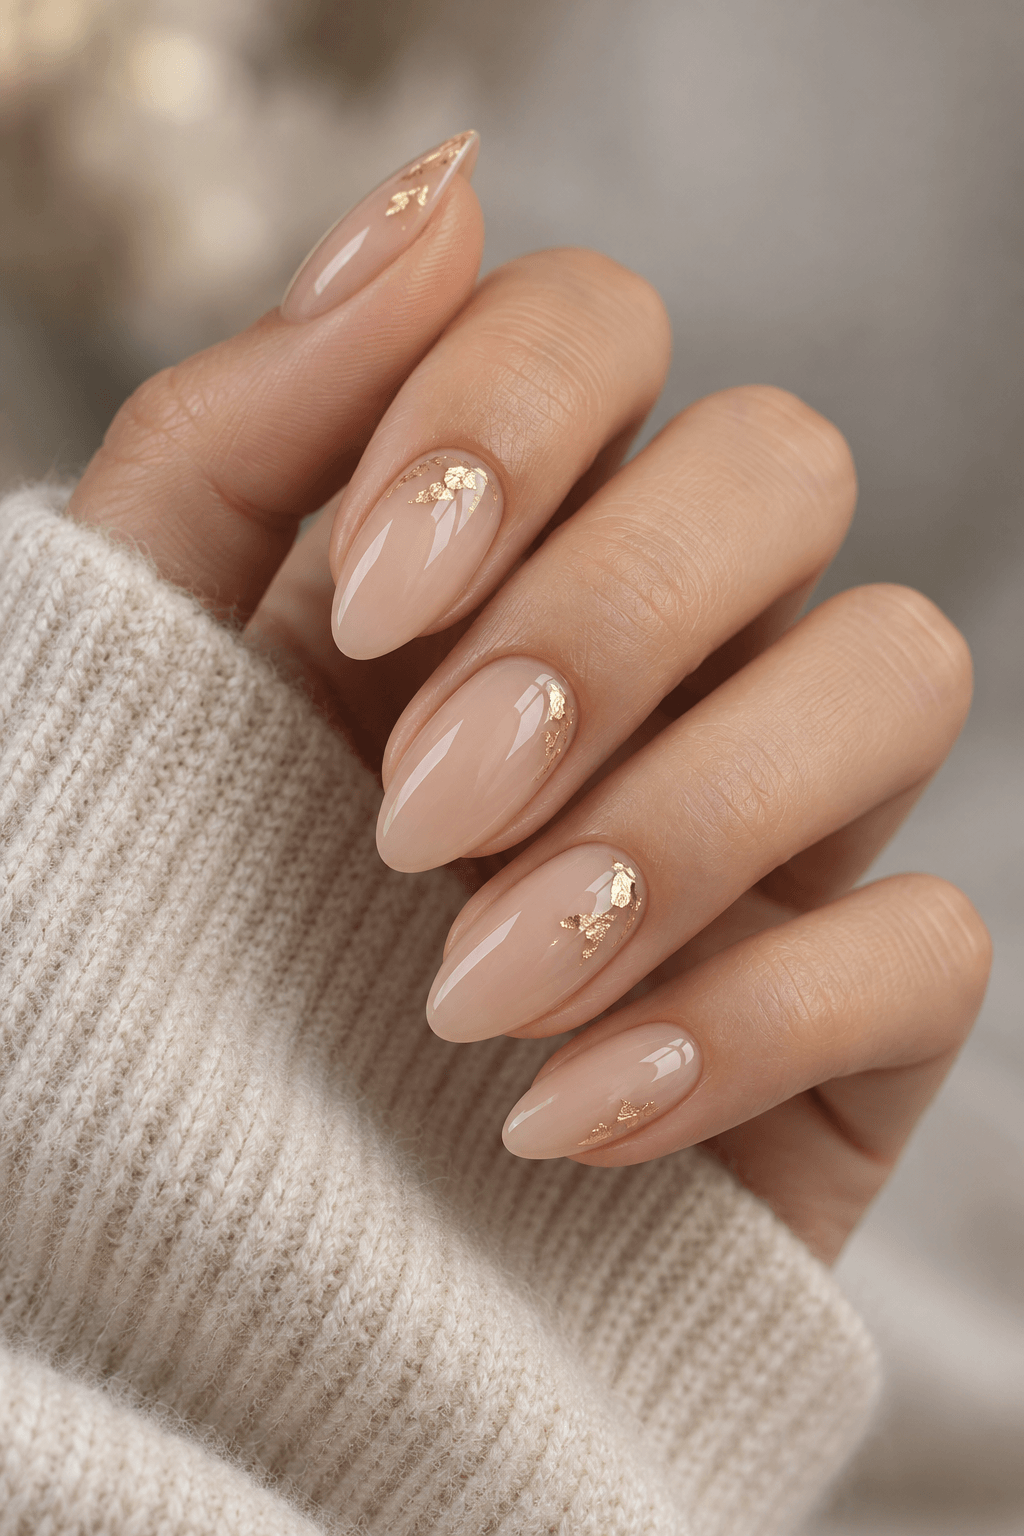
A tiny foil detail adds shine without making the whole manicure look glittery. Gold works beautifully with nude, brown, and burgundy polish, while silver pairs well with gray, blue, and black.
Apply your chosen base color and let it dry completely. Put on a layer of top coat and wait until the surface is slightly sticky. Use tweezers to place one small foil flake on the nail and press it gently into place. Cover everything with another layer of top coat.
Place the foil near the cuticle, toward one side, or close to the tip.
Tip: Avoid placing foil on a very wet surface. It may slide around or lose its shape before you can seal it.
10. Striping Tape Line
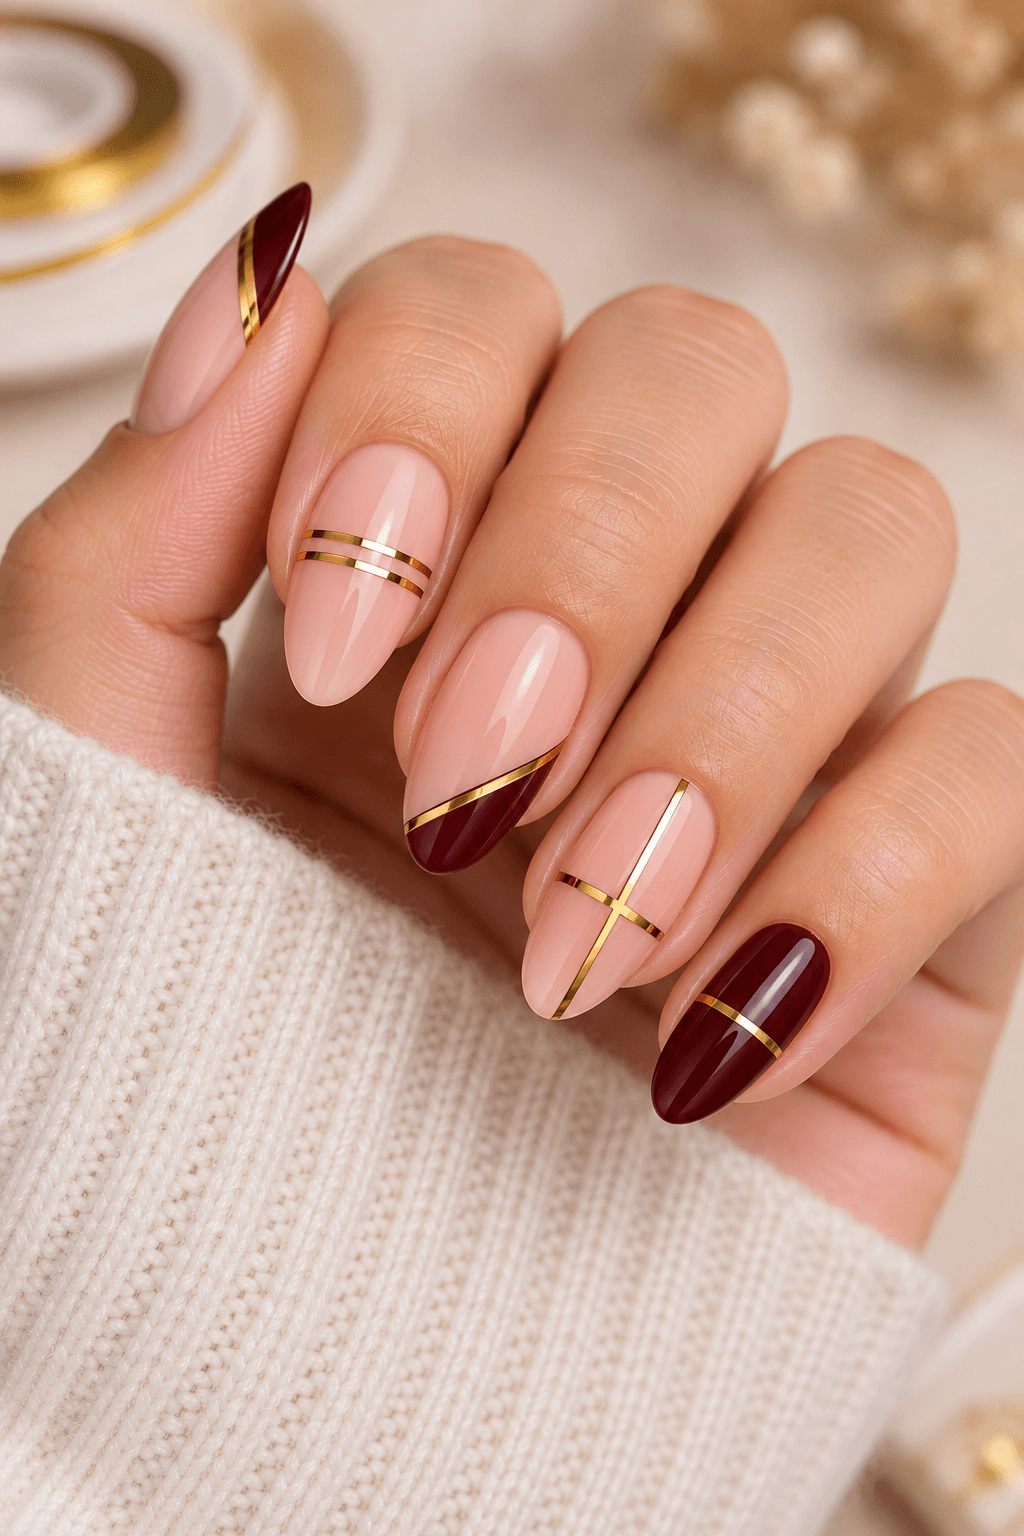
Striping tape is useful when you want a clean line without painting it by hand. The thin tape adds a simple detail and works with both neutral and bright nail colors.
Apply your base shade and let it dry fully. Place one strip of tape across the nail, either straight or at a slight angle. Press down the ends, then apply a top coat to help keep the tape in place.
Cream tape stands out against darker polish, while metallic gold or silver can add a little shine to a plain manicure.
Tip: Trim the tape so it fits within the nail edges. Any part sticking out can catch on clothing or hair.
11. Small Decal Accent
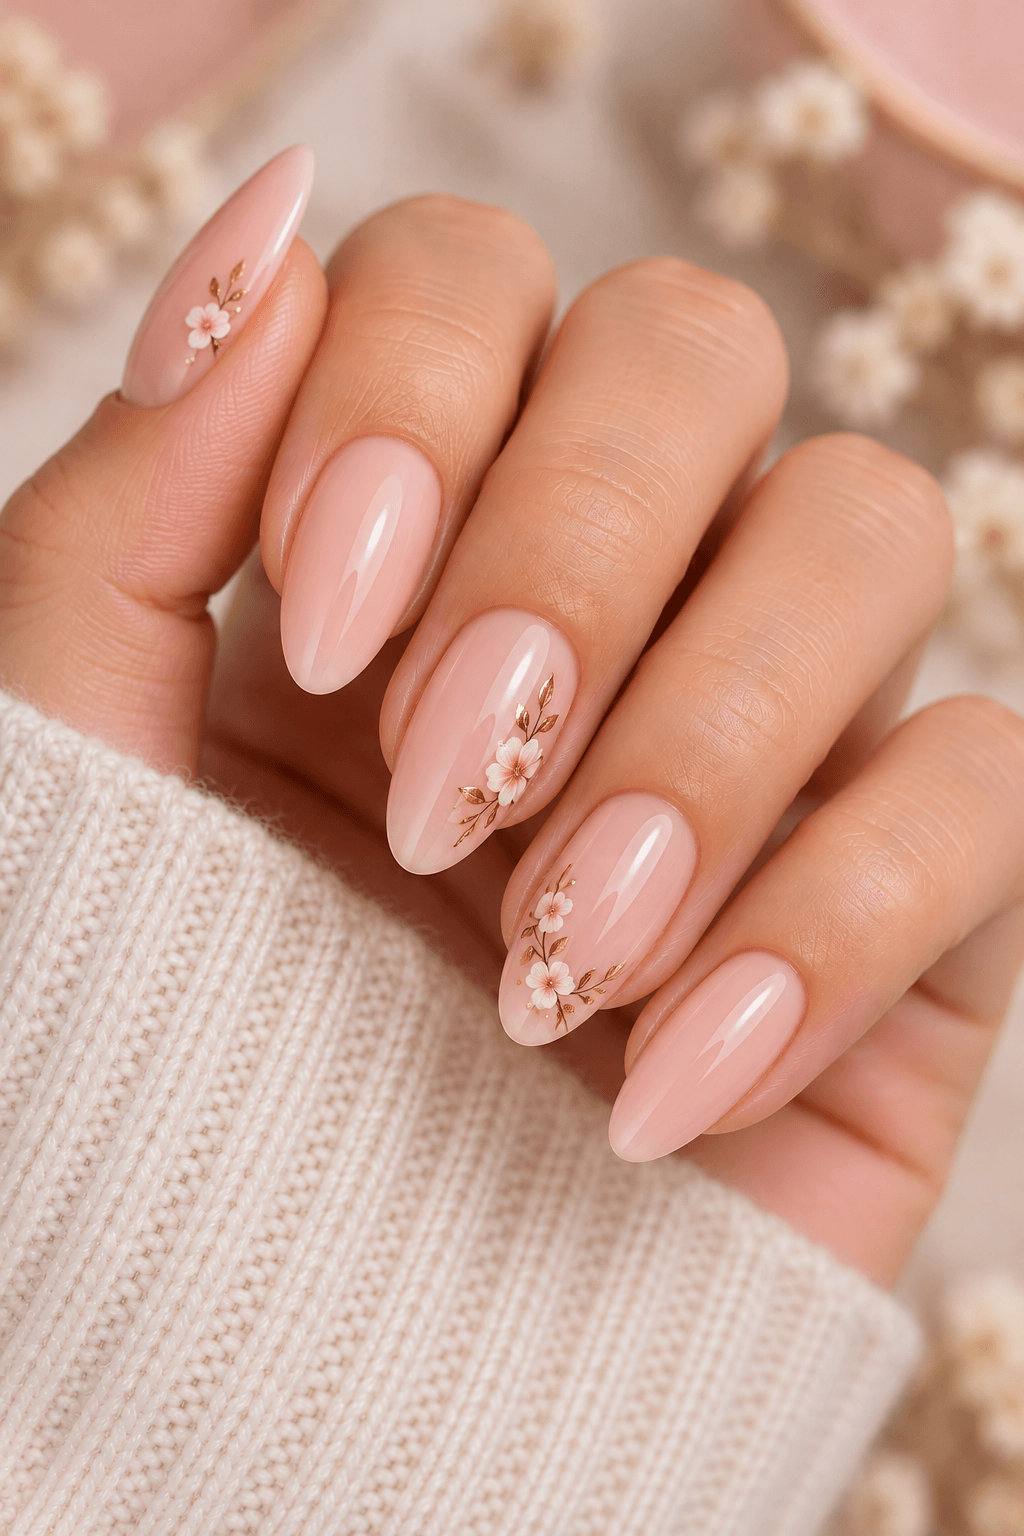
Nail stickers are a helpful option if you want a detailed design without drawing it yourself. Small flowers, stars, hearts, and simple shapes all work well.
Paint your nails with a base color and allow it to dry completely. Pick up a small decal with tweezers, place it on one nail, and press it flat. Finish with a layer of top coat to help seal the design.
One sticker on a single nail is often enough. Leave the other nails plain so the small detail gets the attention.
Tip: Try placing the decal slightly off center. It gives the design a relaxed look without making the nail feel crowded.
12. Two-Tone Halves
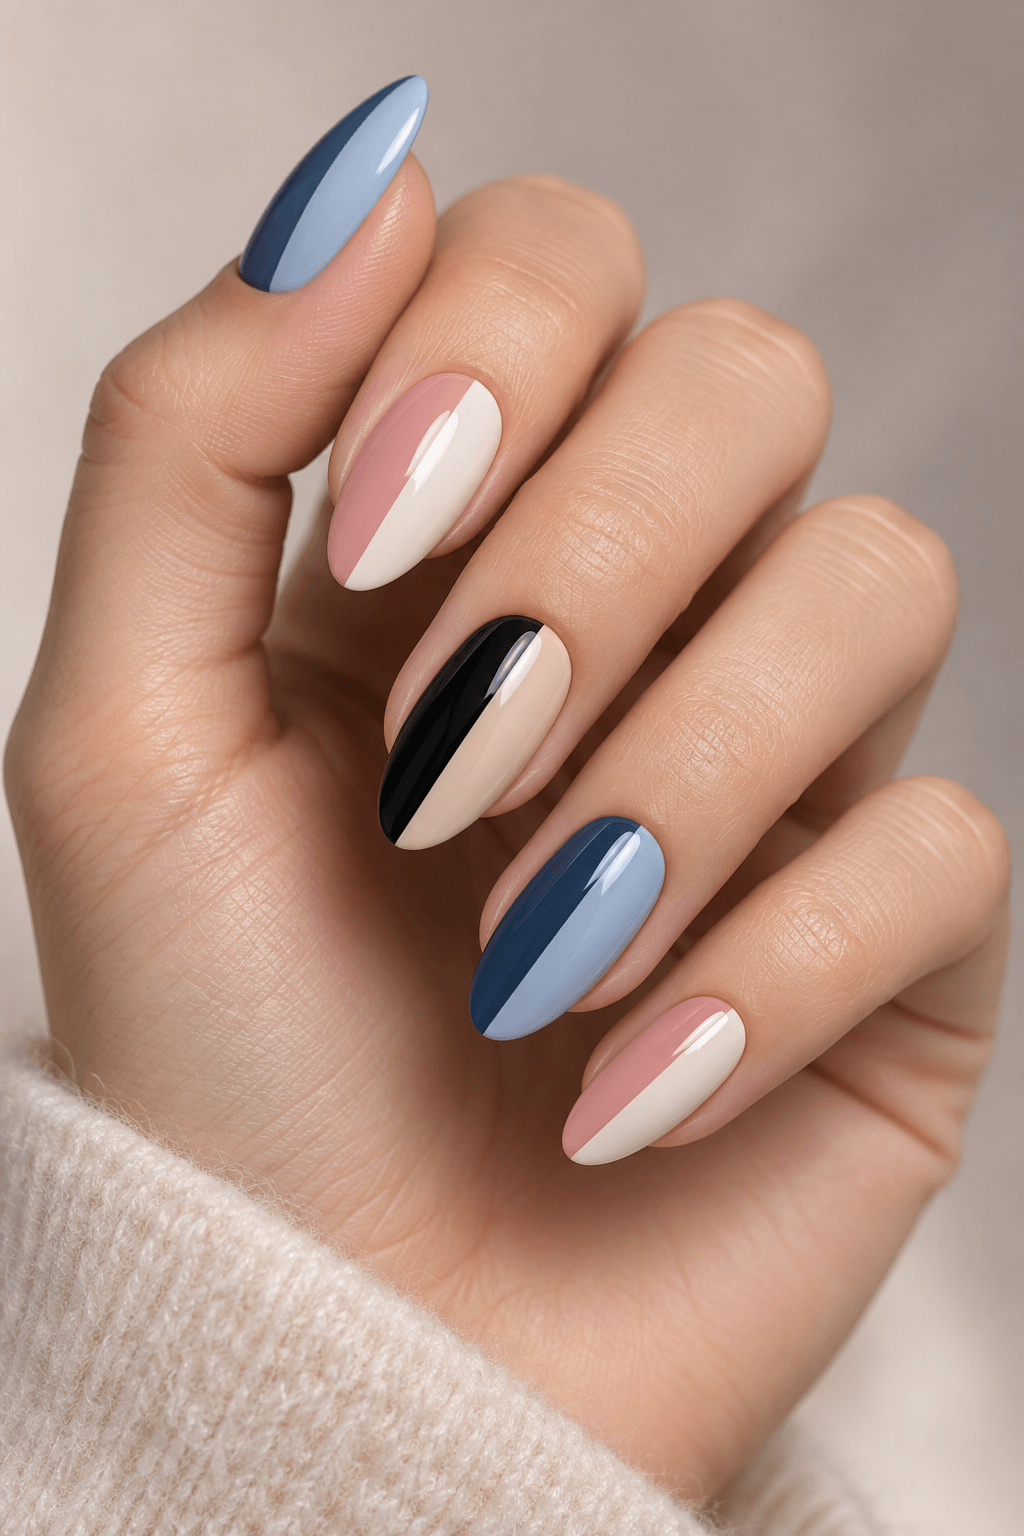
Why stick to one color when two can work just as well? A split-color manicure divides each nail into two sections for a simple but noticeable effect.
Paint the nail in your first shade and let it dry. Place a strip of tape down the middle, then paint one side in a second color. Make sure the first section is dry before covering it with tape.
Soft pink and cream look gentle together. Black and beige create a bolder finish, while two shades of blue give the design a coordinated look.
Tip: Choose your color combination before you start. Similar shades create a subtle split, while contrasting colors make the division stand out.
13. One Accent Nail
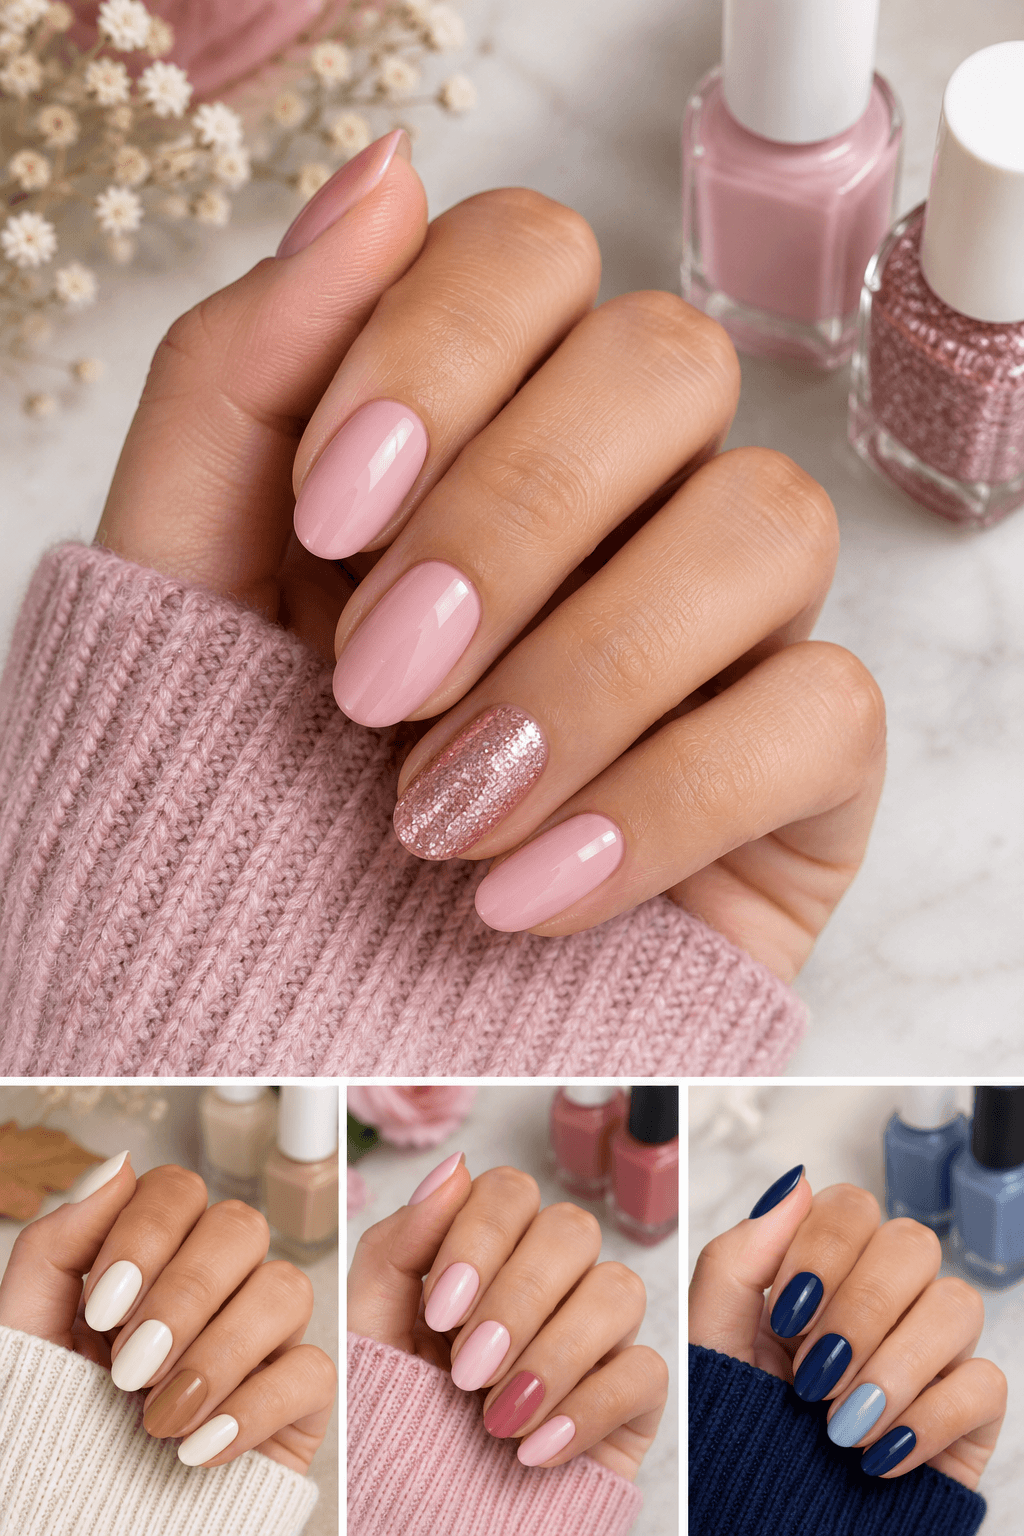
You do not need a different design on every finger. Sometimes, one contrasting nail is enough to make the whole manicure feel more interesting.
Paint most of your nails in one shade, then use another color on your ring finger. Cream with tan, pale pink with rose, and navy with light blue are easy combinations to try.
You can also keep the base color the same and use glitter polish on the accent nail. This gives you a little sparkle without covering every finger in glitter.
Tip: Hold the polish bottles next to each other in natural light before choosing your colors. Some shades look similar indoors but have different undertones.
Quick Fixes for Common Nail Art Mistakes
Small mistakes are normal when you are painting your own nails. A little polish may touch the surrounding skin, a line may look uneven, or tape may lift part of the design. Most of these problems are easy to fix.
- Polish on the skin: Use a small brush dipped in nail polish remover to clean around the edges. Work carefully so you do not touch the finished design.
- Tape lifting the polish: The base may not have dried enough. Let it dry completely before applying tape again.
- Uneven lines: A thin brush can help you tidy up a line or sharpen its edge. Avoid adding a thick layer over the mistake.
- Bubbles in the polish: Apply thin coats instead of loading the brush with too much product. Allow each layer to dry before adding another.
- Foil or stickers lifting: Press decorations down gently and seal them with top coat, paying attention to the edges.
Once the design is dry, finish with a good top coat. Brush lightly over the nail and seal the free edge to help protect the polish from everyday wear.
Keep reading: 15 Short Nail Ideas That Look Neat and Wear Well, Press-On Nails Guide: How to Apply, Remove and Reuse and Gel Nail Ideas and What to Know Before Getting Them. Want to check what counts as short? See our nail length chart.
Your next manicure, sorted
 Nail Art DesignsOmbre Nail Ideas for Every Style and Nail Shape
 Nail Art Designs20 Thanksgiving Nail Ideas, Simple to Festive
 Nail Art Designs20 Trendy Birthday Nail Ideas for a Party Look
 Nail CareChrome Nail Ideas: What Chrome Powder Actually Does
 Nail Colors/Trends18 White Nail Ideas for Clean and Fresh Nails
 Nail CareAcrylic Nail Ideas: What to Know Before You Get Them Done
 Nail Colors/Trends17 Nude Color Nail Ideas to Try This Year
 Nail Colors/Trends14 Black Nail Polish Finishes to Try, From Glossy to Chrome
 Haircuts30 Best Short Wavy Haircut Ideas That Actually Suit Your Face
 Occasion OutfitsClubbing Outfits: What to Wear for Every Night Out
- Free toolNail Size ChartMeasure once and get the right press-on size for every finger.Find my sizes
Final Thoughts
Simple nail art can look as pretty as a detailed manicure. A clean stripe, a sponge pattern, or one tiny foil flake can give plain polish a fresh look without making the process hard.
Choose a design that feels comfortable to try, then adjust the colors to suit your style. Once you get used to working with tape and a small brush, you may find it easier to experiment with new patterns.
Looking for more designs with clean edges and white tips? Explore our French tip nail ideas for more inspiration. If you are unsure which shape works best for your nails, our types of nail shapes guide can help you decide.