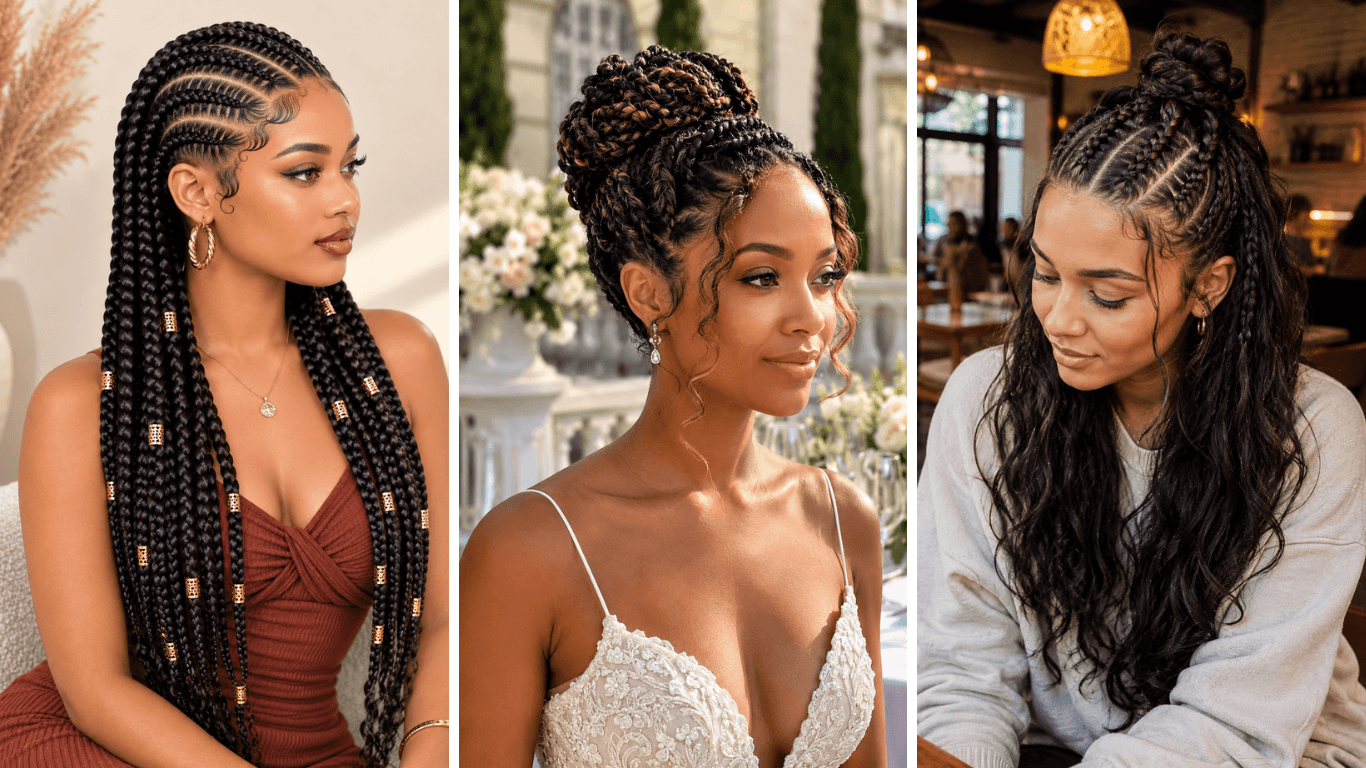
Goddess braids take the classic cornrow and make it bigger, bolder, and a lot more noticeable. Thicker rows, added length, and a raised texture are what set them apart from a regular flat braid, and that extra size is exactly why the style has stuck around for so long.
This list covers 20 ways to wear goddess braids, from the classic straight-back pattern to spirals, side parts, jumbo rows, and dressed-up versions with beads or cuffs. Some work best for everyday wear, others are built for a wedding or a night out. A few pair the braids with a bun, a ponytail, or shaved sides for something bolder.
Whatever your hair type or how much time you want to spend in the chair, there’s a version here worth trying.
Find your goddess braid in 10 seconds
i Tap any category below to find your style
1. Classic Straight-Back Goddess Braids
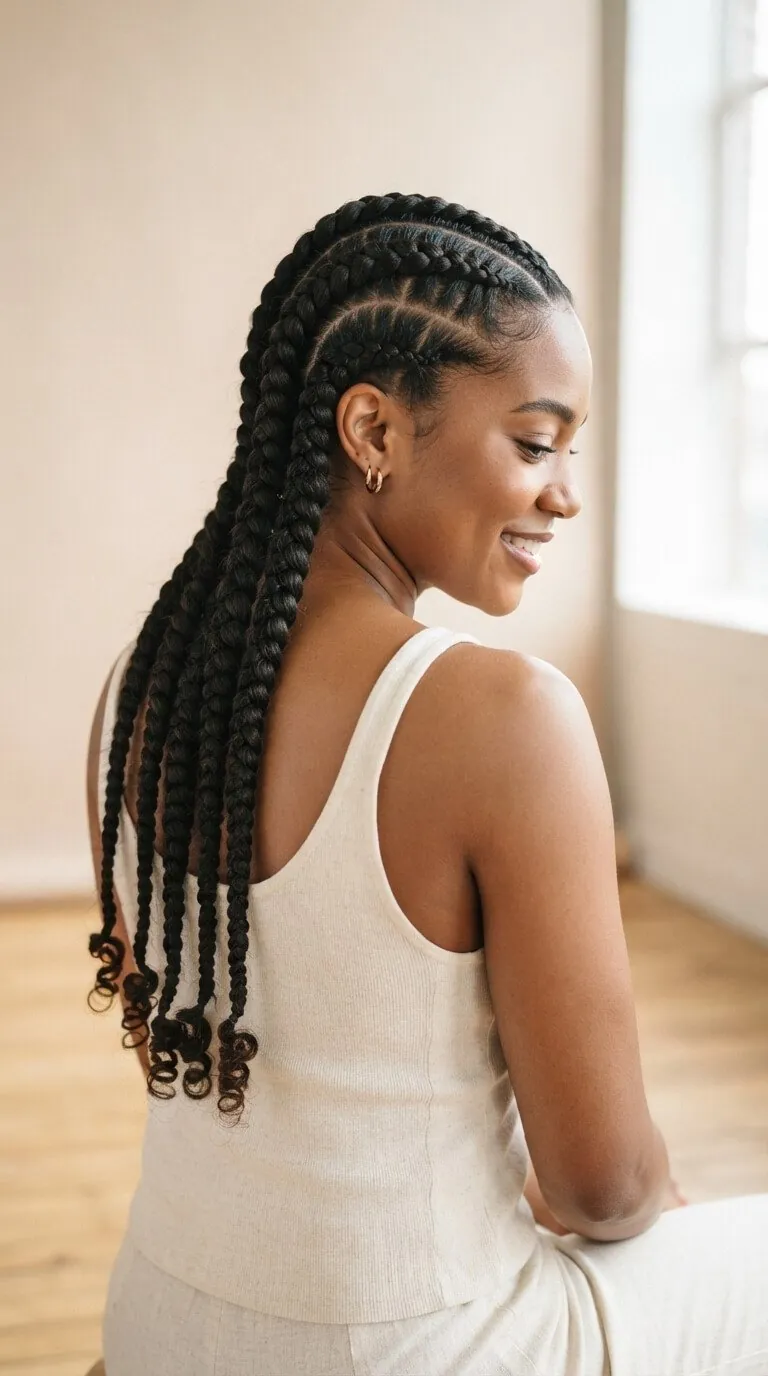
Rows run in a straight line from the front of your head to the back. Each row is thicker than a regular cornrow. Extension hair gets added little by little, which gives the braids their raised, full look.
Good to Know: Ask for six to ten thick rows instead of twenty thin ones. Fewer, bigger rows look more like true goddess braids.
2. Goddess Braids With a High Bun
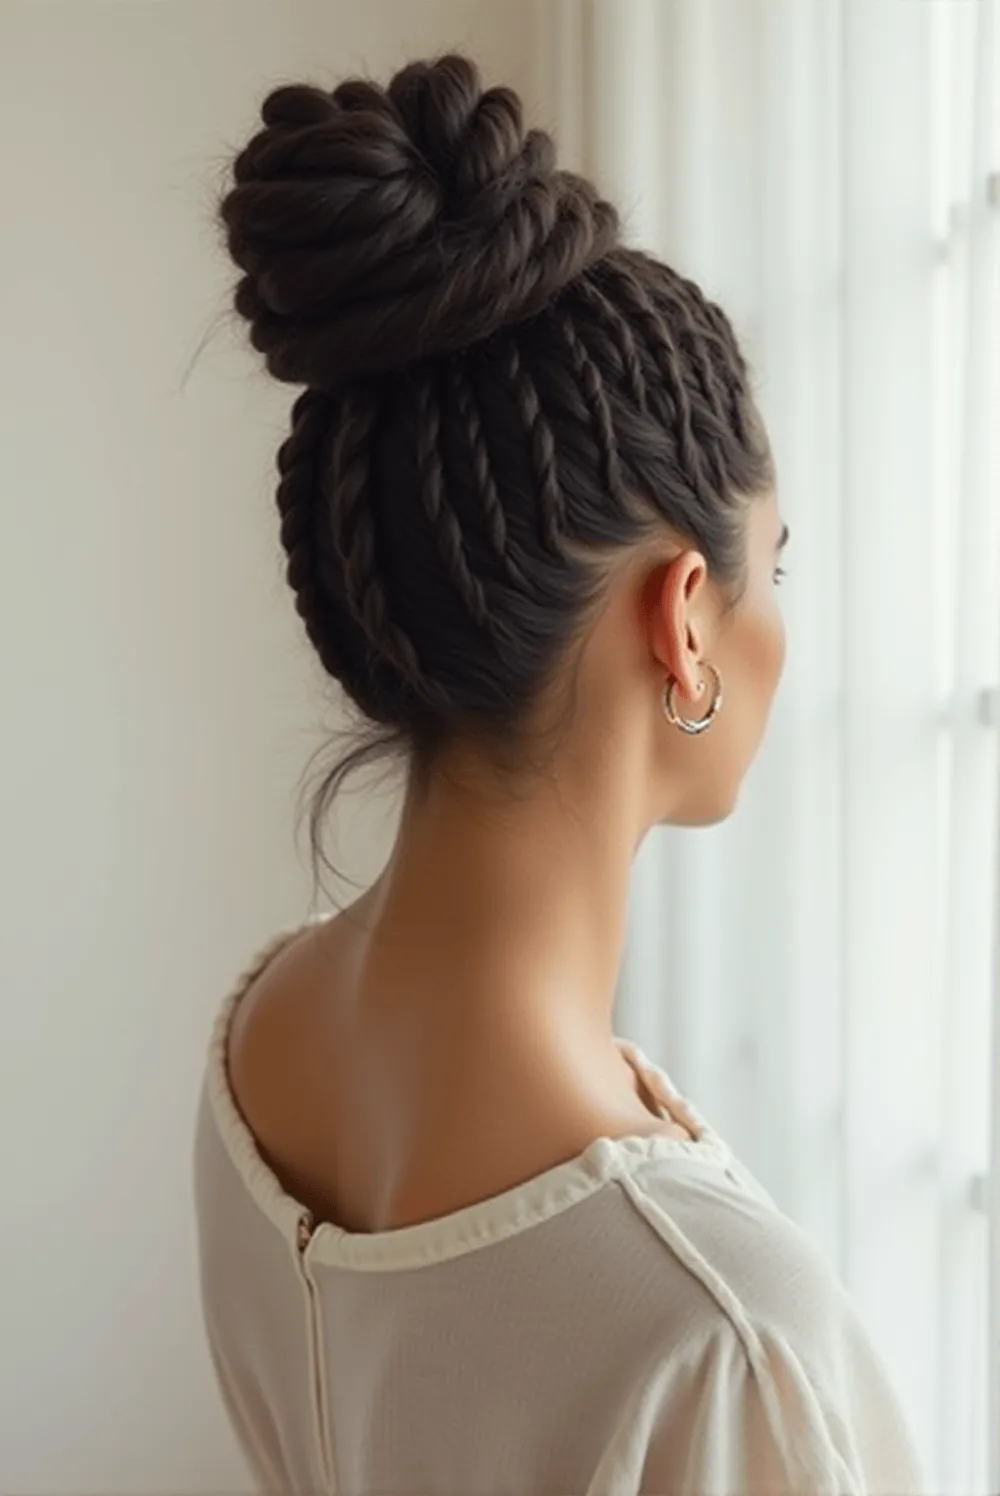
All the rows meet at the top of your head and gather into one high bun. This keeps your neck cool since no hair hangs down.
Best For: On hot days, while exercising, or whenever you need style without having to deal with hair getting in the way.
3. Side-Swept Goddess Braids
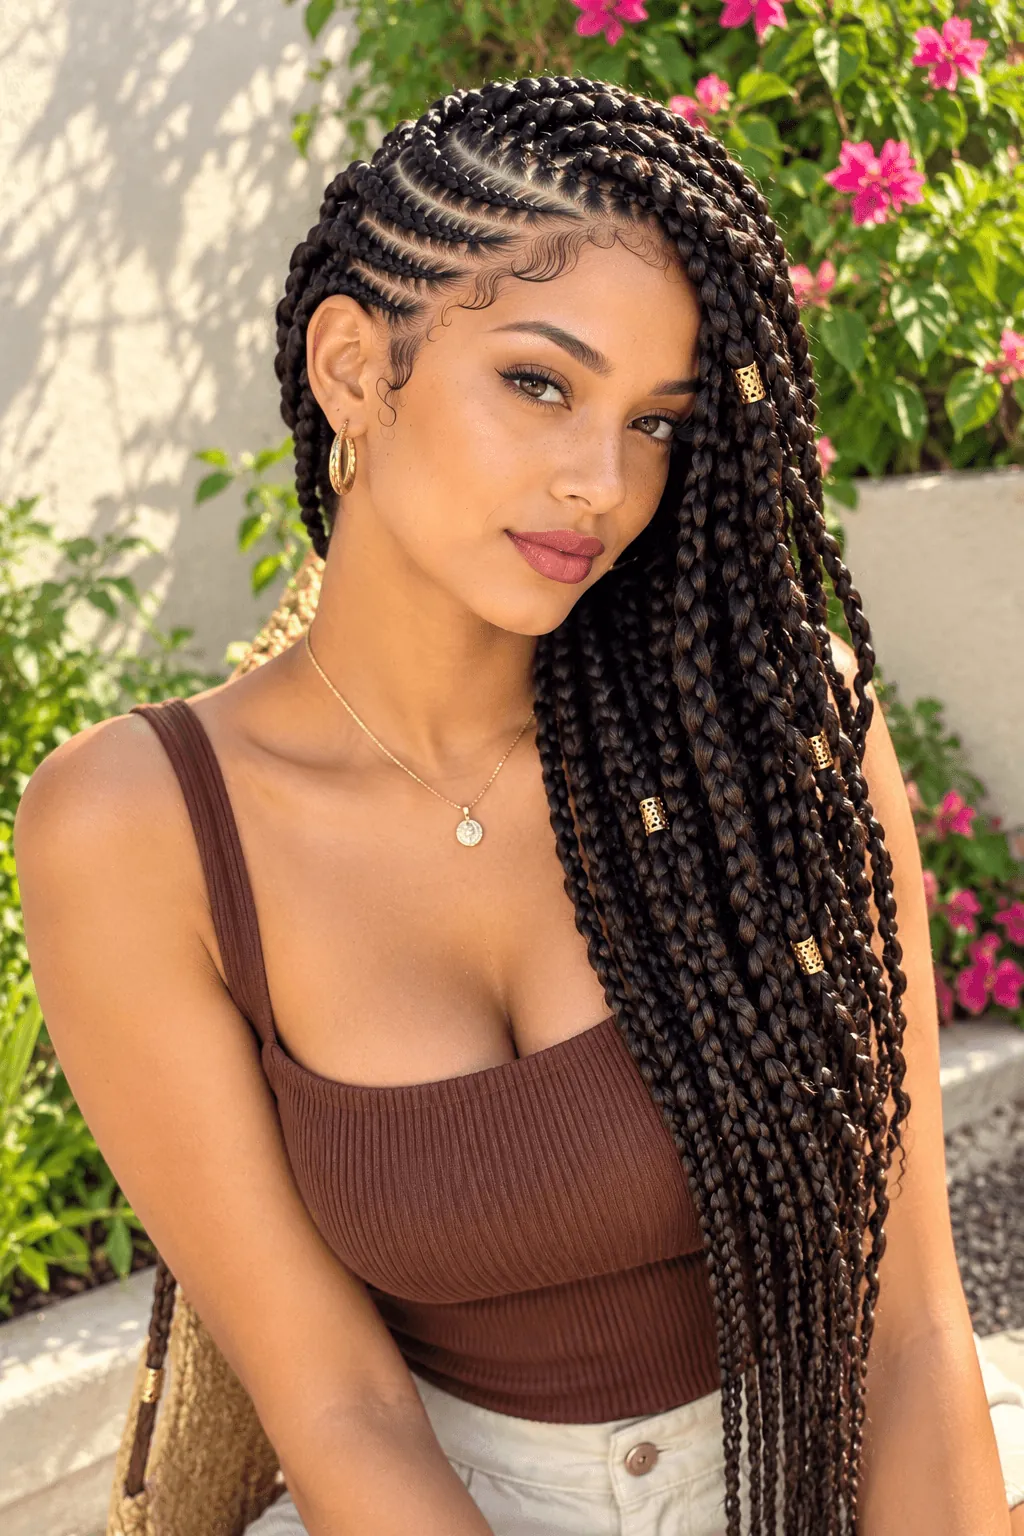
Instead of going straight back, every row curves to one side of your head. This softer shape frames your face nicely.
Quick Tip: Start the curve slowly from the top of your head. A slow bend looks better than a sharp turn partway down.
4. Curved Goddess Braids Following the Head Shape
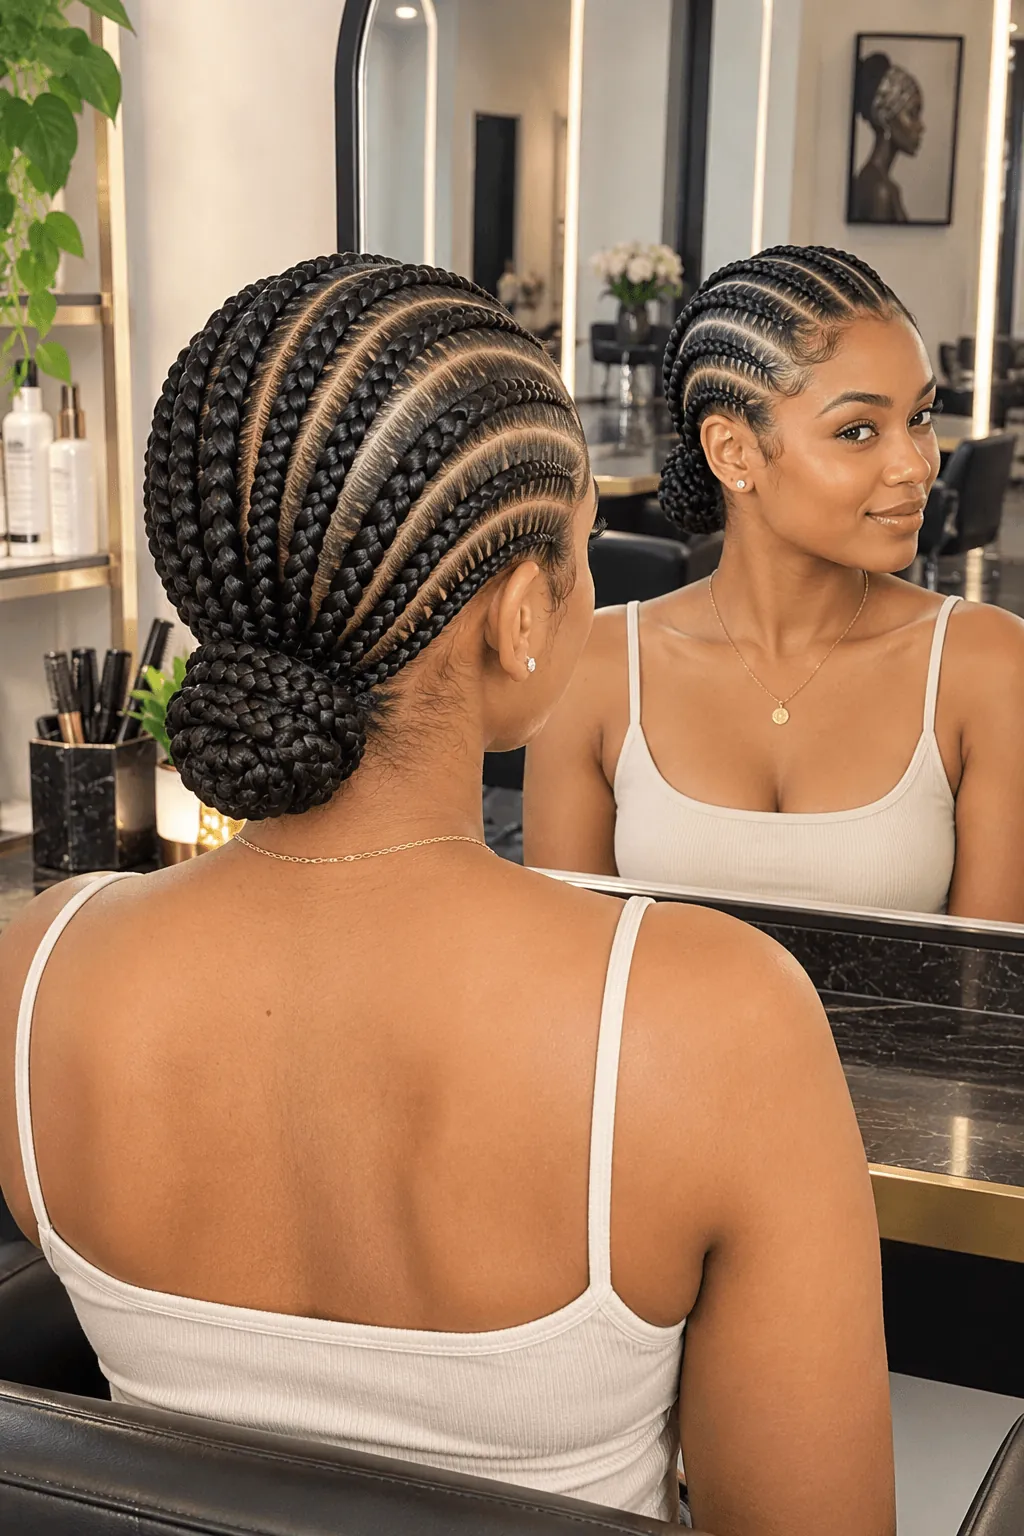
The rows follow the natural curve of your head instead of running in stiff, straight lines. This makes the braids wrap around your head instead of just sitting on top.
Good to Know: This style takes longer to do since each row must be planned carefully. But it looks neat even as your hair grows out.
5. Goddess Braids With Curly Ends
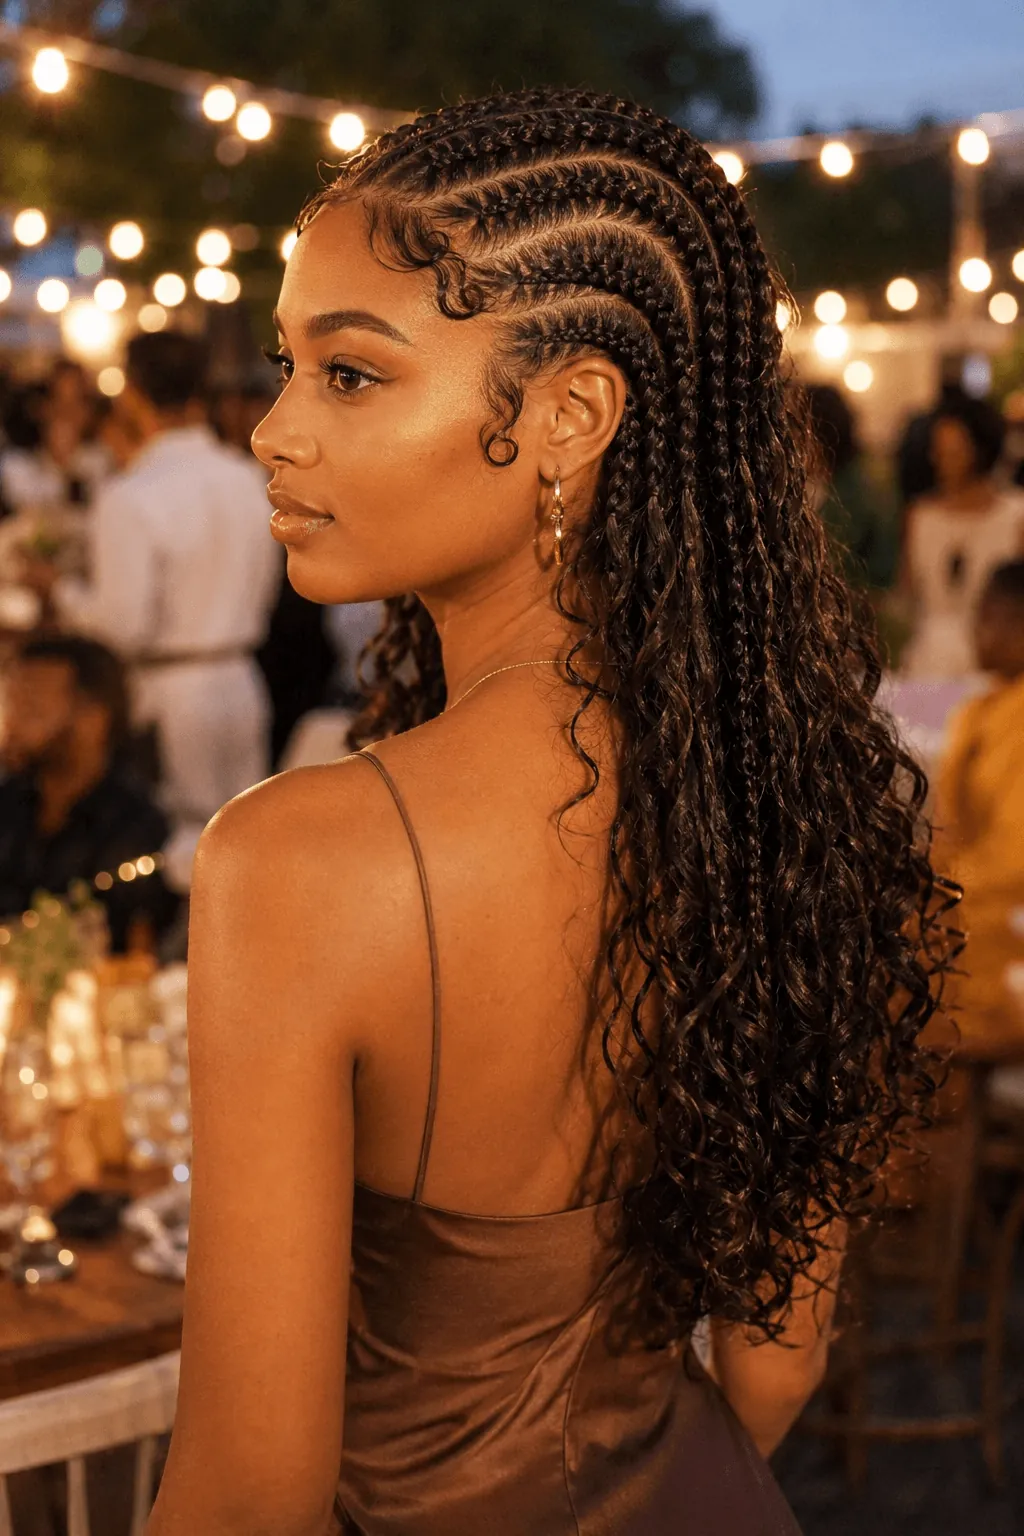
The rows stay tight near your scalp, then turn into loose curls at the bottom. You get the neat look of goddess braids with a softer finish at the ends.
Best For: A dressier look for a party or event, without losing the easy care of braids.
6. Half-Up Goddess Braids
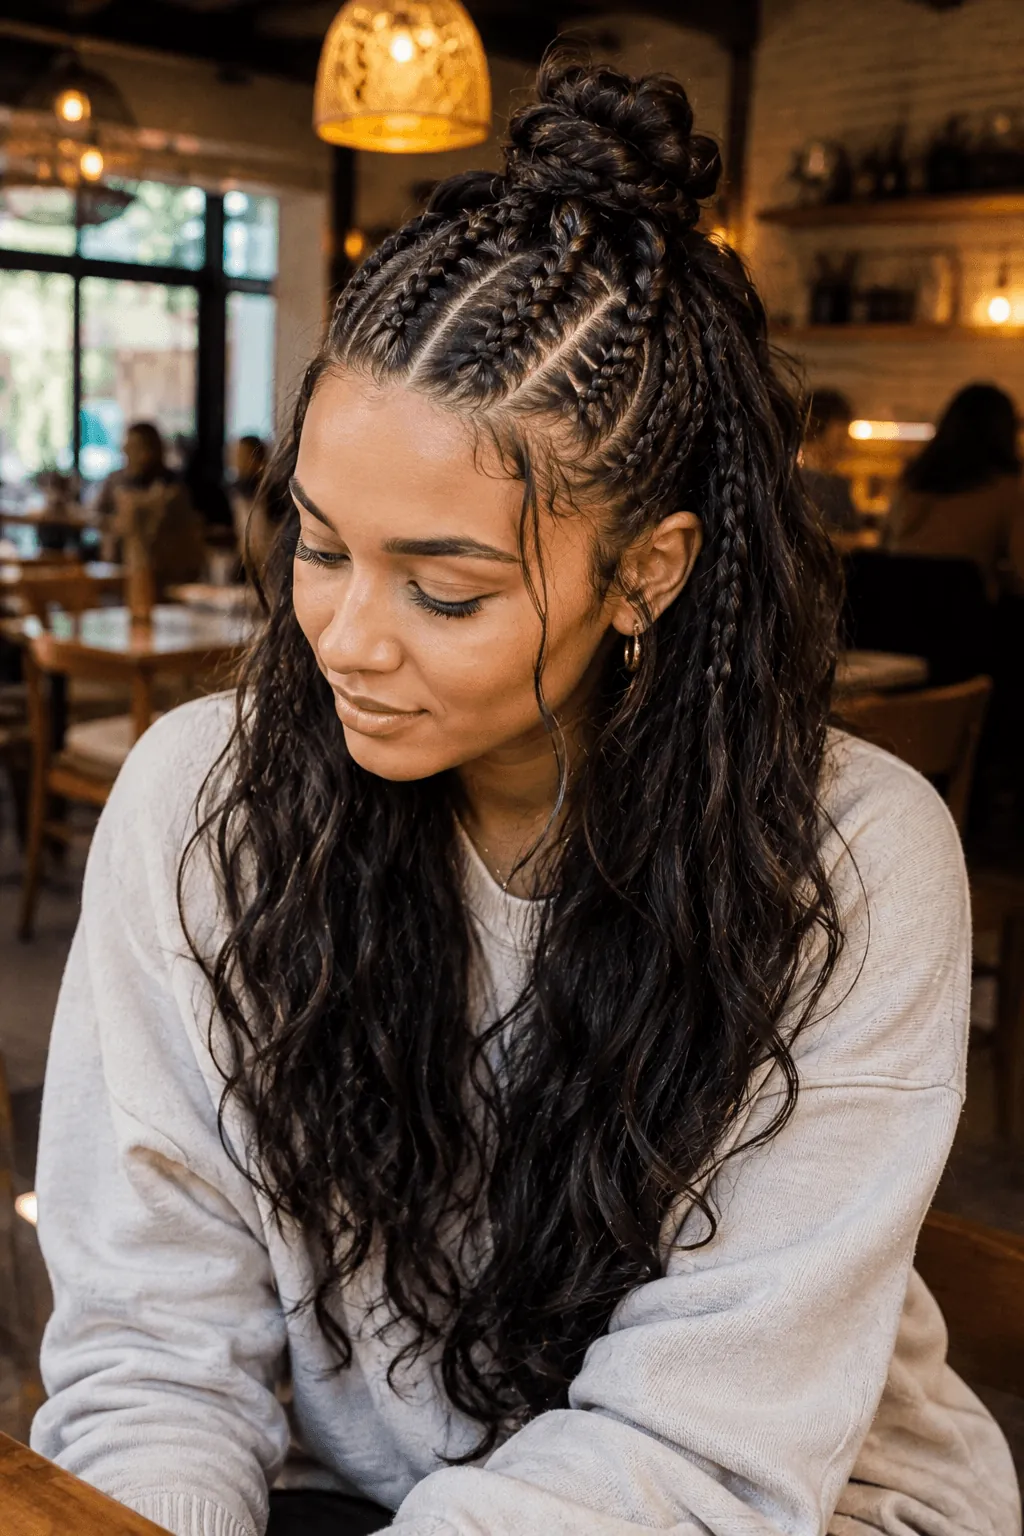
Only the top part of your hair gets braided and pulled up. The rest of your hair stays down or curled.
Quick Tip: Keep the top braids a bit loose. This helps them blend smoothly into the hair below.
7. Goddess Braids With Beads
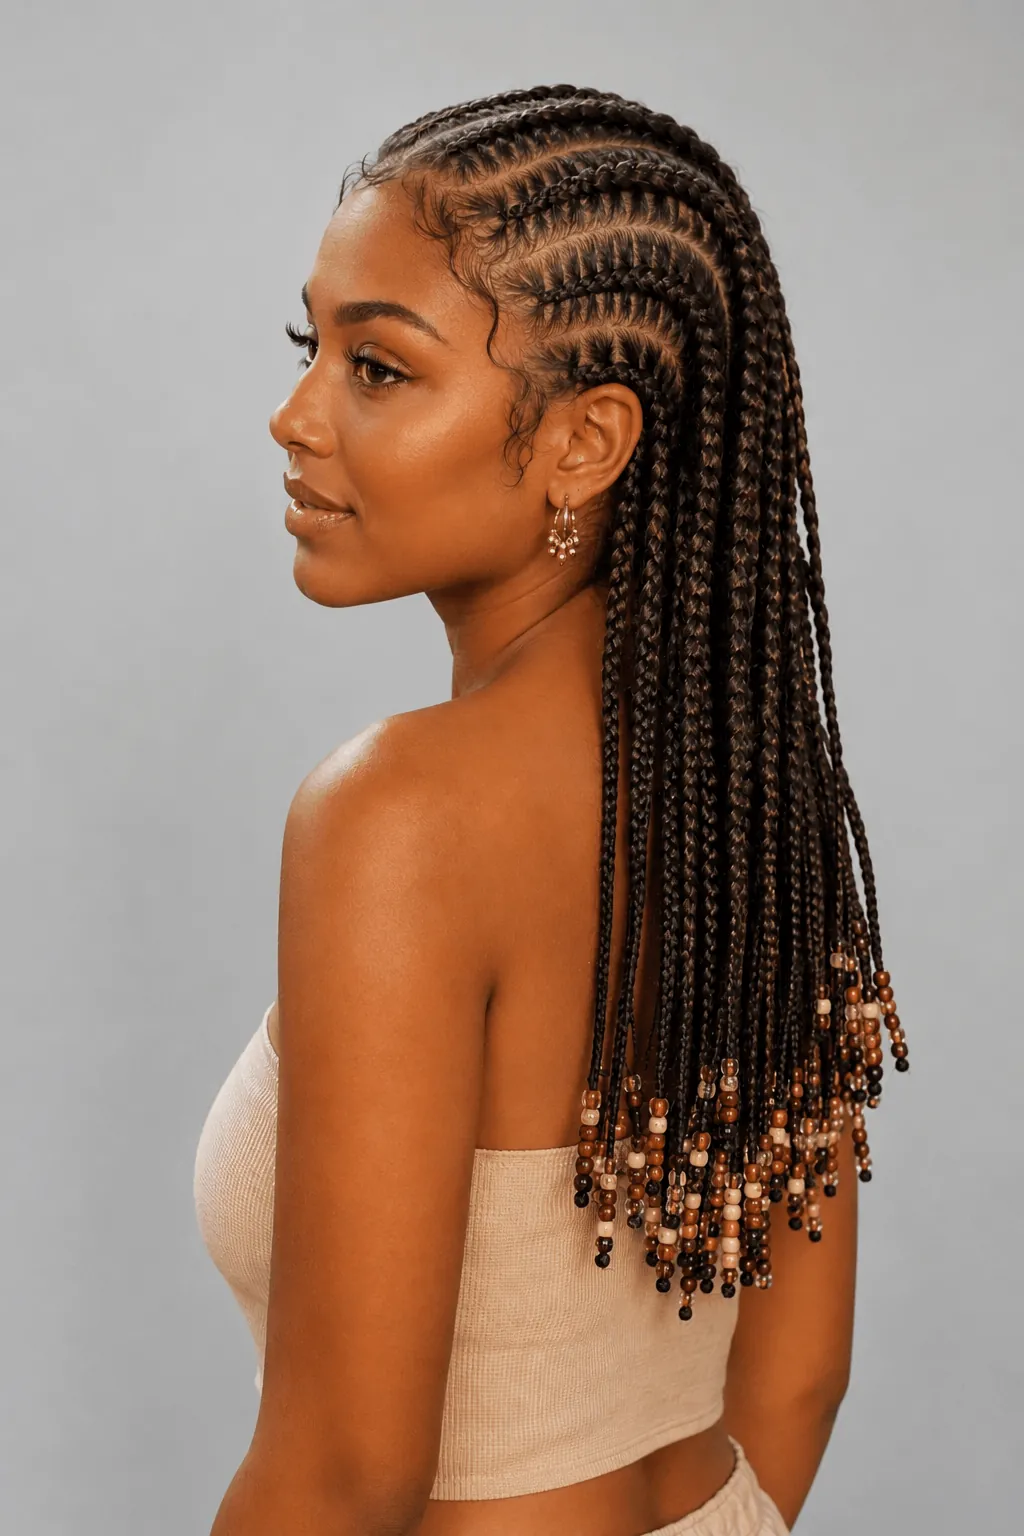
Small beads fit around the tips of the braids. The beads make noise when the wearer turns their head.
Good to Know: Use lighter beads near the top and slightly heavier ones near the ends. This keeps the braids from sagging.
8. Jumbo Goddess Braids
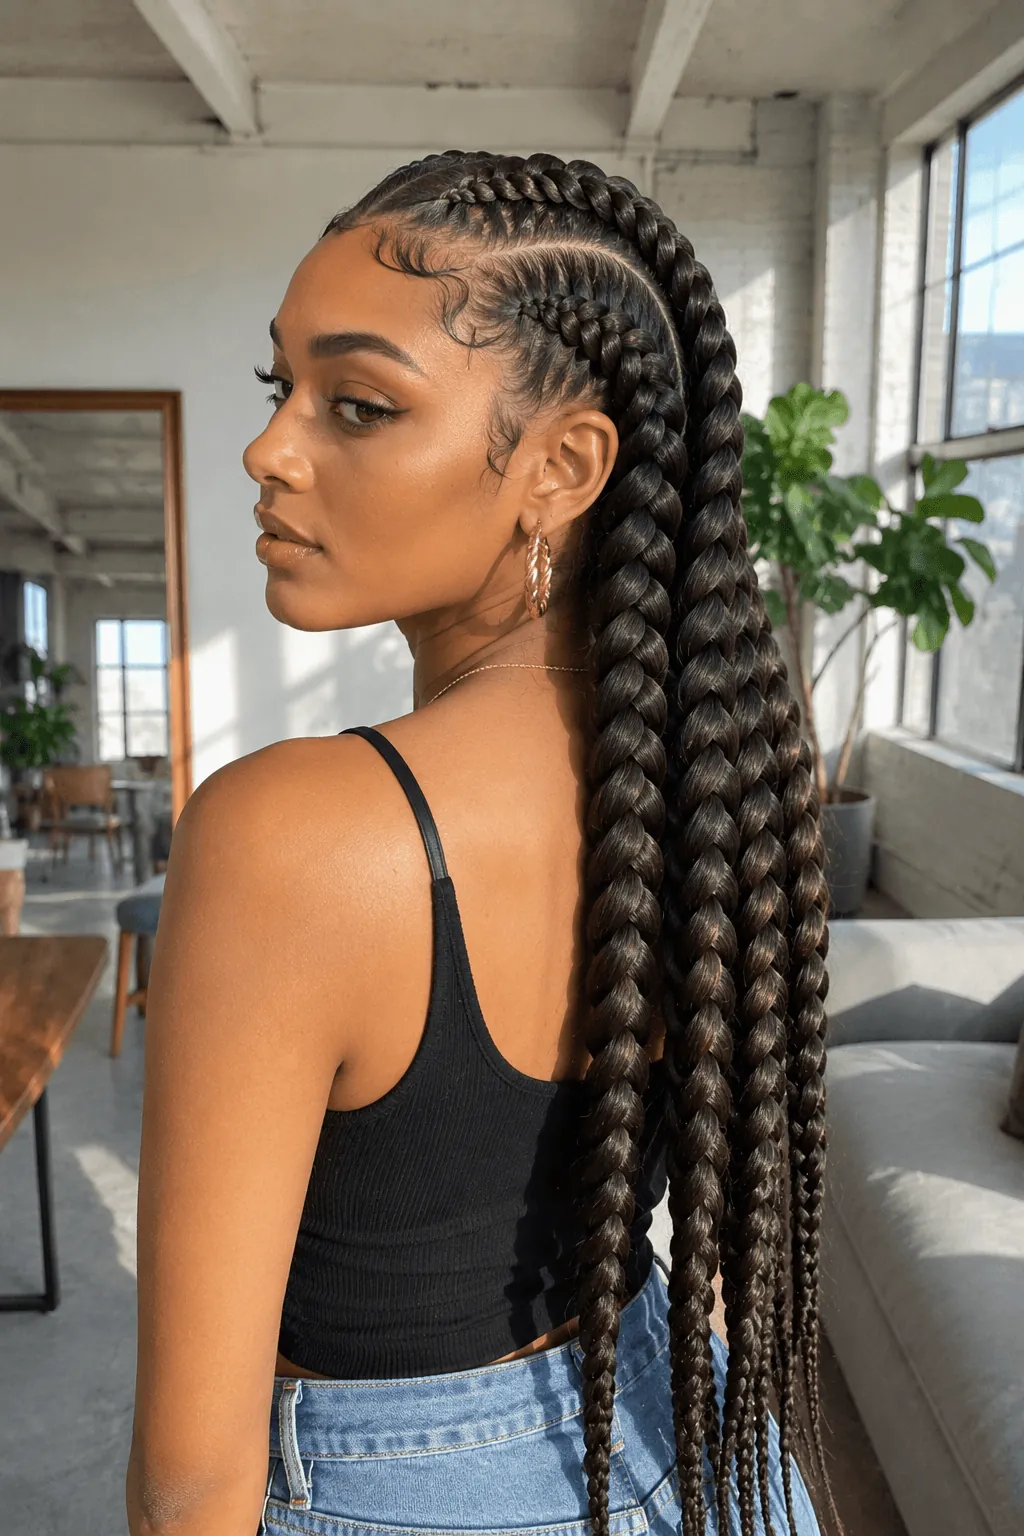
Fewer, thicker rows change the whole look. A normal style might use eight or ten rows, but jumbo goddess braids use as few as four or five wide ones.
Best For: A bold look with less time in the chair. Fewer rows mean a faster braiding session.
9. Goddess Braids With a Middle Part
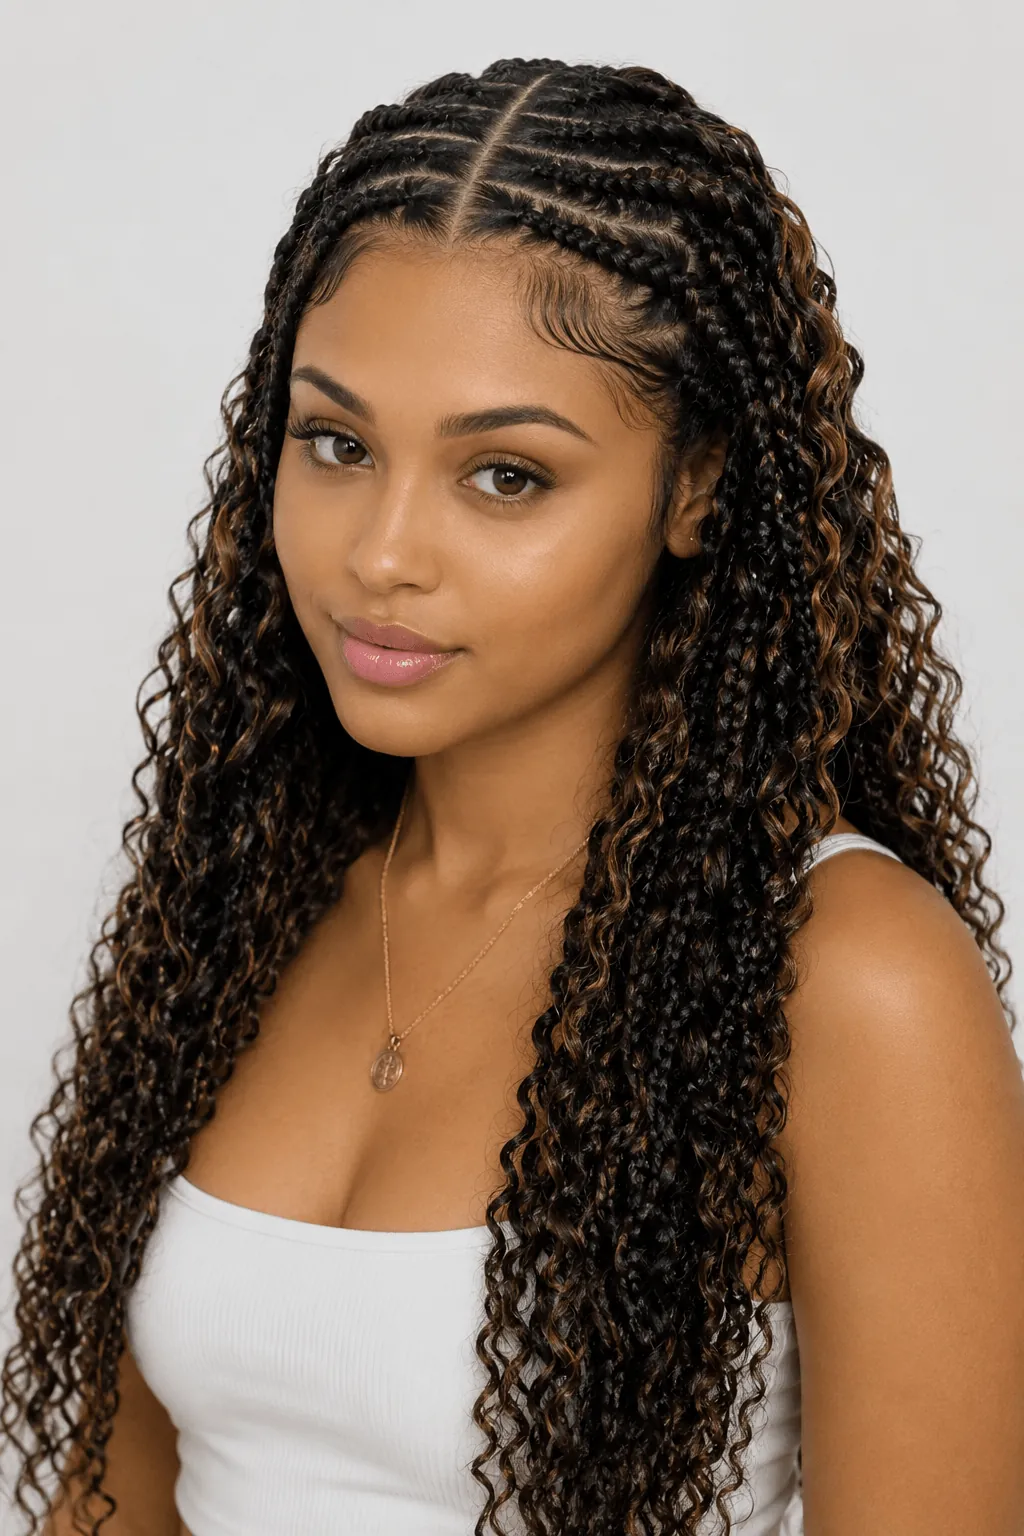
A clean part runs straight down the middle of your head. The rows split off evenly to each side, giving a neat, balanced look.
Quick Tip: More scalp shows along a middle part. Keep that area moisturized so it doesn’t feel dry.
10. Spiral Goddess Braids
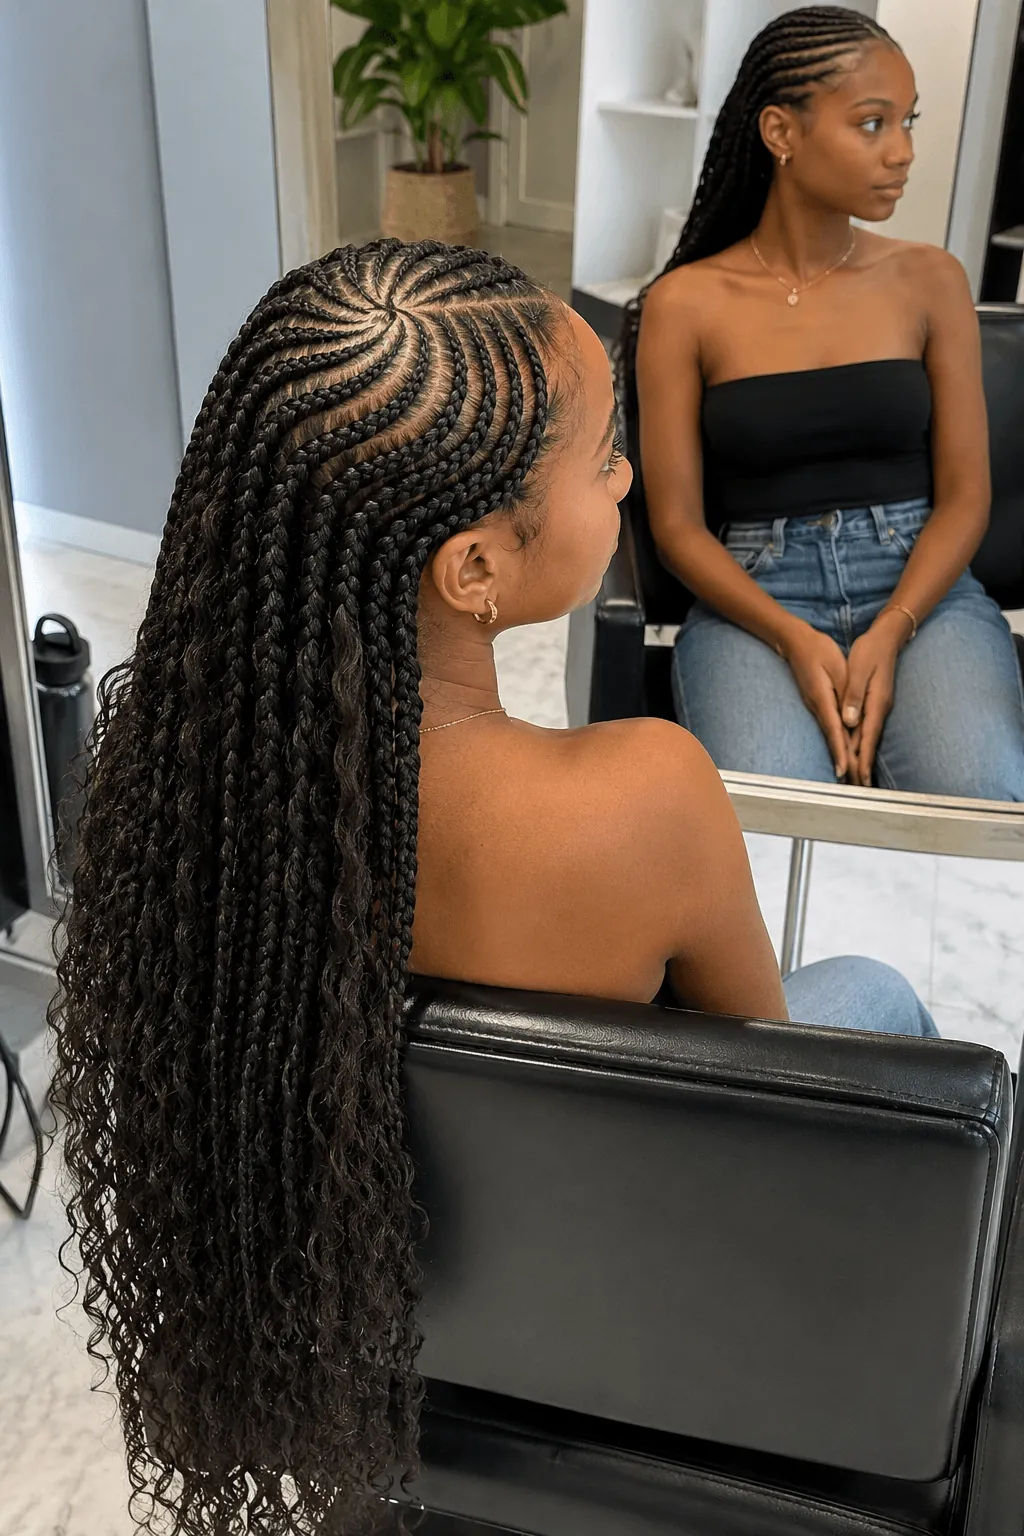
Instead of running straight back, the rows curve into a spiral at the top of your head. From above, it looks like a pinwheel shape.
Good to Know: This style is tricky to do well. It’s best to have an experienced braider handle it, since an uneven spiral is easy to spot.
11. Goddess Braids With Color Highlights
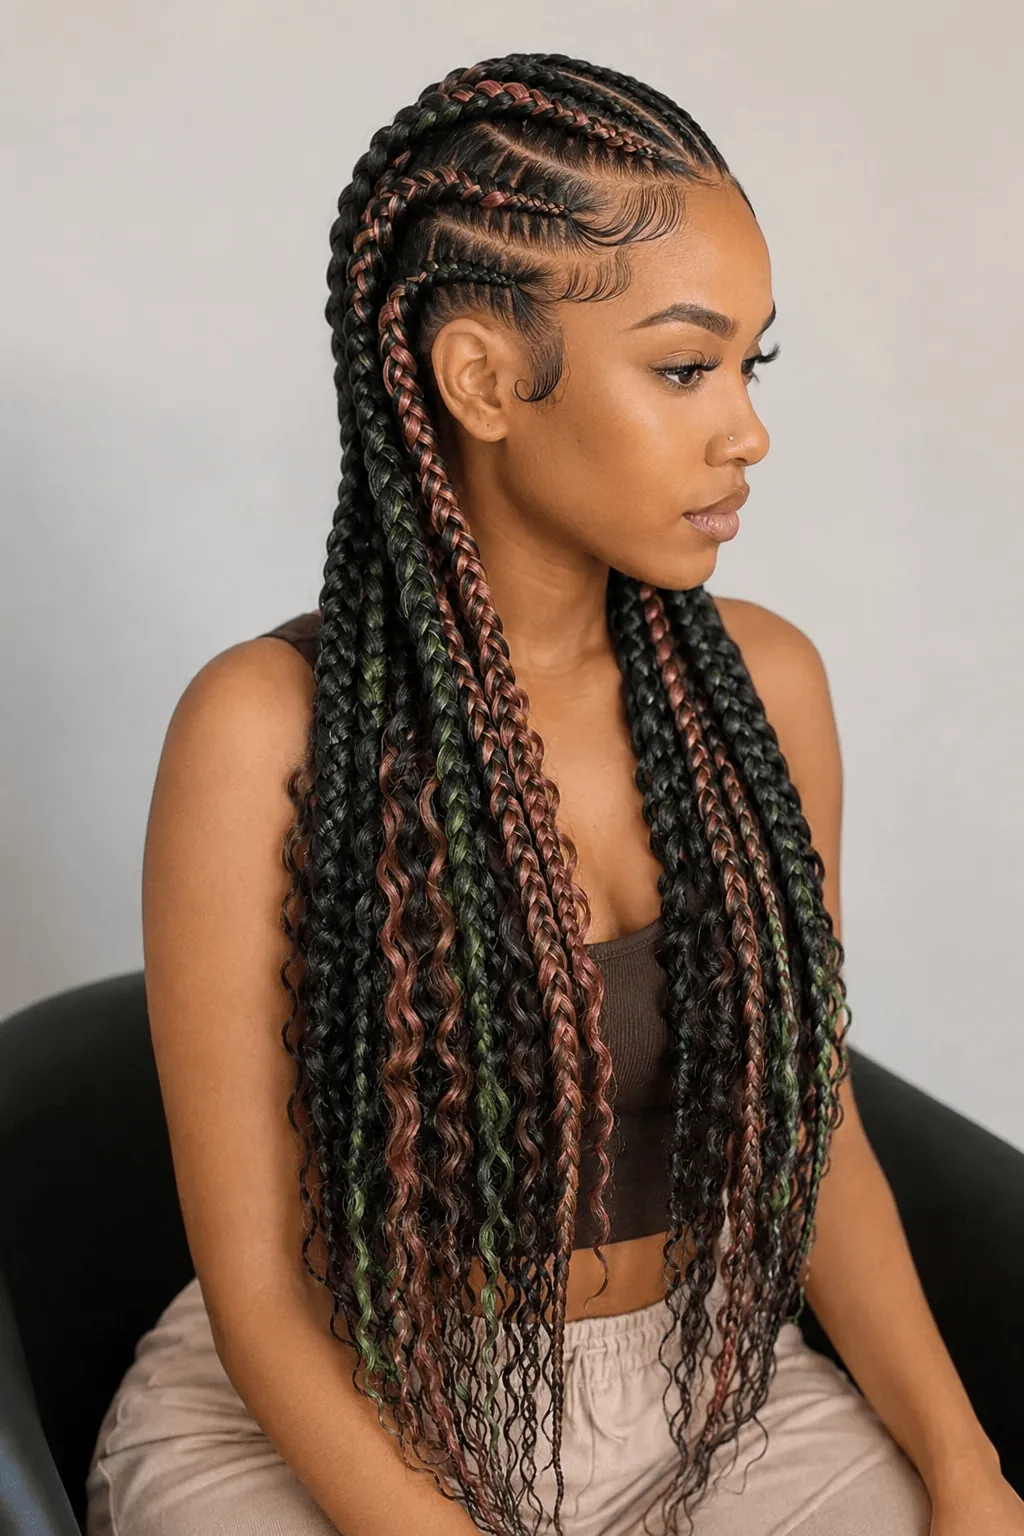
Pre colored braiding hair gets added into some of the rows. This adds streaks of color without dyeing your real hair.
Best For: Trying a bold color without commitment. The color comes out when you take the braids down.
12. Goddess Braids Into a Low Ponytail
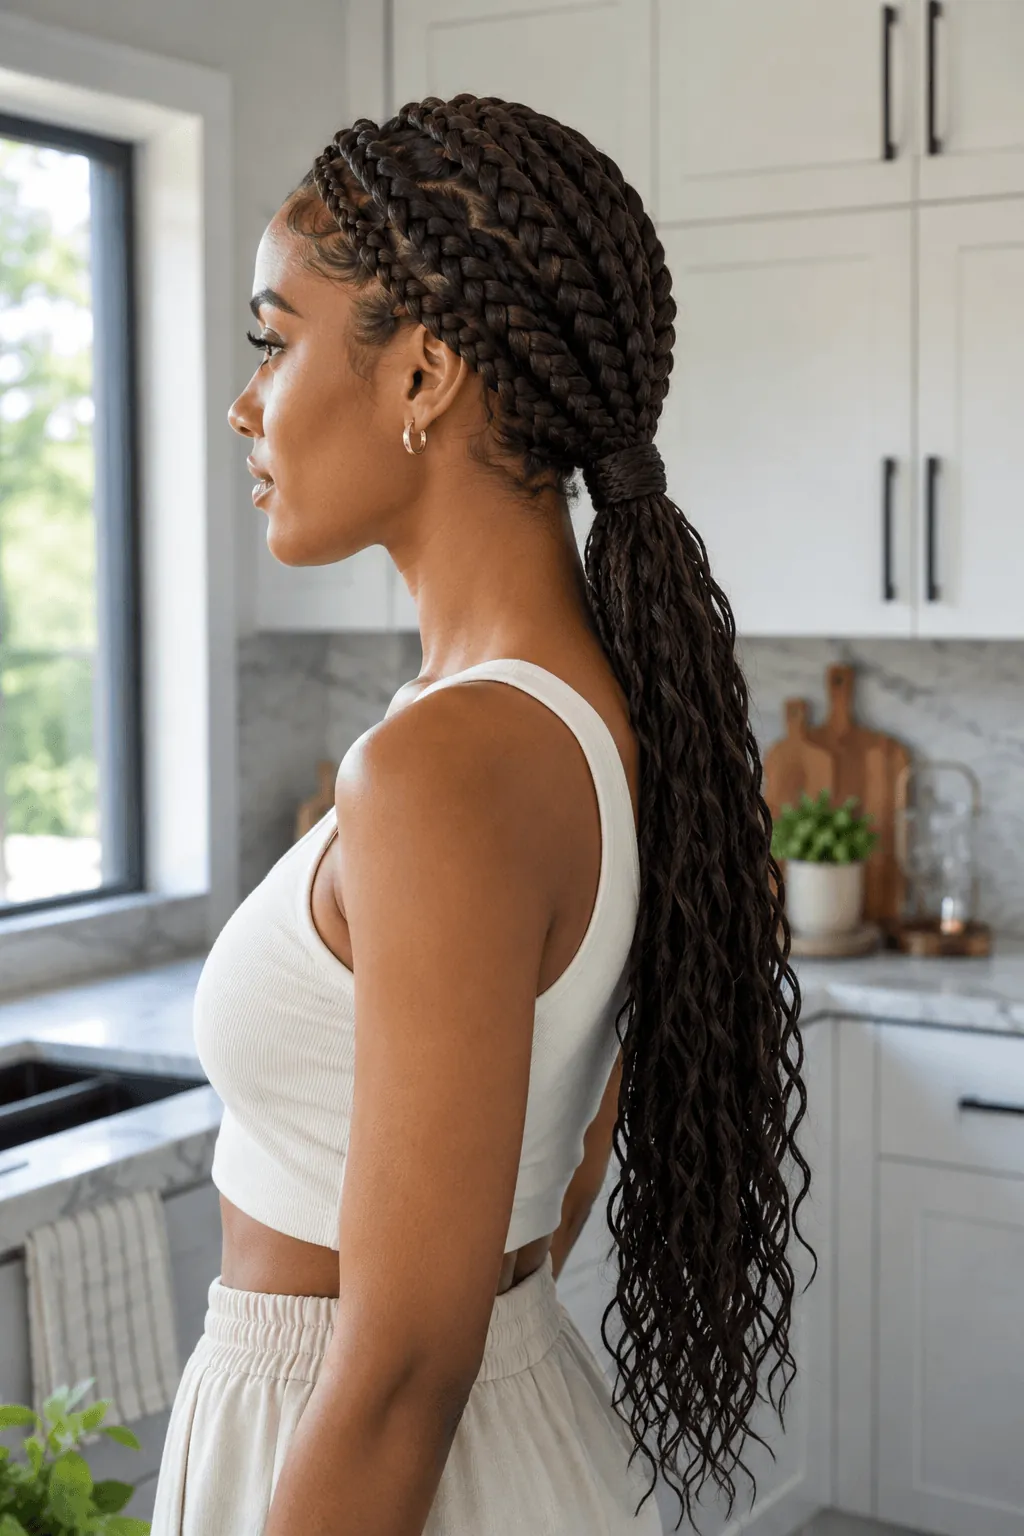
All the rows come together into one low ponytail at the back of your neck. This look feels more polished than letting the braids hang loose.
Quick Tip: Wrap a small piece of hair around the hair tie to hide it. This makes the ponytail look clean from every angle.
13. Short Goddess Braids
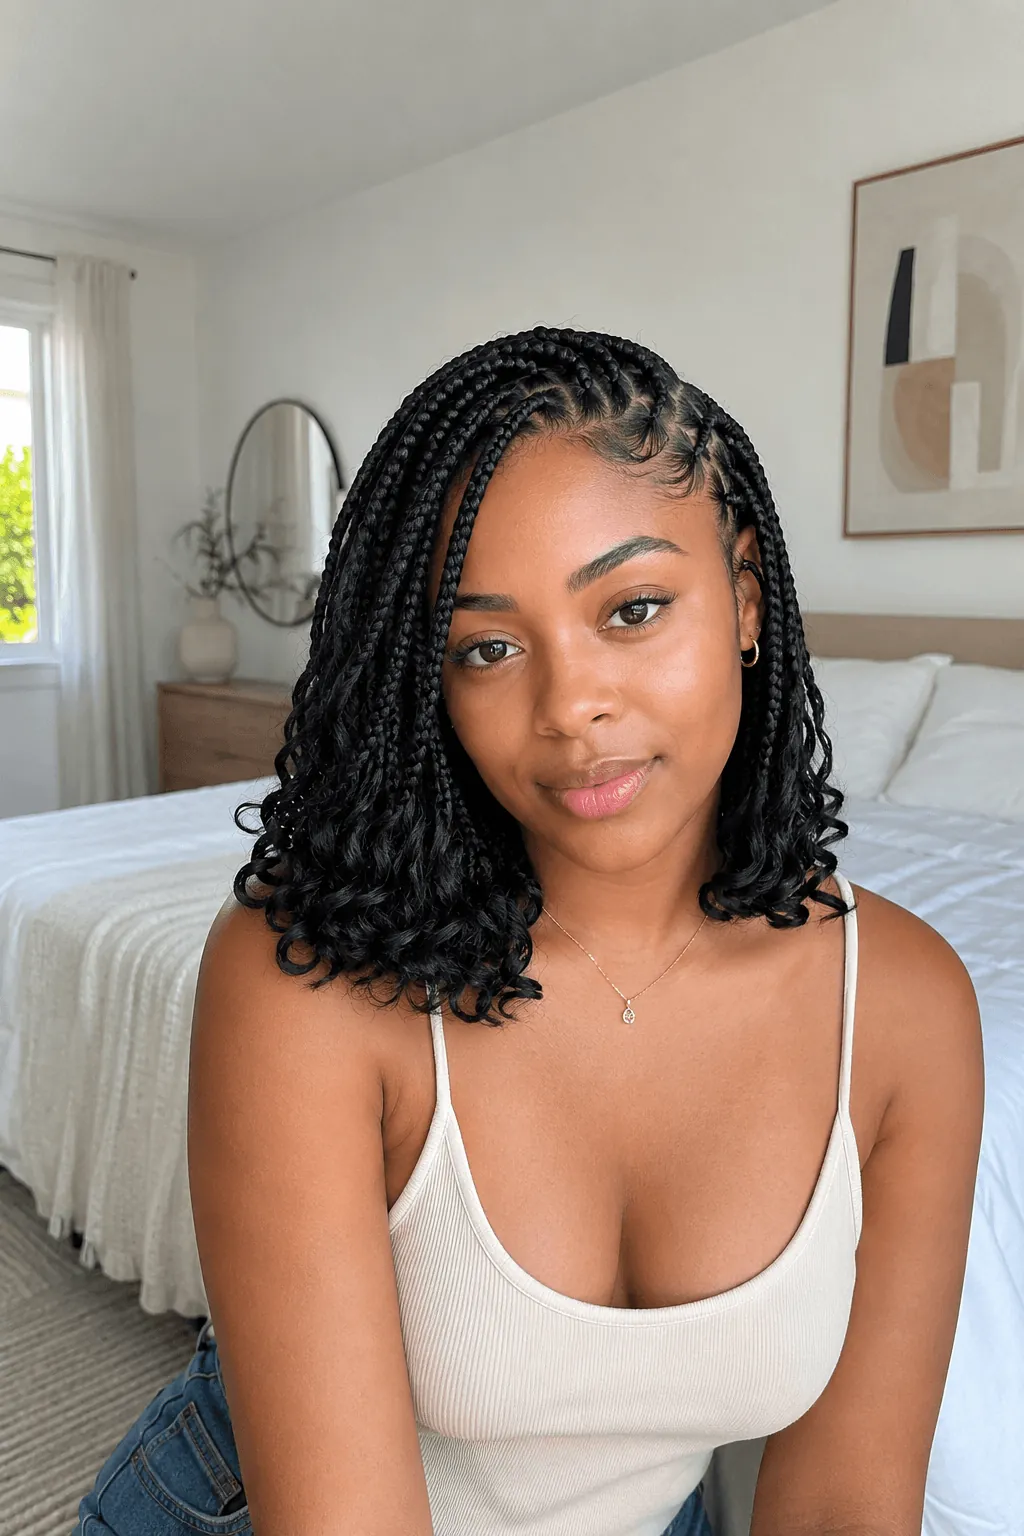
The rows stop at your chin or shoulders instead of running long. This keeps the style lighter on your scalp.
Good to Know: Shorter braids usually pull less at your hairline since there’s less weight tugging down.
14. Goddess Braids With Shaved Sides
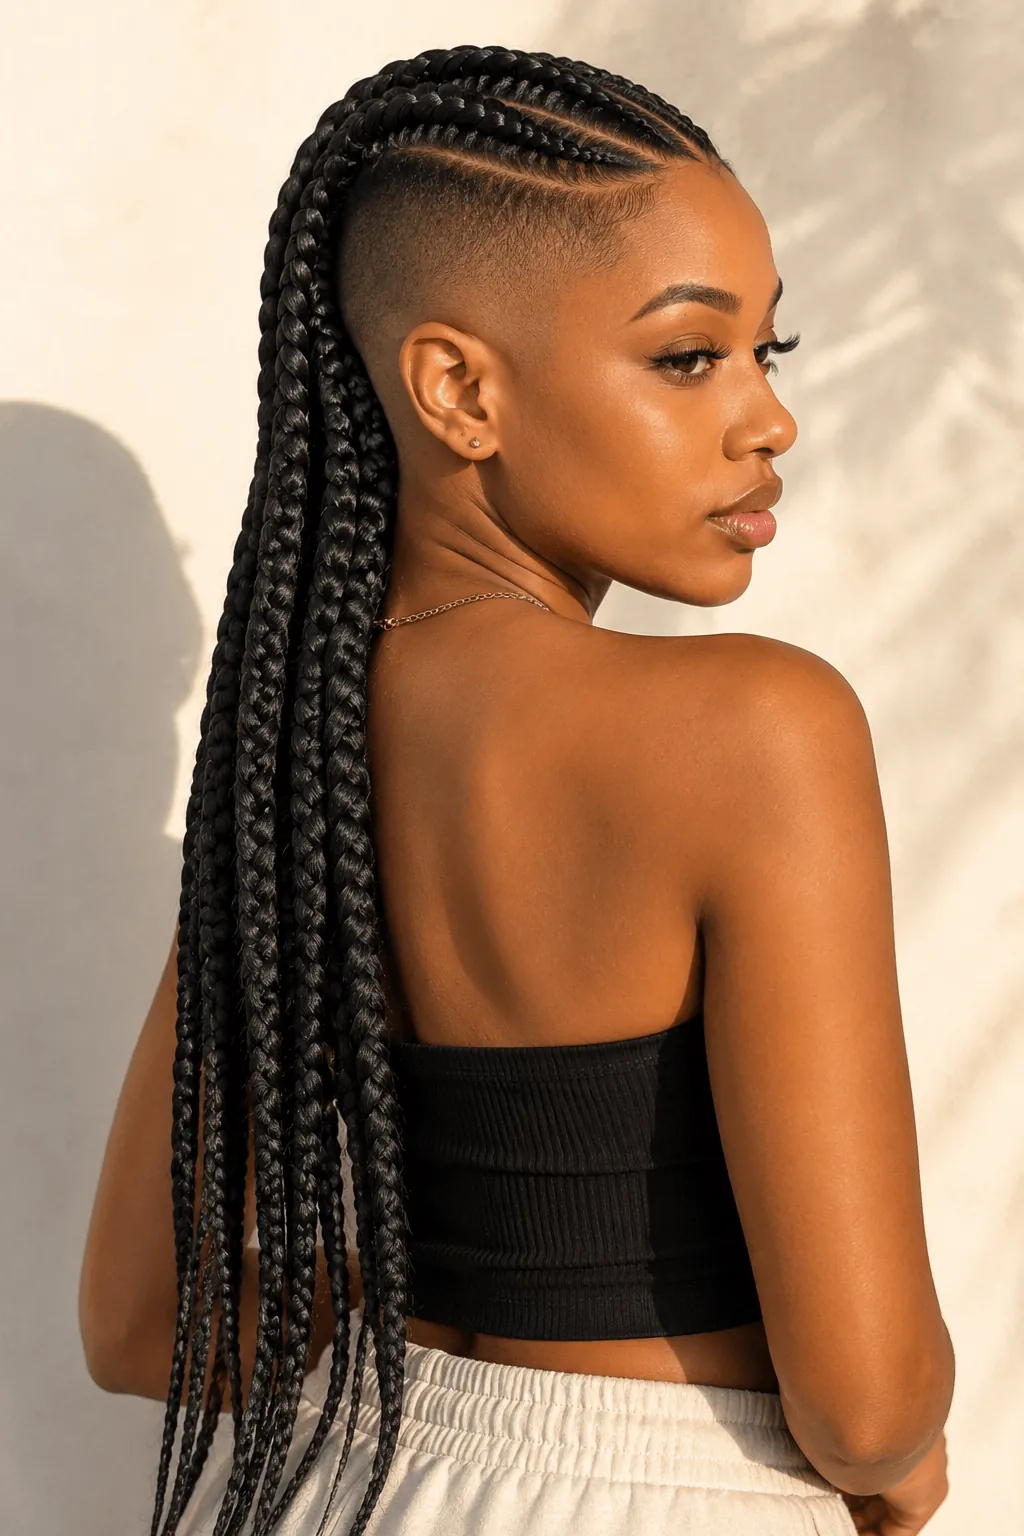
The sides of your head are shaved close while the top keeps the full goddess braid pattern. The mix of smooth skin and thick braids gives a bold, edgy look.
Best For: Anyone who already has an undercut, or wants to try one alongside braids.
15. Two-Tone Goddess Braids
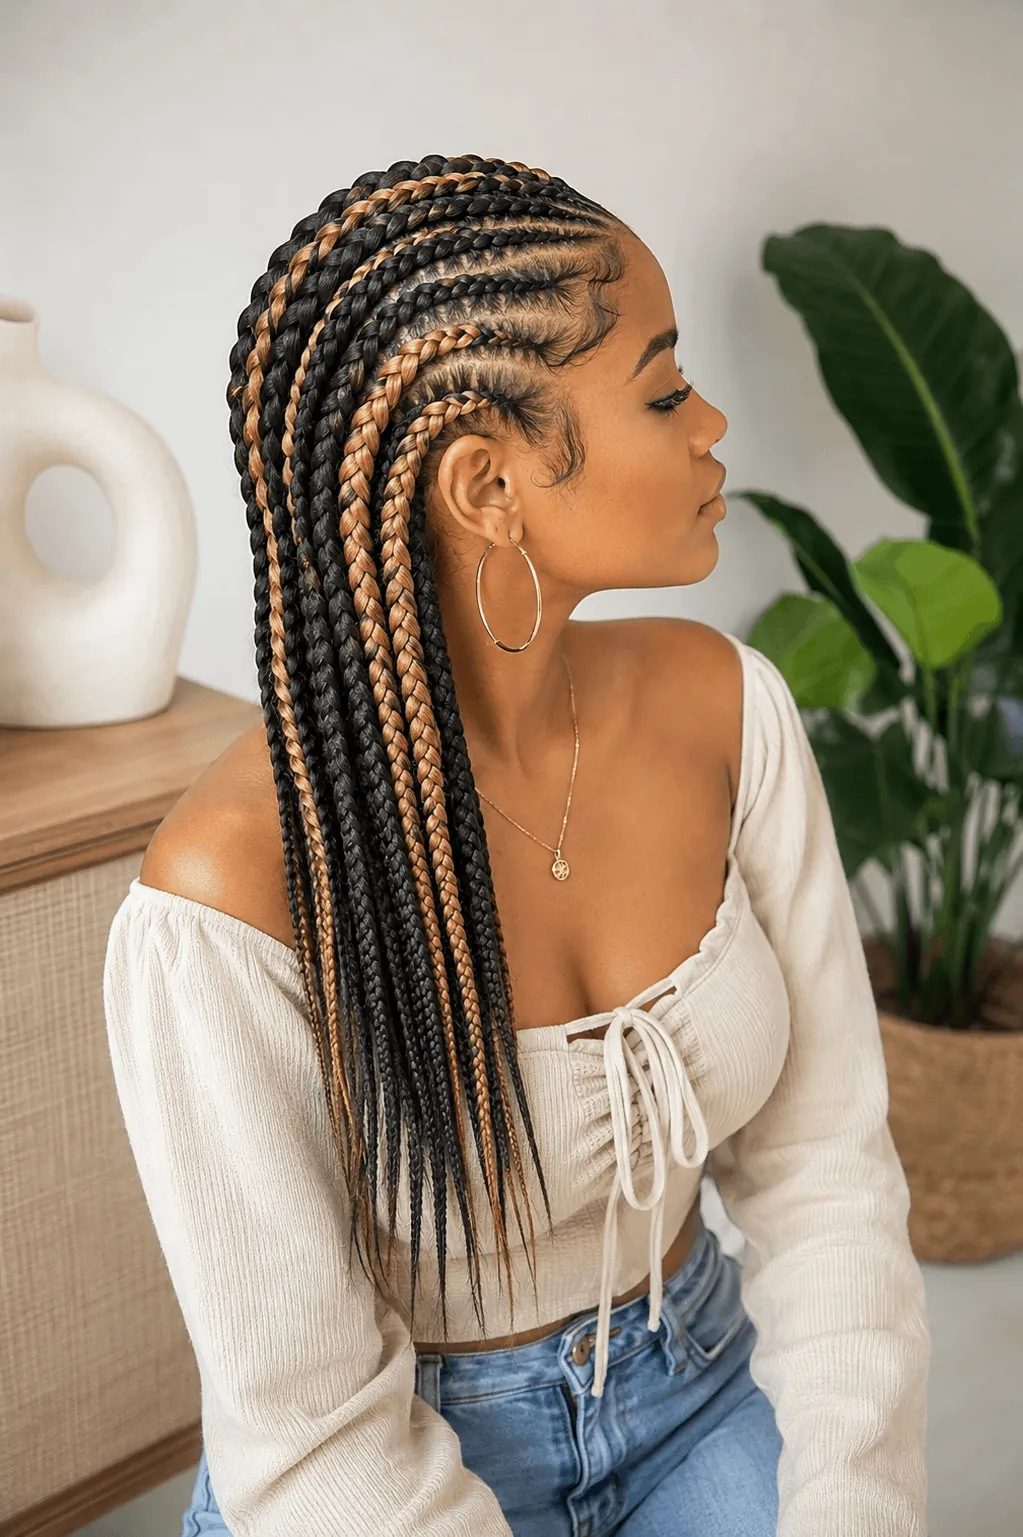
Some rows use one color of braiding hair, and other rows use a second color. This creates a striped or checkered pattern.
Quick tip: If this is your first attempt at using two colors, select similar colors. You’ll be bold and won’t be overwhelmed.
16. Goddess Braids With a Deep Side Part
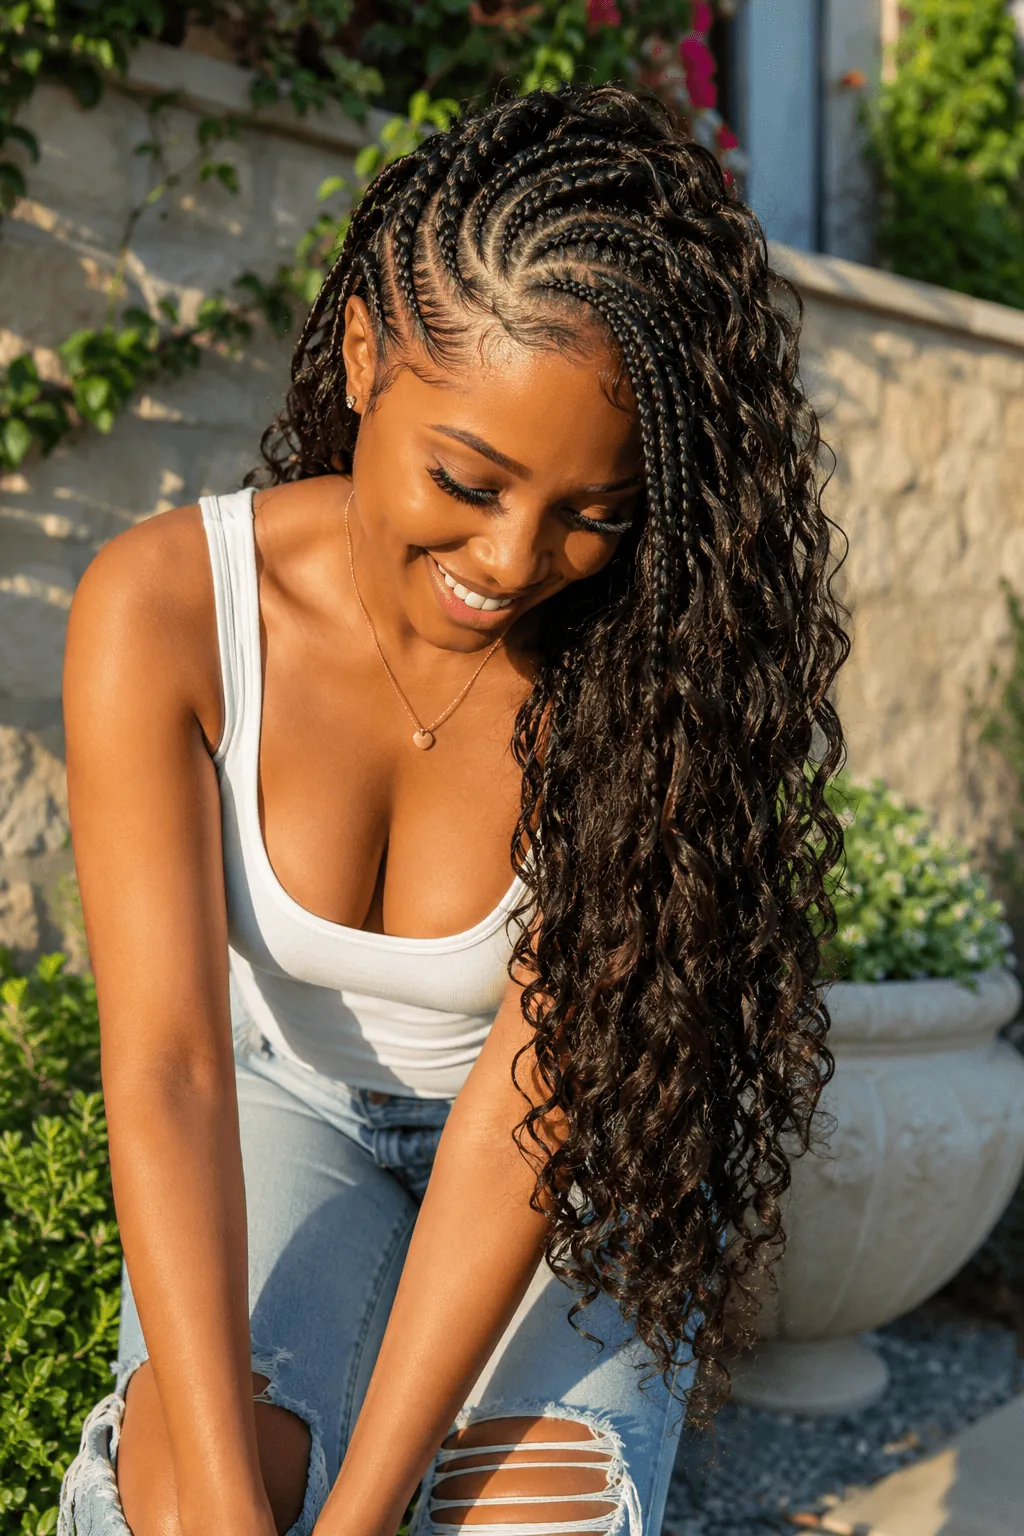
The part sits far to one side instead of the middle. More rows gather on one side, giving extra volume there.
Good to Know: The first row on the fuller side should be a little thicker. This helps balance the look.
17. Goddess Braids for a Wedding Updo
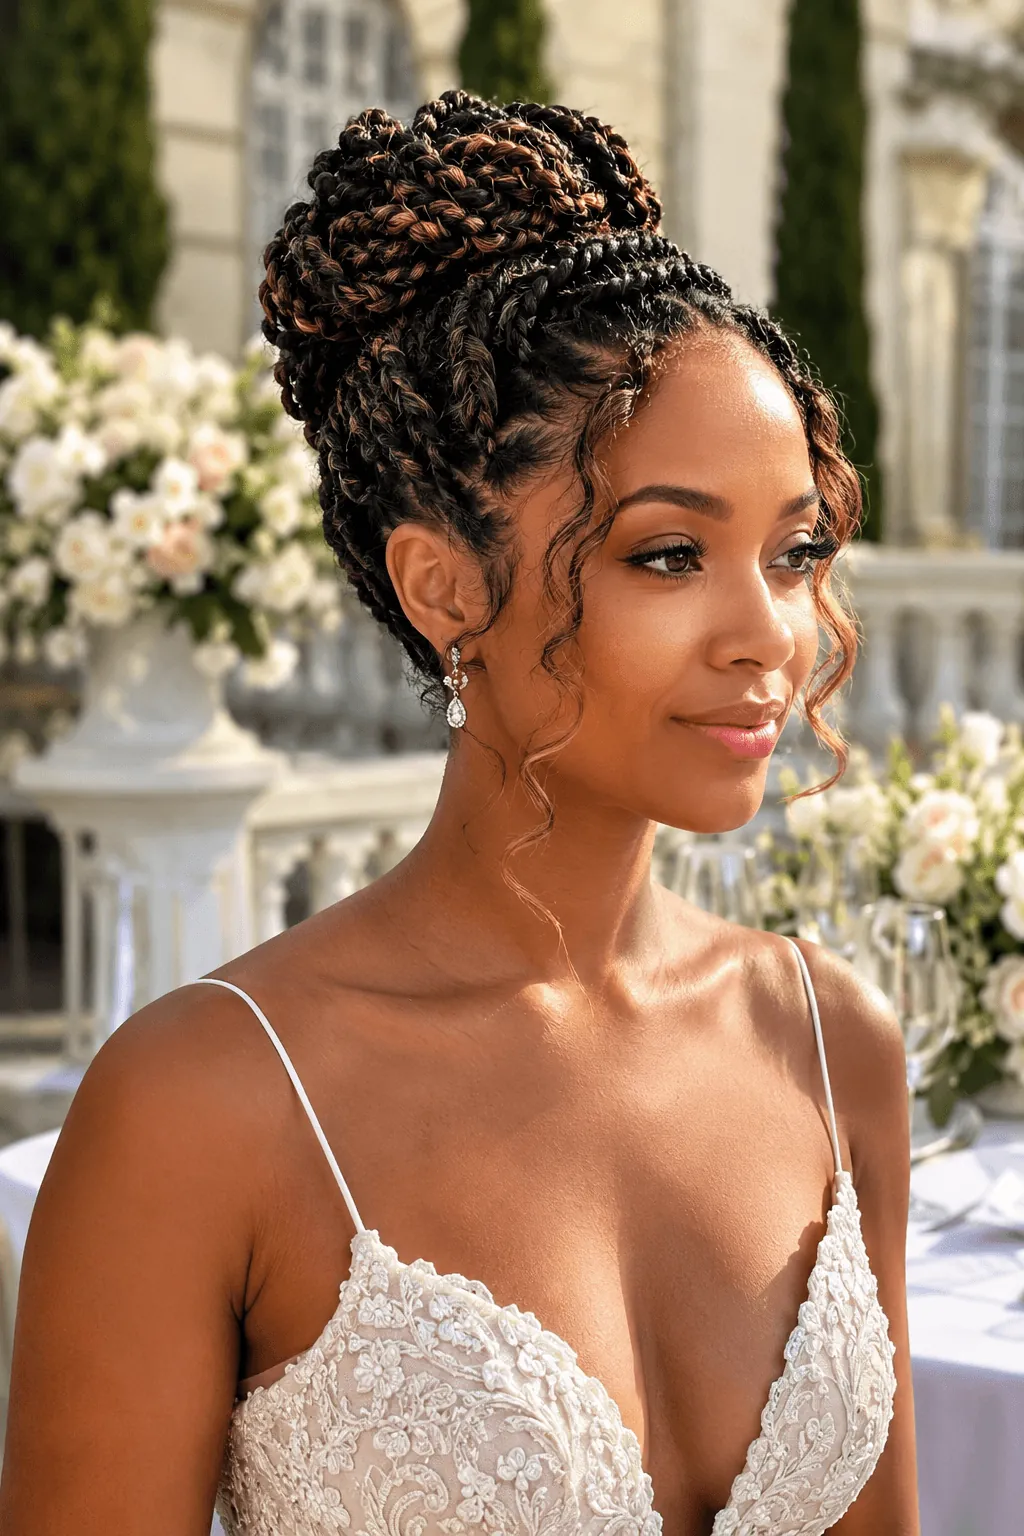
The rows get twisted and pinned up into a formal style instead of left down. A few loose curls near the face soften the overall look.
Best For: Brides or guests who want braids that still look dressy in photos.
18. Goddess Braids With Loose Baby Hairs
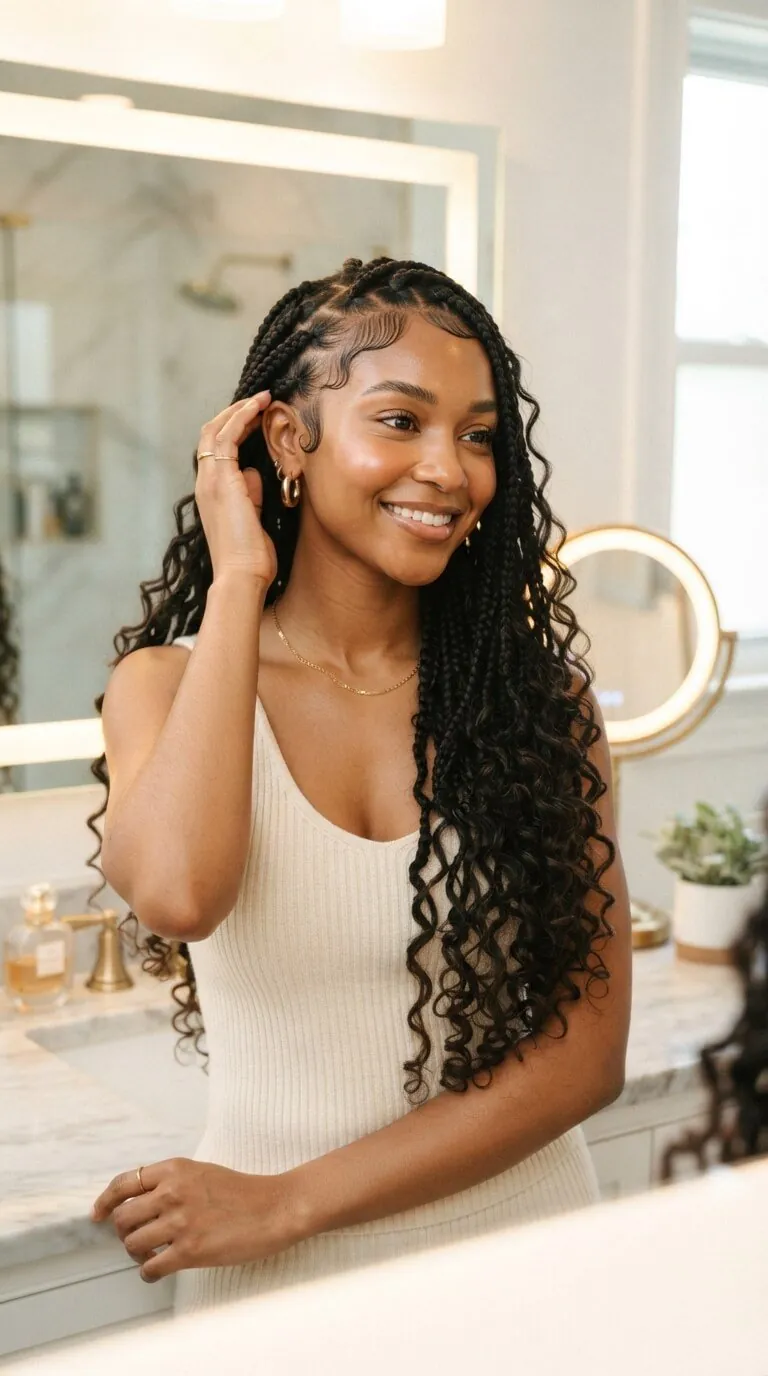
The rows stay neat and tight, but a few short pieces near the hairline are left out. These get styled into soft shapes with gel.
Quick Tip: Use a small brush and light gel for baby hairs. Heavy pomade can make them look greasy instead of neat.
19. Fishtail-Pattern Goddess Braids
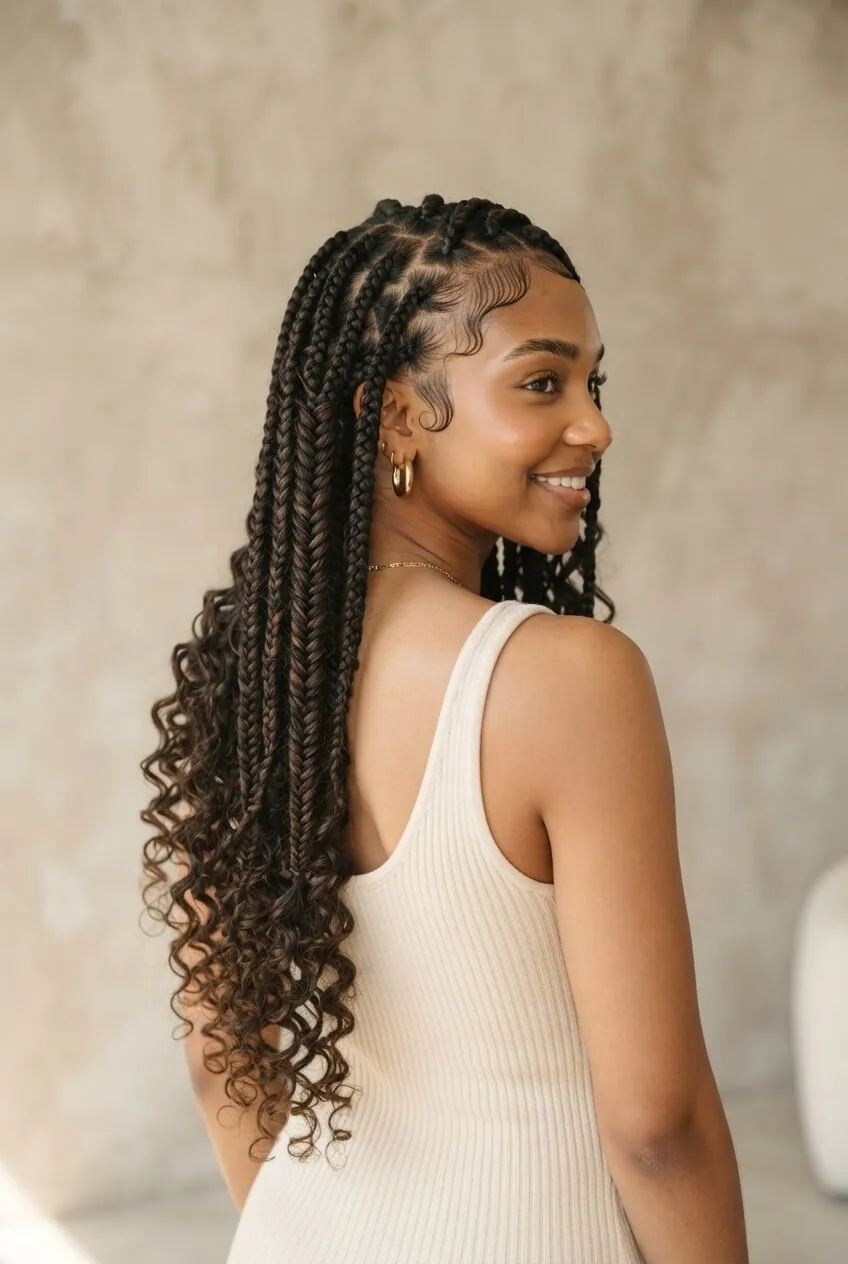
Instead of a normal three-strand braid, each row uses a fishtail weave. This gives the braids a finer, more textured look.
Good to Know: Each row takes longer to do this way, so expect a longer session than a regular straight-back style.
20. Goddess Braids With Gold Cuffs
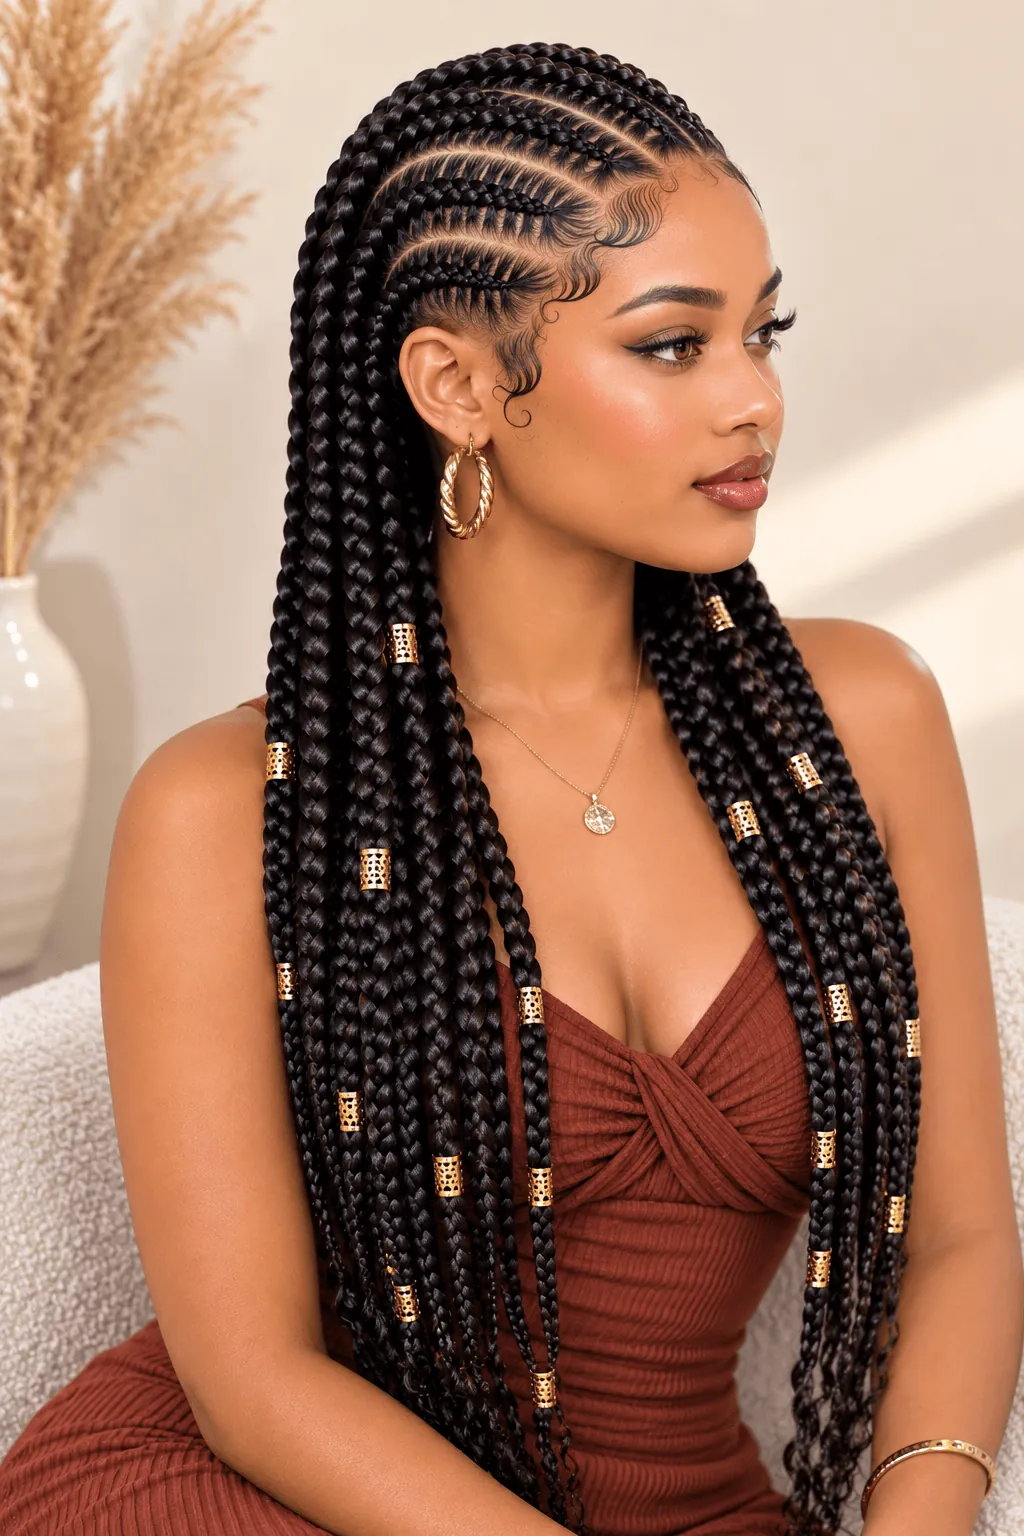
A few small metal cuffs can be added near the ends of some rows. They give a bit of shine, without moving around the way beads do.
Best For: Everyday wear, when beads feel like a bit much
Conclusion
Twenty different styles give you quite a lot of choice, but, in essence, there are only two parameters: thickness of the rows and additional volume. For instance, a simple straight-back piece suits all basic needs. Decorative elements such as beads, cuffs or spirals make it more complex, but still keep the same base.
Bring a photo to your braider and talk through row size and part placement before starting. That one conversation usually decides how close the result comes to what you pictured.