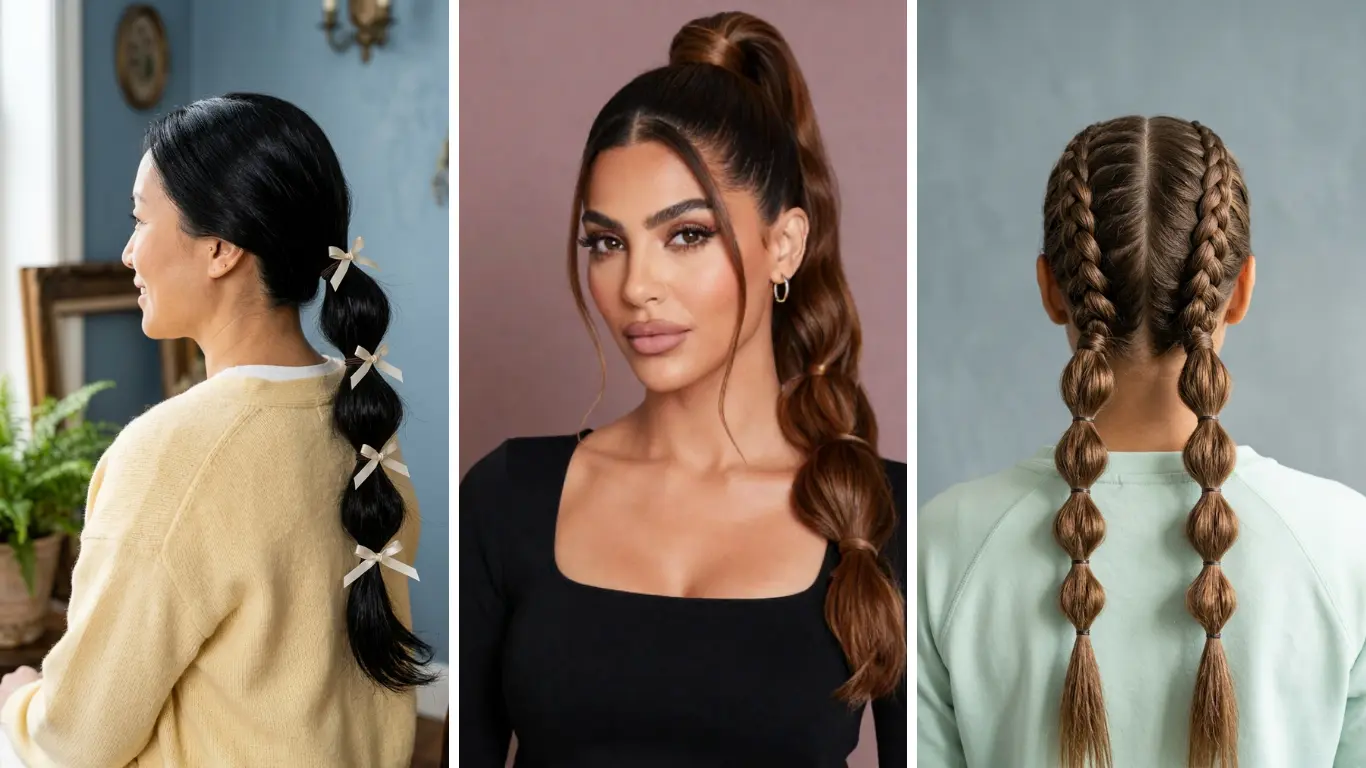
Bubble braids are a fun way to change up your usual hairstyle without spending too much time in front of the mirror. All you need are a few hair ties to create those cute, rounded sections.
You can wear these hairstyles in a high ponytail, double pigtails, or even braids. The bubble braid works on all hair types, including straight, wavy, curly, and coily. Whatever day or event you have, there’s a perfect bubble braid for the look.
Try these 15 bubble braid hairstyles at home.
1. Classic High Bubble Ponytail
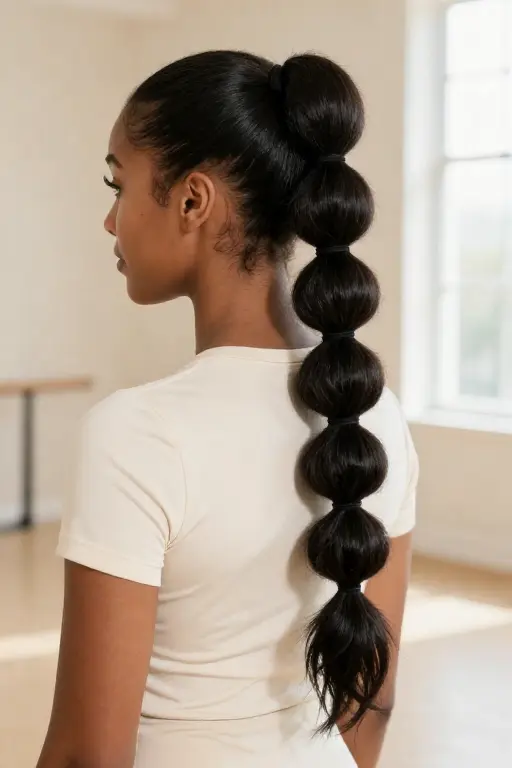
A high bubble ponytail is a way to give your hair more fullness. Gather your hair close to the top of your head, then put rubber bands along the ponytail. Use your fingers to stretch each part out to make the bubbles.
Make sure the sections are the right size for a tidy result. This style is great for days and when you are wearing sports clothes.
2. Low Bubble Ponytail
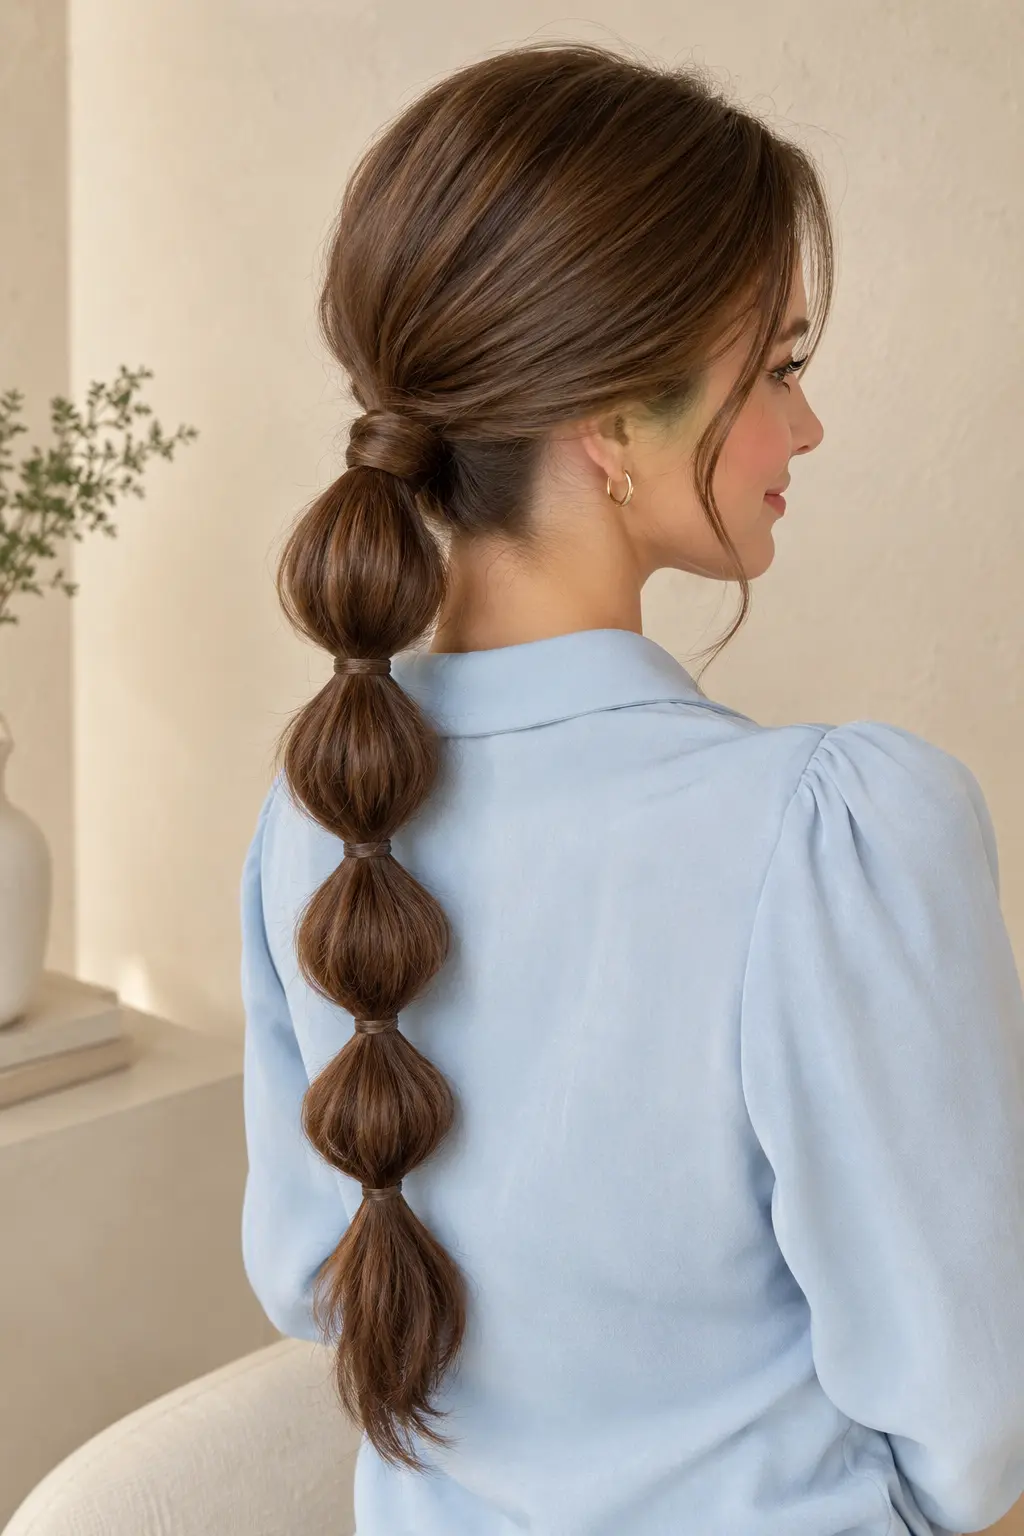
The low bubble ponytail gives a chic look. Gather your hair at the nape of your neck. Secure it with a hair tie.
Add elastics down the length, leaving enough room to shape each bubble.
Wrap a small strand around the first elastic if you want to hide it. This style looks lovely with a blouse or a simple dress.
3. Half-Up Bubble Hairstyle
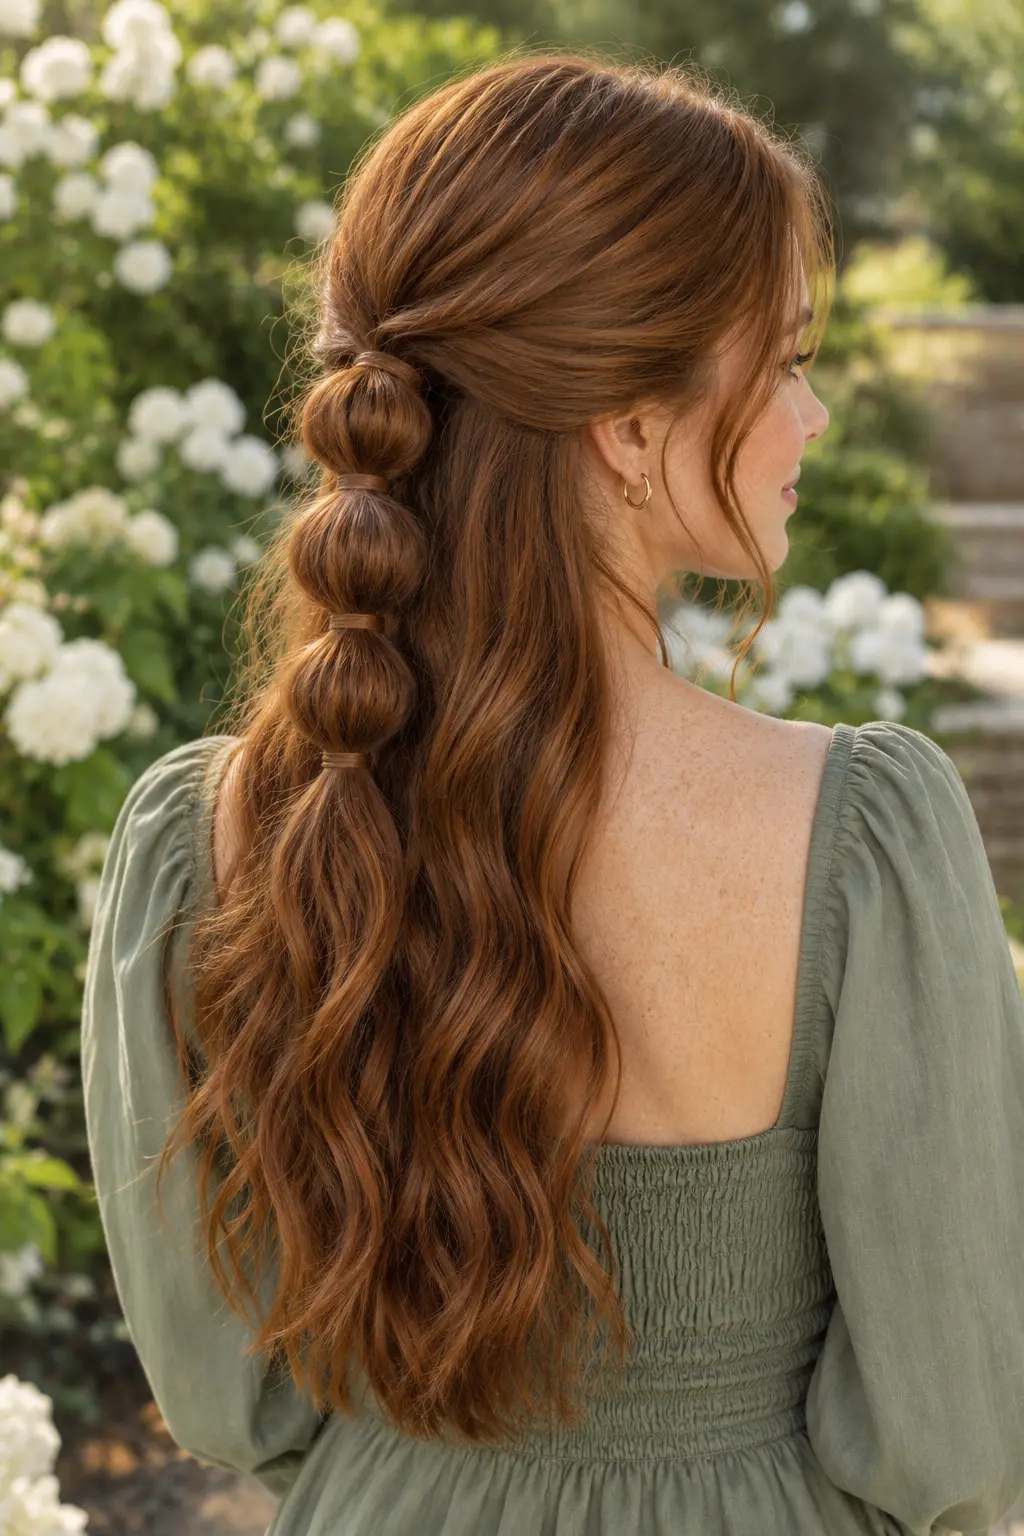
This style lets you wear your hair down while adding a little detail at the back. Take the top section of your hair and secure it with an elastic. Add two or three more ties below it, then gently shape the bubbles.
Straight hair gives a finish. Loose waves make the style look more relaxed. Loose waves add a vibe.
4. Double Bubble Pigtails
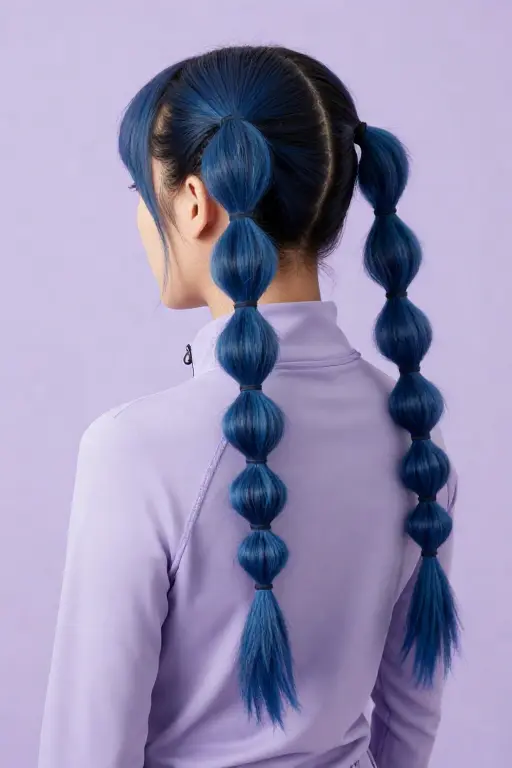
Two bubble pigtails give your hairstyle a playful feel. Make a center part and tie each side into a ponytail. Add elastics along both lengths and pull the sections outward.
Style the pigtails high up to look cute or low down to look laid back. Consider styling both sides alike.
5. Side Bubble Braid
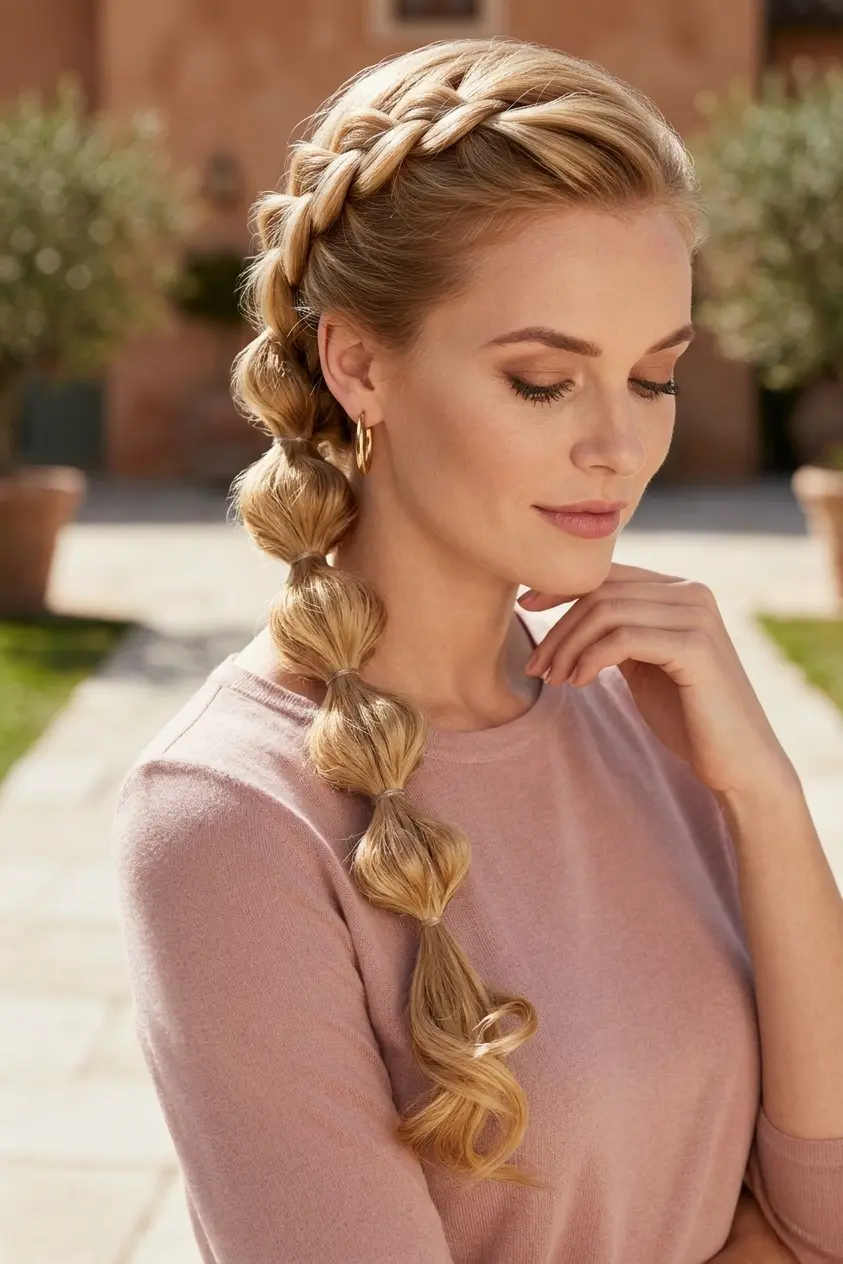
A side bubble braid brings your hair over one shoulder, making the bubbles easy to see. Sweep your hair to one side and secure it near your neck. Add elastics toward the ends and shape each section with your fingers.
Leave some strands of hair around your face to soften the look. This particular hairstyle is very easy to accomplish if you have long hair.
6. Bubble French Braid
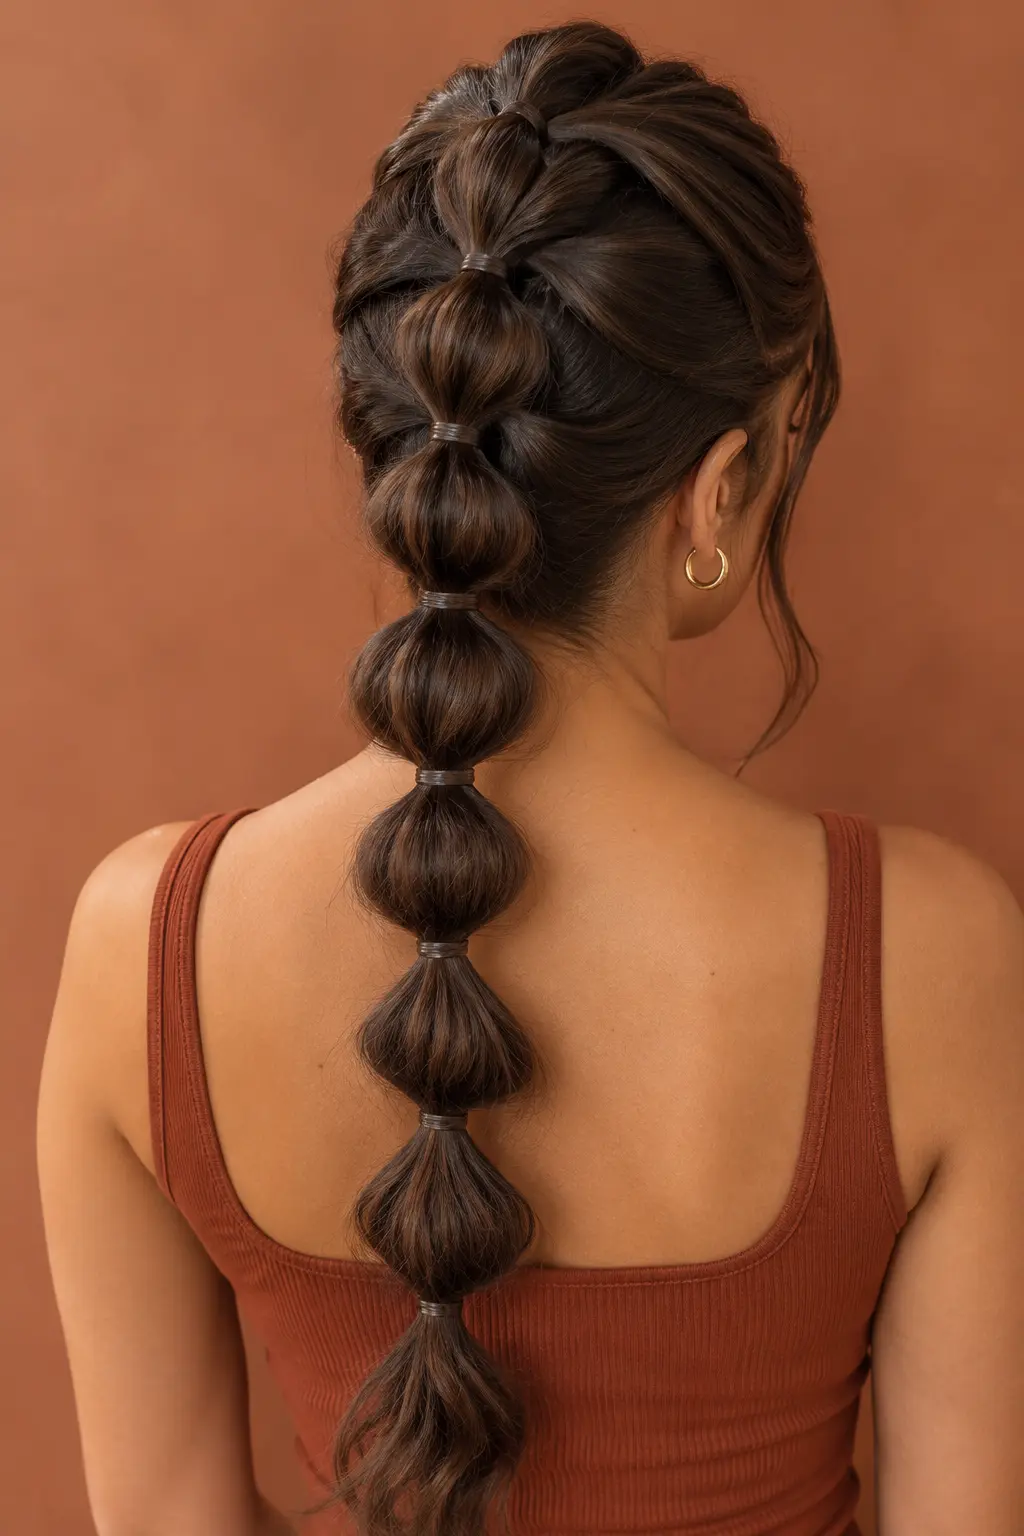
A bubble French braid follows the shape of your head instead of hanging freely like a ponytail. Start near the front with a small section of hair and secure it with an elastic. Add more hair as you work toward the back, securing each section before shaping it.
It may take a little practice, but the result has a lovely connected look. For more inspiration, visit our Goddess Braid Hairstyles guide.
7. Twisted Bubble Ponytail
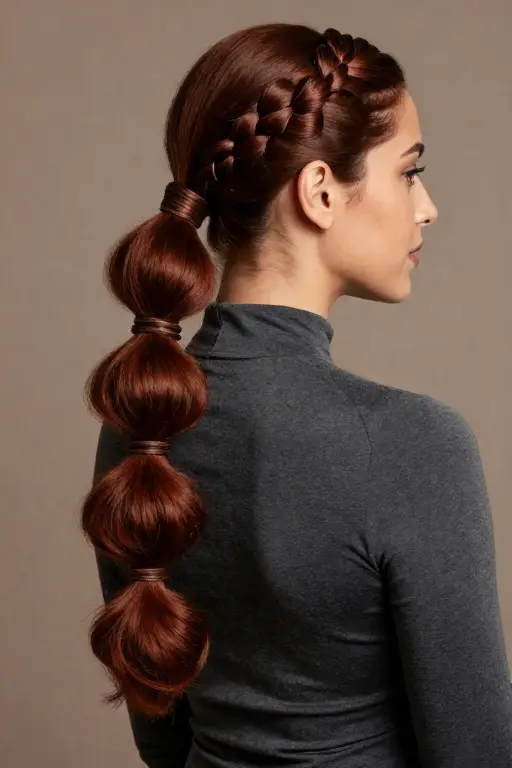
Small twists add extra detail to a regular bubble ponytail. Start with a ponytail and place elastics down its length. Twist selected sections gently before pulling them outward into bubbles.
8. Bubble Braids on Curly Hair
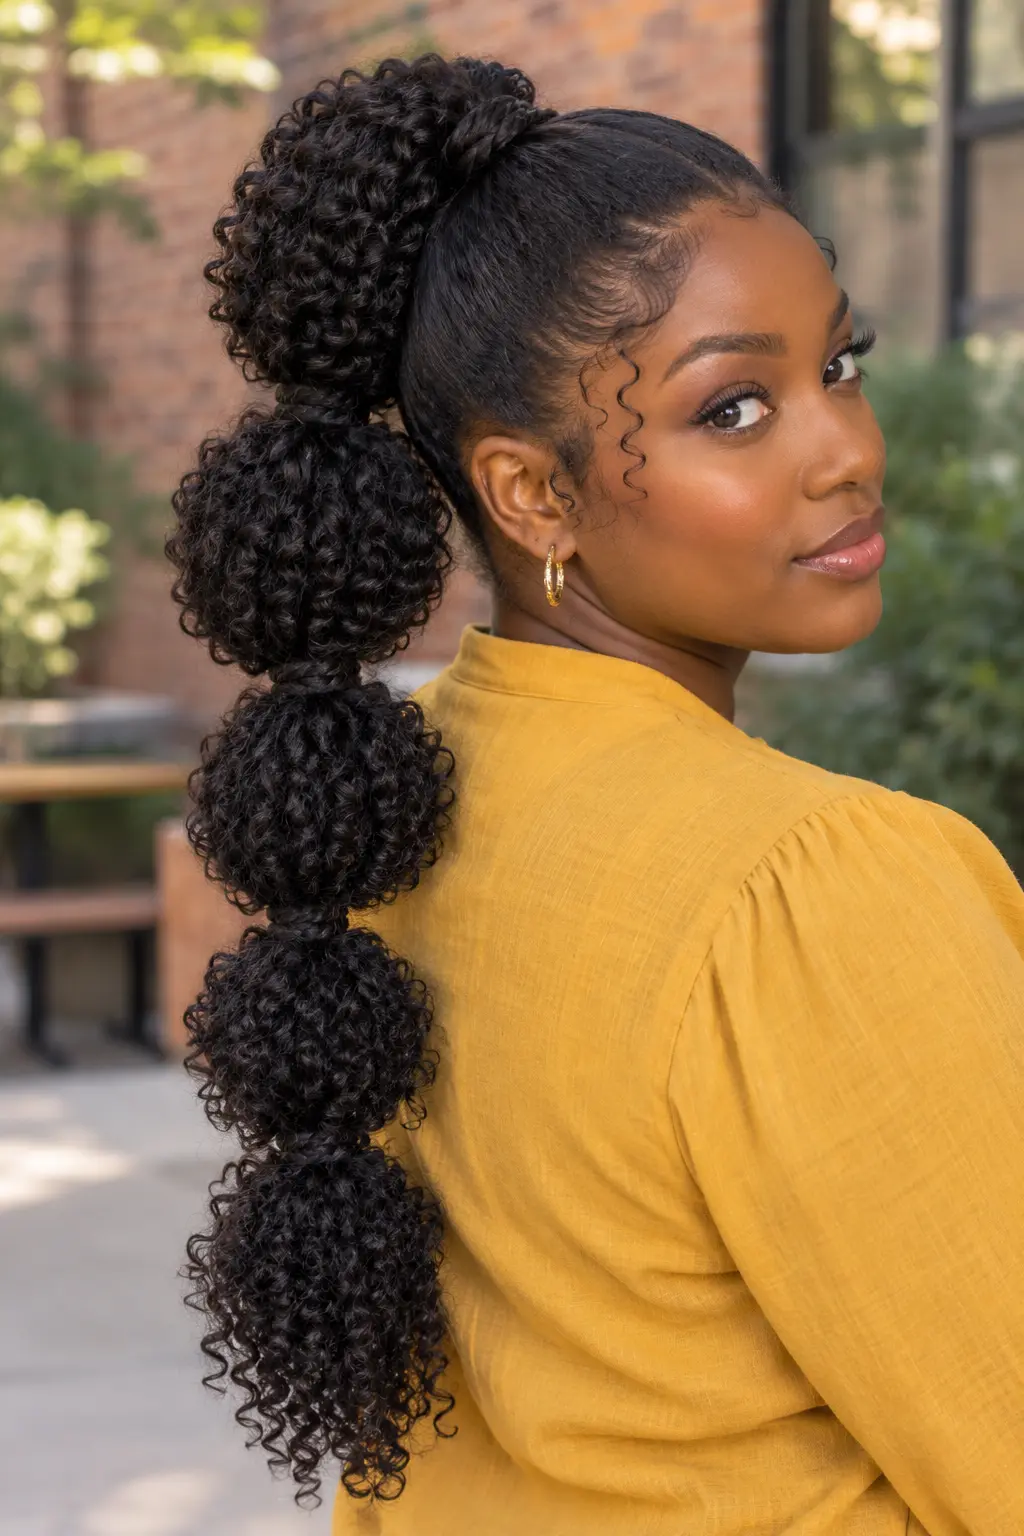
Curly hair gives bubble braids natural volume. Gather your curls into one ponytail or two pigtails, then add elastics along the length.
Shape the bubbles with your fingers to make sure that the curls remain natural-looking. Use hair ties that aren’t too tight around your hairline.
9. Bubble Ponytail with Front Braids
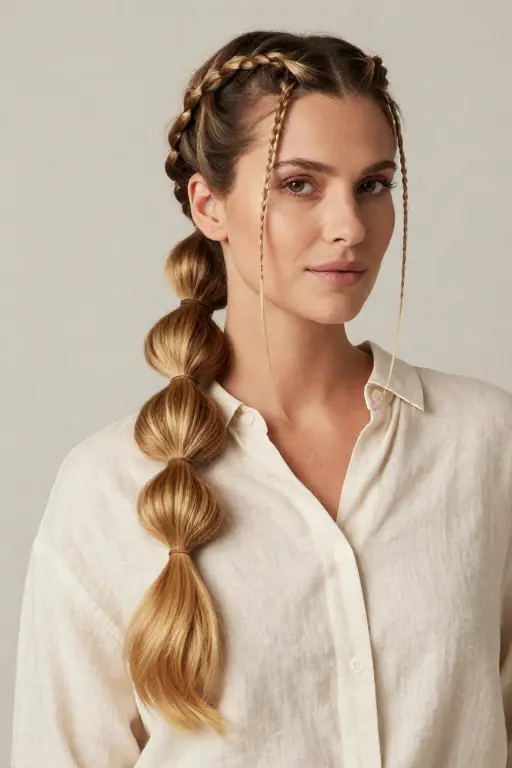
Small front braids make a bubble ponytail more interesting. Braid two thin sections near your temples, then gather the rest of your hair into a ponytail.
Add elastics in the ponytail and form each bubble. The tiny braids will outline your face, while the round shapes will increase volume at the back.
10. Braided Crown with a Bubble Ponytail
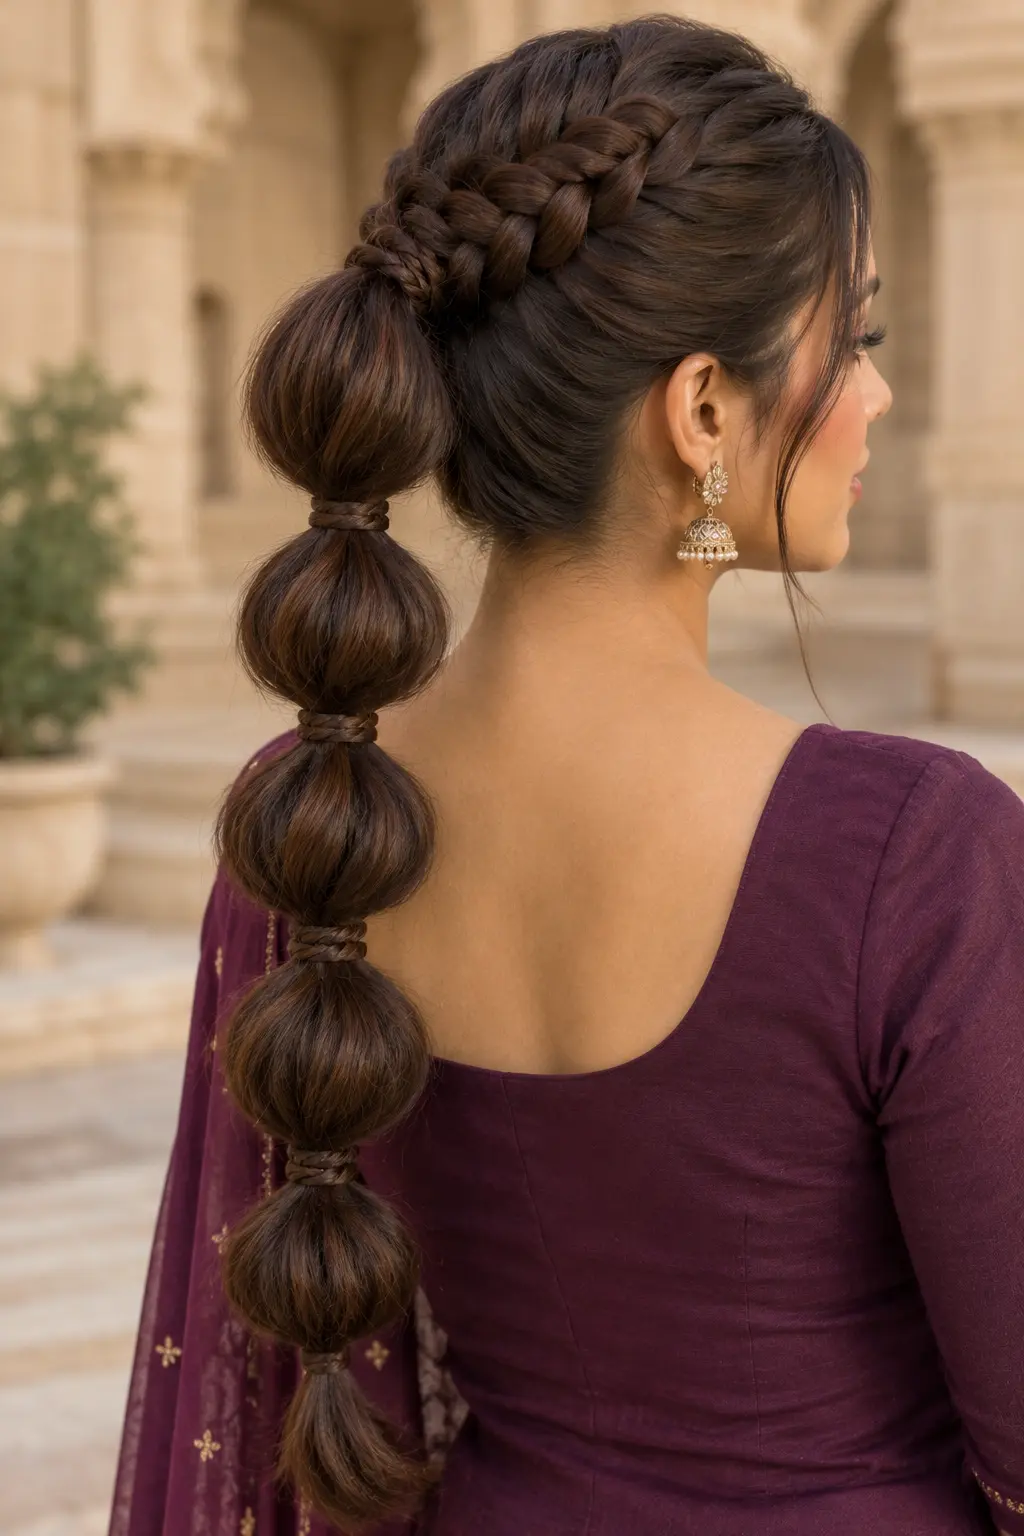
Combine braided crown and bubble ponytail hairdos for an original look. Begin by braiding your upper hair part in the French or Dutch style and tying the rest in a ponytail.
Add elastics to create bubbles in the ponytail. Make sure the sections are not too big so that the braid is also noticeable.
11. Double Dutch Bubble Braids
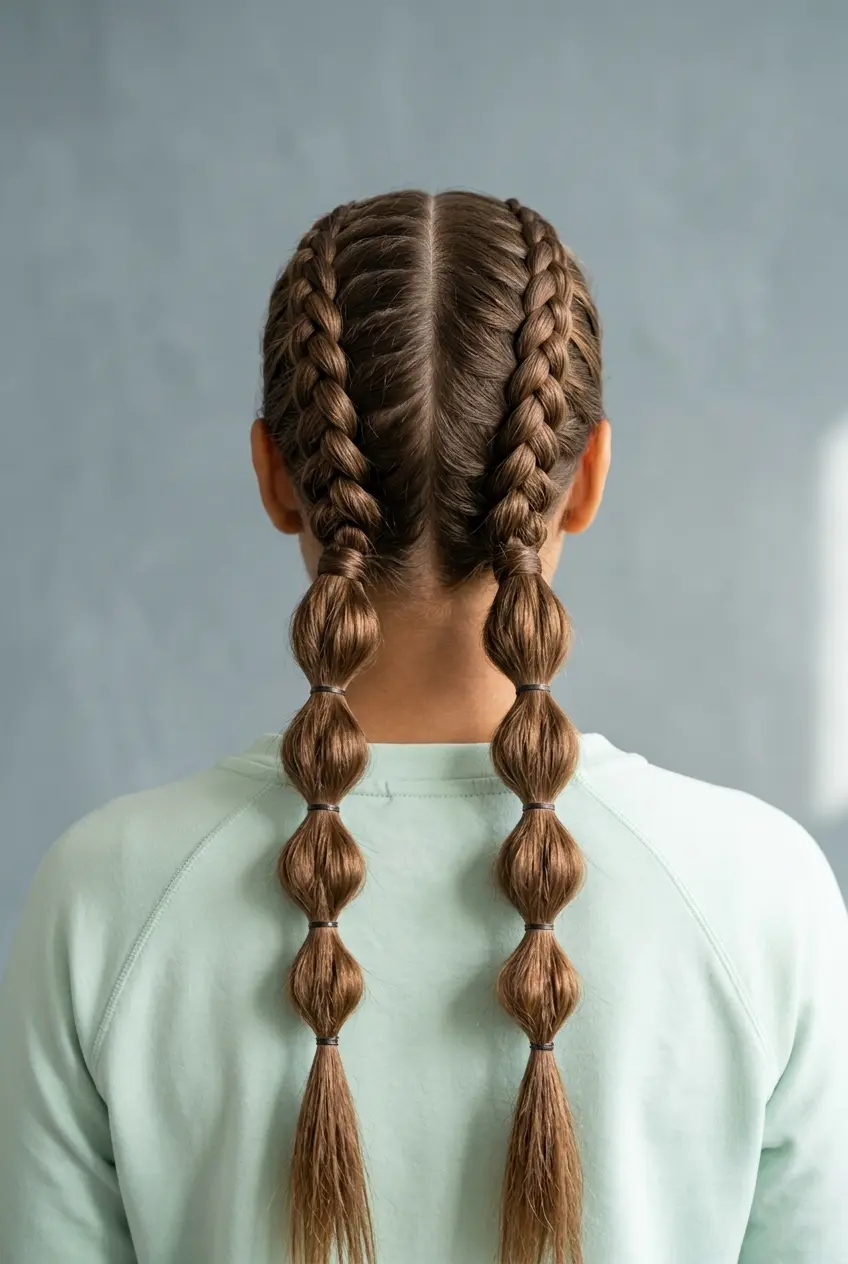
Double Dutch bubble braids combine raised braids with rounded sections. Part your hair down the middle and create a Dutch braid on each side, adding hair as you move toward the back.
Once the braids get to the back of the neck, tie the rest of the hair into two ponytails. Put bands along each ponytail. Form the puffy shapes. This look needs time but gives a neat and tidy result.
12. Bubble Braids with Ribbons
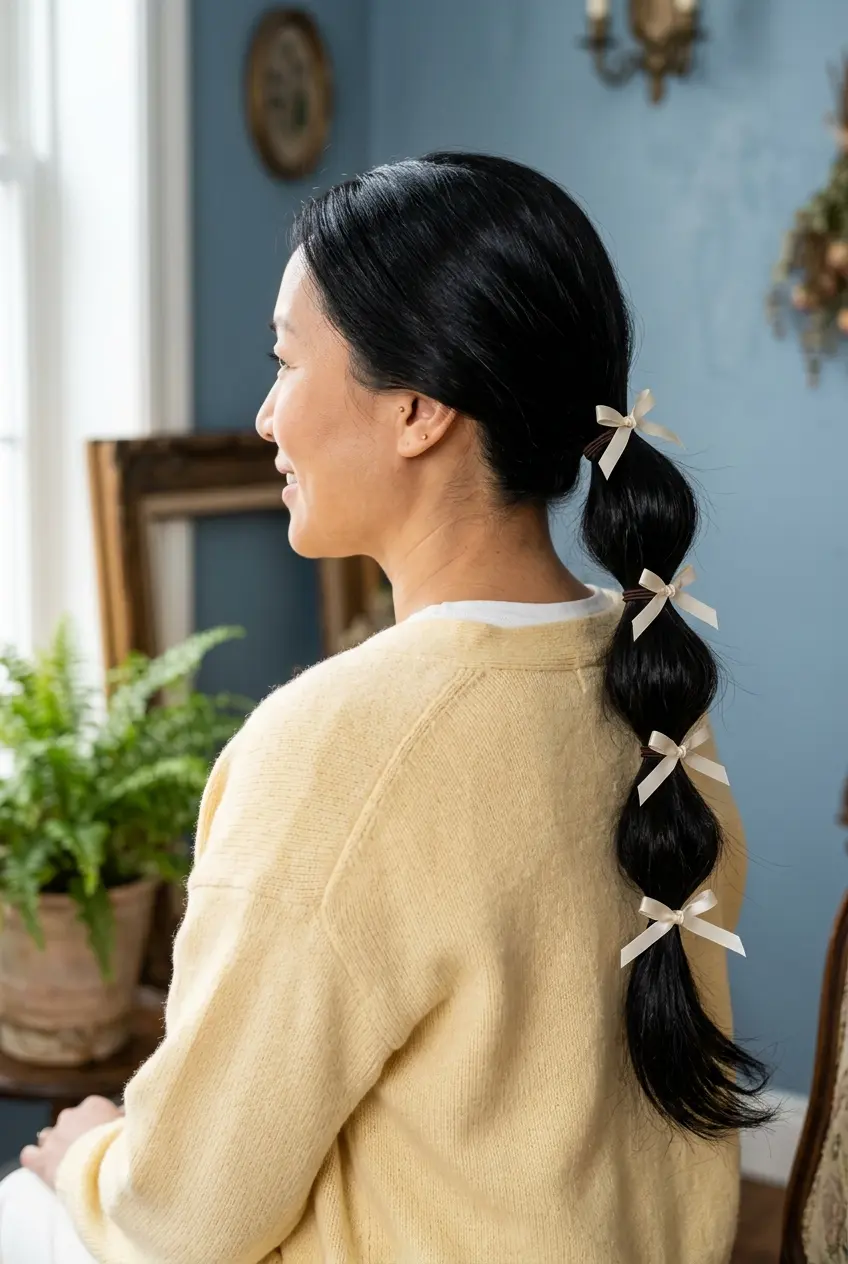
Ribbons add a soft touch to bubble braids without changing the basic technique. Make a high or low ponytail, then add elastics along the length.
Tie small ribbons around selected elastics or use ribbon-colored hair ties. Choose one color for a simple look or mix a few shades to match your outfit.
13. Messy Bubble Ponytail
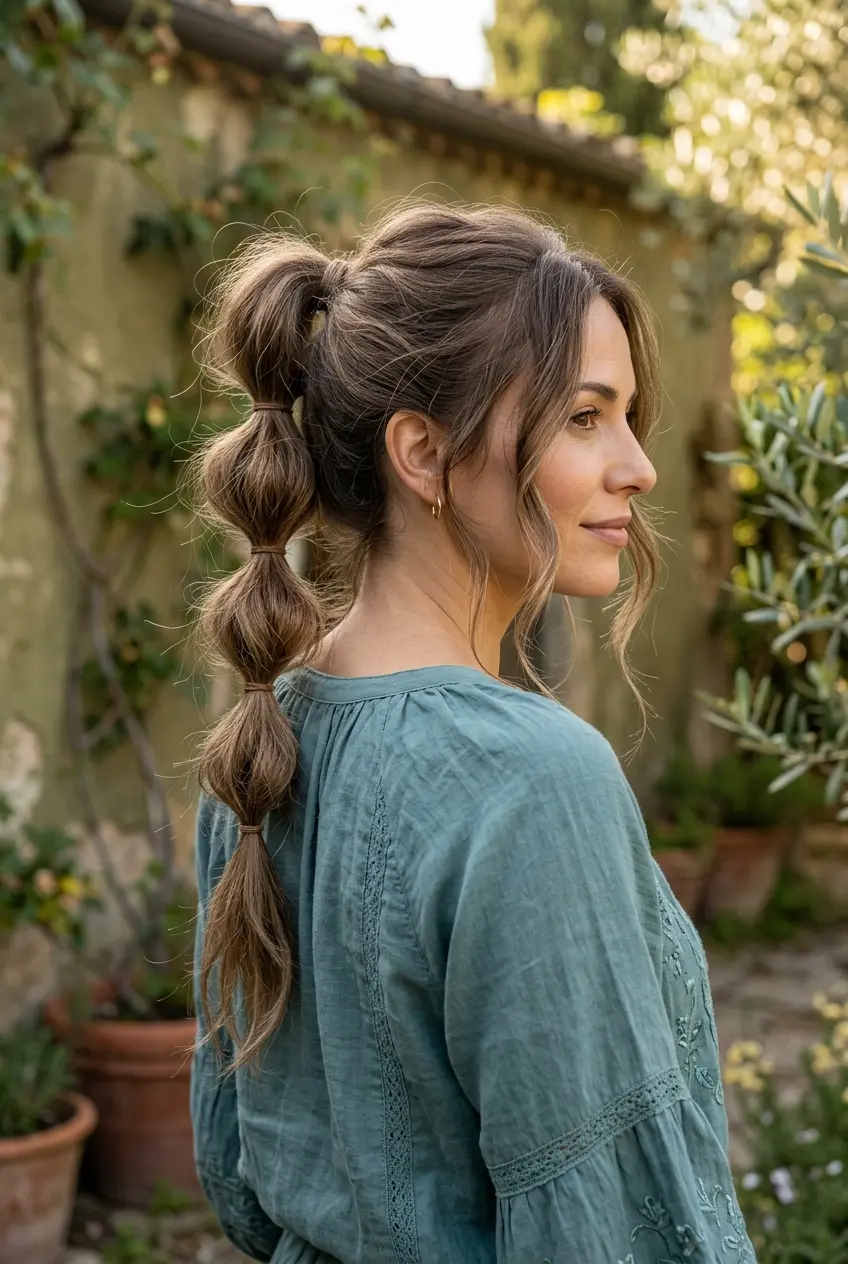
A messy bubble ponytail is perfect when you don’t want every strand to look perfectly smooth. Start with a loose ponytail and add elastics down the length.
Pull the bubbles outward unevenly to give them a relaxed shape. Leave a few loose strands around your face, and don’t worry if the sections aren’t identical. The slightly undone finish is part of the look.
14. Bubble Braids for Short Hair
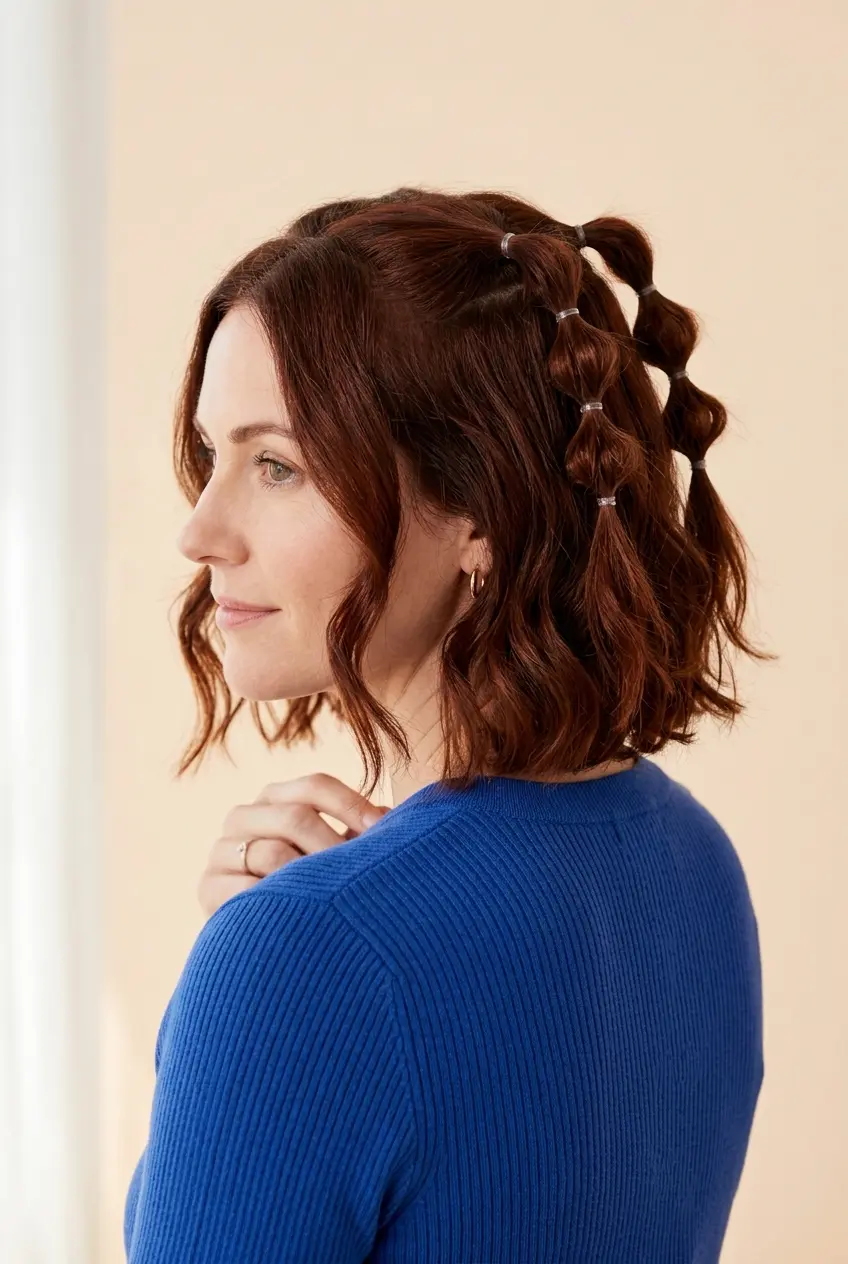
Short hair can look cute in bubble braids, too. Try a half-up style or make two small ponytails on either side of your head.
Tie a small section with an elastic, then place another one or two ties underneath. Leave less space between the ties to help the ends stay in place. Shoulder-length hair may give you enough room to create a few bubbles.
15. Bubble Ponytail with Face-Framing Strands
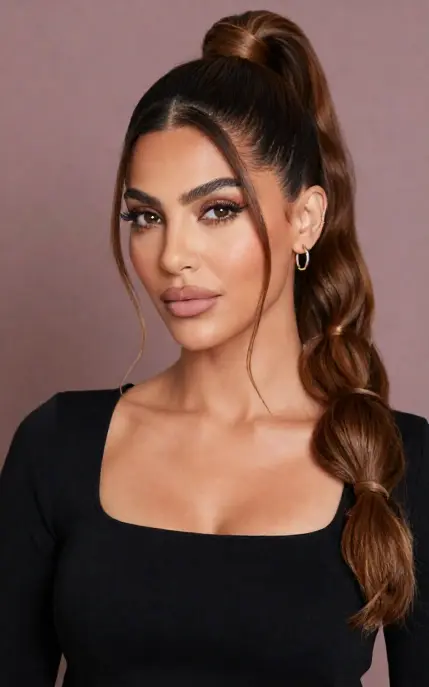
A few loose pieces around your face give a bubble ponytail a softer finish. Start with a high or low ponytail, then place elastics along its length to create the bubbles.
Before tying your hair back, leave two thin strands loose at the front. Wear them straight or curl them slightly for a different look.
How to Make Bubble Braids at Home
You only need a brush, small hair elastics, and a mirror to create a basic bubble ponytail.
Step 1: Make a ponytail. Brush your hair and secure it high or low. You can also start with two pigtails or a half-up section.
Step 2: Add the elastics. Place another tie about one to two inches below the first one. Adjust the distance to suit your hair length.
Step 3: Shape the bubbles. Pull the hair between two elastics outward with your fingers. Work around the section until it looks rounded.
Step 4: Repeat down the length. Add more elastics and shape each section as you go.
Step 5: Check the finish. Adjust any uneven bubbles and smooth flyaways if needed. Keep the ponytail comfortable rather than pulling it too tightly.
Adjusting Bubble Braids for Your Hair Length and Texture
A few small changes can help bubble braids work better with your natural hair.
Hair length: Shoulder-length hair or longer is usually easier to style. Shorter hair may work better in half-up styles or small pigtails.
Fine or thin hair: Keep the spaces between the elastics tight, and slowly stretch each part out to make it look bigger. Texturizing spray is useful in that case.
Thick hair: Choose sturdy elastics that slide out easily. Two bubble pigtails may feel more comfortable than one heavy ponytail.
Wavy or curly hair: Use your fingers to shape each section without brushing through your curls. This keeps your natural texture visible.
Coily hair: Start with detangled hair and use gentle, snag-free elastics. Make sure the ponytail isn’t too tight around your scalp.
More hair ideas to save
 HaircutsHow to Style a Butterfly Haircut for Every Hair Type
 HairstylesCurtain Bangs: The Complete Guide Plus 20 Styles to Try
 Hair GuidesWhy Is My Hair So Frizzy? Causes and Simple Solutions
 HairstylesEasy Hairstyles You Can Create in Minutes
 Hairstyles22 Bridal Hairstyles Every Bride Will Love
 Hairstyles90s Hairstyles That Are Still Worth Trying Today
 Hair Color25 Trendy Hair Color Ideas for a Fresh New Look
 Hair GuidesShould You Wash Your Hair Before a Haircut?
 Nail Art Designs13 Simple Nail Ideas That Are Easy to Try at Home
 Occasion OutfitsHow to Style Black Lace Dresses for Every Season and Occasion
- Free toolHair Type QuizFind your curl pattern from 1A to 4C, with a routine and the cut to ask for.Take the quiz